TL;DR
Baked goods stick mainly due to improper pan prep, temperature issues, or cooling. Using parchment, proper greasing, and gentle removal methods make freeing them simple and mess-free.
If you’ve ever flipped a cake or loaf and watched it stick like glue, you know the frustration. Baking should be fun, not a battle with your pan. The good news? Most sticking problems come down to simple causes—and even simpler fixes.
In this guide, you’ll learn why your baked goods stick, how to prevent it, and the best ways to free them without breaking a sweat. Whether you’re a seasoned baker or just starting out, these practical tips will make your baking experience smoother and your cleanup quicker.
Proper pan preparation—greasing, lining, or both—prevents most sticking issues.
Using parchment paper or silicone mats dramatically reduces cleanup and damage.
Cooling baked goods in the pan for at least 10 minutes helps them set and releases more easily.
Gentle, patient removal techniques prevent tearing or breaking your baked masterpiece.
Choosing eco-friendly, reusable tools supports better baking habits and reduces waste.
What Causes Baked Goods to Stick and How to Spot Them
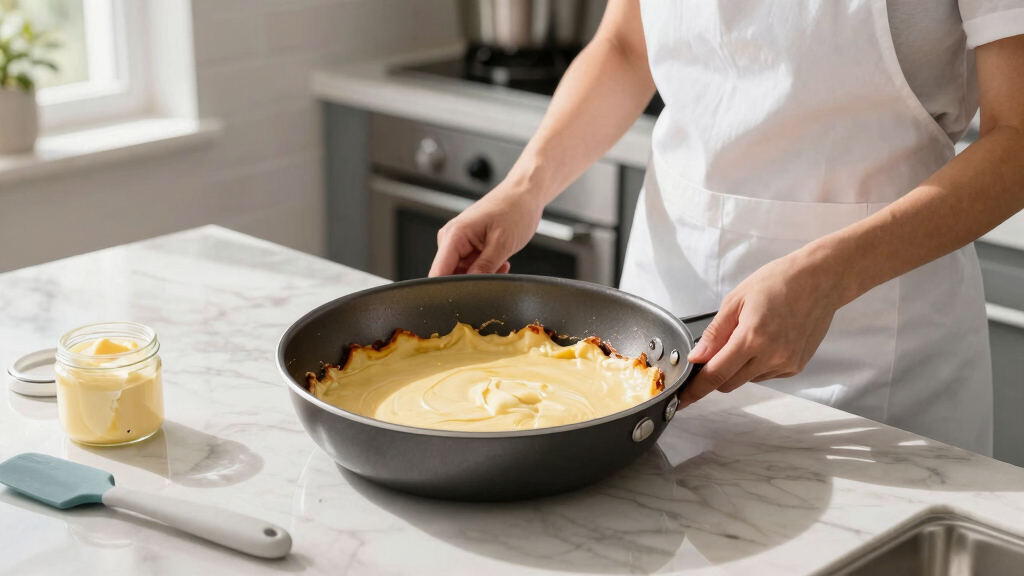
Most sticking happens because of one or more common issues: not enough greasing, the pan type, baking temperature, or improper cooling. For example, if you forget to line or grease your pan, your cake or muffins will cling stubbornly. Similarly, overbaking can dry out edges, making them stick to the pan.
Understanding these causes is crucial because each affects the outcome differently. Insufficient greasing leaves a weak barrier between the baked good and the pan surface, increasing the chances of tearing when removing. Using the wrong pan material, like uncoated metal, can cause sticking due to poor heat distribution or uneven surfaces. Overbaking not only dries out the product but also causes contraction as it cools, making it more prone to sticking or breaking apart. Recognizing these signs helps you adapt your technique—such as adjusting oven temperature or improving pan preparation—to prevent future issues. Being aware of your specific patterns, like brownies always sticking or loaves tearing, allows you to fine-tune your process for consistent, clean releases.
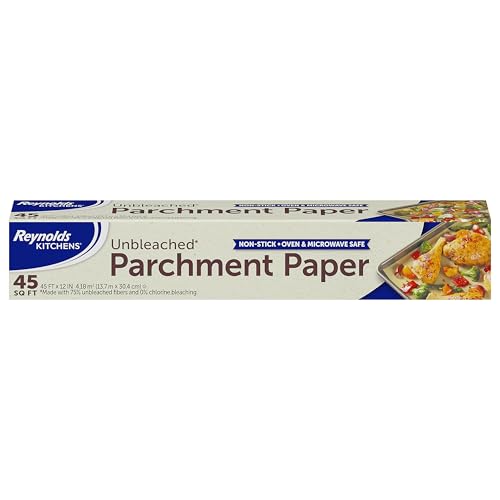
Reynolds Kitchens Unbleached Parchment Paper Roll, 45sq ft
- Package Size: 45 feet long, 12 inches wide
- Easy Cleanup: Lines pans for quick cleaning
- Unbleached & Chlorine-Free: Made with 75% unbleached fibers
As an affiliate, we earn on qualifying purchases.
As an affiliate, we earn on qualifying purchases.
How to Prepare Your Pan So Bakes Release Like Magic
Proper preparation of your baking pan is not just about preventing immediate sticking; it’s about creating a reliable barrier that ensures your baked goods can be removed intact, preserving their appearance and texture. For example, lining a pan with parchment paper might seem straightforward, but choosing the right type—like unbleached or silicone-coated—is important because it affects how easily the baked item releases and how much residue remains. Greasing the pan with butter or oil creates a non-stick film, but if not applied evenly, it can result in uneven removal and tearing. Dusting with flour or cocoa powder enhances this barrier, especially for delicate cakes, but overdoing it can cause a floury surface or uneven crust. Using silicone mats or parchment in combination with greasing provides multiple layers of protection, which is especially useful for sticky or fragile recipes. These steps matter because they directly influence the ease of removal, the presentation of your baked goods, and the amount of cleanup afterward. The tradeoff is that more thorough prep takes a few extra minutes but pays off in perfect, intact treats every time.

GUANCI 2 Pack Silicone Baking Mats, 11.6" x 16.5" Each, 0.7mm Thick, Food Grade Non-Stick Reusable Baking Mats & Baking Sheet Liners for Cookies, Macarons, Bread, Pizza & Pastry
- Food-Grade Silicone: BPA-free, PFOA-free, non-toxic
- Thick and Durable: 0.70mm thickness for stability
- Non-Stick Surface: Easy food release and cleaning
As an affiliate, we earn on qualifying purchases.
As an affiliate, we earn on qualifying purchases.
The Best Tools & Materials for Sticky-Free Baking
| Tool/Material | Pros | Cons |
|---|---|---|
| Parchment Paper | Reusable, easy release, eco-friendly | Requires pre-cut sizing, slightly more expensive initially |
| Silicone Baking Mats | Reusable, non-stick, perfect for cookies and bars | More expensive upfront, not ideal for all baked goods |
| Oil or Butter | Widely available, enhances flavor | Can add calories, sometimes uneven coating |
| Non-stick Spray | Convenient, quick | May contain additives, less eco-friendly if overused |
Choosing the right tools isn’t just about convenience; it directly impacts your baking success. Parchment paper and silicone mats are especially effective because they create a smooth, non-porous surface that minimizes sticking even with sticky batters like caramel or fudge. Combining tools—such as greasing the pan first and then lining with parchment—adds layers of protection, which is especially important for intricate or delicate baked goods. While oils and sprays are quick fixes, they can sometimes lead to uneven coatings or excess greasiness if not applied carefully. The tradeoff with reusable tools like parchment and silicone mats is the initial investment versus the long-term savings and consistent results. Understanding these nuances helps you choose the best options for your specific recipes, baking frequency, and environmental considerations, ensuring easier release and cleaner cleanup.

La Tourangelle All Purpose Baking Spray, Gluten Free, Non Stick, 147 ML
- Gluten-Free Formula: Uses plant-derived lecithin for non-stick
- Premium Quality Taste: Made with high-quality ingredients
- Versatile Cooking Use: Suitable for salads, meats, pastas, and more
As an affiliate, we earn on qualifying purchases.
As an affiliate, we earn on qualifying purchases.
How to Free Bakes from the Pan Without Breaking Them
When your baked good refuses to come out, it’s tempting to tug or pry, but this often causes tears or cracks that can ruin the presentation. Instead, patience and gentle techniques are key. Running a thin, flexible knife or spatula carefully around the edges helps loosen the sides, breaking any suction that might have formed due to cooling or moisture. Turning the pan upside down onto a cooling rack or plate allows gravity to assist in release, reducing stress on the product. Warming the pan slightly in a warm (not hot) oven softens the fats and helps expand the material, making release easier without risking burns or damage. Using a damp cloth or paper towel on the bottom can help release baked goods stuck to parchment or silicone by providing a slight moisture barrier. For sticky brownies or fudgy bars, lifting the edges with a spatula and sliding the entire piece onto a plate minimizes handling and prevents breakage. These methods matter because they prioritize preserving the integrity of your baked goods, ensuring they look and taste as intended. The tradeoff is that they require patience, but this results in a clean, professional-looking finish every time.

Beasea Cake Pans Removable Bottom, 8 inch Cheesecake Baking Pan Set of 2, Round Movable Cake Pan Aluminum Alloy Mini Cake Pan for Oven Baking
- Material: Food-grade aluminum alloy for durability
- Design: Removable bottom for easy cake removal
- Cleaning: Seamless design for quick cleanup
As an affiliate, we earn on qualifying purchases.
As an affiliate, we earn on qualifying purchases.
The Real Impact of Proper Cooling & Handling
Baking isn’t just about the oven; it’s about how you treat your baked goods afterward. Proper cooling allows the internal structure to set, which reduces the risk of sticking or tearing upon removal. Cooling in the pan for at least 10-15 minutes gives steam a chance to escape, preventing sogginess and making the surface less sticky. Removing too early, especially when the baked good is still hot, can cause it to be overly fragile, increasing the likelihood of tearing or crumbling. Conversely, cooling too long can cause contraction and sticking if the baked item becomes too dry or hard. Gently running a spatula around the edges before lifting helps release any residual bonds and minimizes tears. Patience here isn’t just about avoiding mess; it’s about preserving the appearance and texture of your baked goods. The implication is that rushing the process compromises quality, while gentle handling and proper cooling ensure a clean, intact release—saving you time and frustration in the long run.
Troubleshooting Common Sticking Scenarios
Sticking can be frustrating, but understanding the underlying causes helps you troubleshoot effectively. For example, if your cake always sticks to the bottom, it could be due to insufficient lining or uneven baking that causes sticking points. Using parchment or silicone mats creates a smooth, non-porous surface that prevents the batter from adhering directly to the pan, especially for sticky or delicate cakes. If bread sticks to the sides, it’s often because the sides weren’t greased thoroughly or because the pan material conducts heat unevenly, causing sticking spots. For brownies, overbaking dries out the edges and makes removal difficult; lining with parchment and removing from the oven just as they are set helps maintain moisture and flexibility. Cookies sticking to the sheet can be minimized by proper use of silicone mats or parchment, which prevent sticking and facilitate quick transfer. Recognizing these patterns and applying targeted solutions—like adjusting baking time, improving pan preparation, or cooling properly—can turn sticking from a recurring problem into a manageable step. These insights save you time, reduce waste, and improve the overall quality of your baked goods.
Frequently Asked Questions
How do I prevent my cake from sticking to the pan?
Use a combination of greasing the pan well, dusting with flour or cocoa powder, and lining with parchment paper. Let the cake cool completely before removing to avoid tearing.
What’s the easiest way to get a stuck baked good out of the pan?
Run a small knife or spatula around the edges, then invert the pan onto a cooling rack or plate. Gently tap or shake until it releases. Warming the pan slightly can also help loosen stubborn items.
Are non-stick pans worth it, or should I stick to traditional pans?
Non-stick pans are convenient but still need proper prep—greasing or lining. Traditional pans can produce better crusts if well-seasoned or carefully prepared, so choose based on your baking style.
Can I reuse parchment paper and silicone mats?
Yes, both are reusable if kept clean and free of baked-on residue. They’re eco-friendly options that improve your baking results over time.
What natural, eco-friendly options prevent sticking without chemicals?
Using natural oils like coconut or avocado oil to grease pans, combined with parchment paper or silicone mats, offers a safer, more eco-friendly approach to non-stick baking.
Conclusion
Sticking isn’t a baking fate—it’s a sign you need better prep, patience, and gentle handling. Once you master these basics, removing baked goods becomes a simple, satisfying step, not a frustrating one.
Next time you bake, focus on the prep, give your baked goods time to cool, and handle them with care. Your finished treats will come out cleaner, prettier, and more delicious—without the drama.