
TL;DR
If your baked goods are raw in the middle, gummy, or tough on the edges, knowing how to diagnose the issue can save your bake. Using visual cues, internal temperature, and proper technique helps you troubleshoot effectively and achieve perfect results.
Always verify doneness with an internal thermometer—around 200°F for cakes.
Visual cues like crust color, bounce test, and edges tell you a lot, but don’t rely on timing alone.
Calibration of your oven can prevent many issues—use a thermometer to check accuracy.
Avoid overmixing batter to prevent tough, dense textures.
Adjust baking time and temperature based on your specific oven and pan for consistent results.
Tough, Gummy, or Raw in the Middle?
Stop guessing at doneness. Read the crust, test the bounce, check the center temperature, and trace each texture back to heat, moisture, mixing, or pan choice.
Three failures, three different stories
The same golden surface can conceal very different problems. Diagnose the crumb before changing the recipe: raw points to insufficient heat penetration, gummy points to trapped moisture or incomplete setting, and tough points to excess heat or gluten development.
Wet, sunken, sticky
The top may look finished while the center remains glossy, loose, or visibly damp.
- Insufficient baking time
- Oven running cooler than its setting
- Pan too small or batter too deep
- Door opened before structure set
Heavy, tacky, rubbery
The crumb is cooked-looking but compresses into a damp line or clings to the knife.
- Excess liquid, fruit, yogurt, or fat
- Underbaking and trapped moisture
- Incorrect flour-to-liquid ratio
- Overmixing after flour is added
Dark, dry, chewy
The perimeter firms too quickly while the interior loses tenderness and moisture.
- Oven running hot or unevenly
- Too much baking time
- Dark pan accelerating browning
- Excess gluten from vigorous mixing
Doneness signal matrix
No single cue is perfect. Combine surface appearance, touch, edge behavior, and center temperature to distinguish a properly set crumb from a bake that only looks finished.
| Test | Properly baked | Raw / underbaked | Gummy / dense | Tough / overbaked |
|---|---|---|---|---|
| Top surface | ✓Evenly golden and dry | ✗Pale, glossy, or sunken | ~May appear fully baked | ✗Very dark or hard |
| Press test | ✓Springs back gently | ✗Indent remains | ~Heavy, limited rebound | ✗Rigid or crusty |
| Pan edges | ✓Slightly pulling away | ~Still wet against pan | ~Set outside, damp within | ✗Shrunken, dry, dark |
| Center crumb | ✓Tender and cohesive | ✗Loose batter or paste | ✗Tacky, compressed line | ✗Dry, coarse, resistant |
| Likely intervention | ✓Cool as directed | ~More time, shield top | ~Review ratios and mixing | ~Lower heat or bake less |
✓ desired signal ✗ clear warning ~ contextual clue requiring another test
Temperature turns intuition into evidence
Heat sets the structure through starch gelatinization and protein coagulation. A thin digital thermometer placed in the center provides an objective check when color and timing are misleading.
Approximately 93°C
Use this as a practical guide, then confirm with a resilient top, set edges, and recipe-specific cues.
A three-step rescue protocol
Change one variable at a time. A disciplined diagnosis prevents the common mistake of altering ingredients, temperature, and timing simultaneously—and never learning which adjustment worked.
Assess the signs
Name the failure: wet center, tacky crumb, or dry edge. Check appearance, rebound, and internal temperature.
Trace the cause
Match the symptom to heat, time, moisture, pan depth, ingredient ratio, or excess mixing.
Adjust one variable
Extend time, reduce heat, change the pan, correct the ratio, or mix less—then record the result.
Five rules for a better bake
Consistency comes from controlling the variables recipes cannot fully predict: the true oven temperature, the pan, the depth of batter, and the moment the structure finishes setting.
Use roughly 200°F for cakes as a practical doneness benchmark.
Combine temperature with crust color, edge release, and bounce.
An independent oven thermometer exposes hot settings and uneven zones.
Excess agitation develops gluten and turns tender crumbs tough.
Your oven and pan—not the printed timer—determine the final bake.
How to Spot a Raw or Undercooked Center
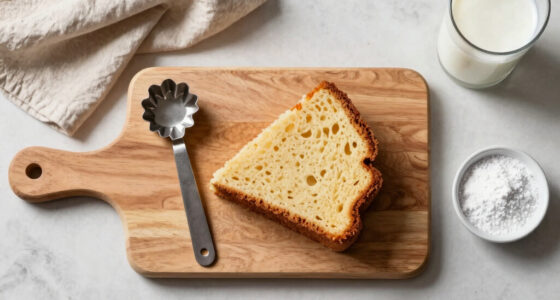
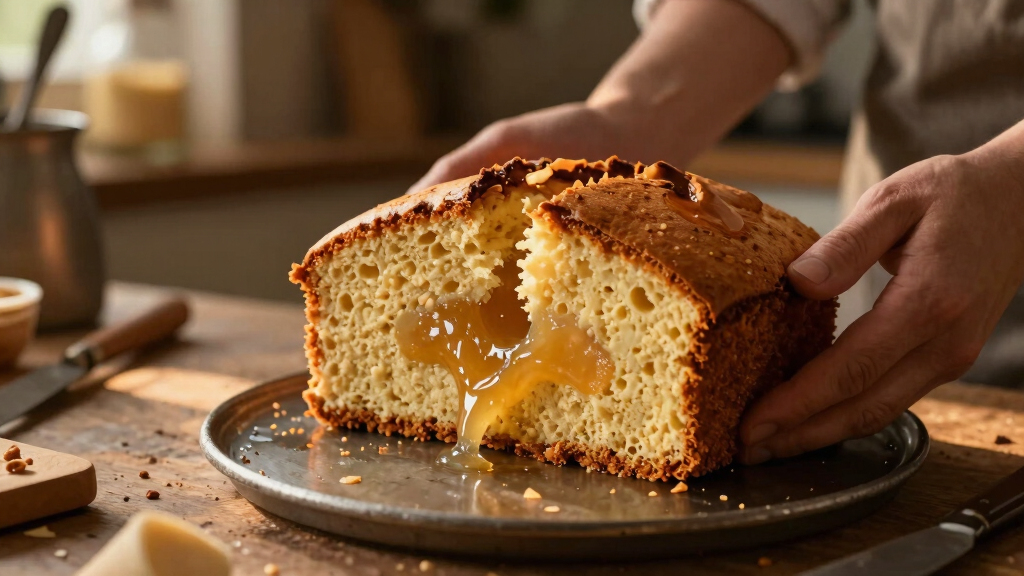
The first clue that your bake isn’t done is the look and feel. If the top is golden but the middle feels soft or wet, it’s probably raw. A common scenario: you bake a loaf or cake for the recommended time, then cut into it and find an undercooked mess—damp, dense, and sticky.
To check without cutting, gently press the top. A slight bounce indicates it’s cooked through. If it feels too soft or leaves an indent, give it more time. For precise diagnosis, internal temperature is your best friend. Insert a digital food thermometer into the center—around 200°F (93°C) for cakes usually signals doneness.
This temperature ensures the internal structure has set properly without overbaking, which can lead to dryness. Recognizing this helps you avoid the tradeoff between underbaking, which leaves raw centers, and overbaking, which dries out your baked goods. The key is to understand that internal temperature confirms doneness beyond just appearance—saving you from guessing and ensuring consistent results.

Rubbermaid Commercial Products Stainless Steel Monitoring Thermometer, Safe for Inside Oven/Grill/Smoker, 60-580°F Range, Easy to Read Food Thermometer For Food Resturant/Home Cooking
- Food Safety Monitoring: Displays true oven temperature instantly
- Wide Temperature Range: Reads from 60°F to 580°F
- Versatile Kitchen Use: Suitable for home and professional kitchens
As an affiliate, we earn on qualifying purchases.
As an affiliate, we earn on qualifying purchases.
Why Your Baked Goods Are Gummy or Dense
Gummy or dense textures often stem from excess moisture, underbaking, or ingredient imbalances. These issues can significantly impact your baked goods’ final quality, making them less enjoyable and less visually appealing. For example, a gummy brownie isn’t just an undesirable texture—it indicates that the moisture hasn’t evaporated properly, which can lead to mold growth later on. Understanding why these textures happen helps you make smarter adjustments. Excess moisture trapped inside can result from ingredients like fruit, yogurt, or too much butter, which interfere with the setting process. Underbaking leaves moisture trapped inside, preventing the crumb from developing a firm structure. Overmixing can also develop gluten excessively, trapping air and moisture, leading to a chewy, rubbery consistency. Recognizing these causes allows you to balance your ingredients better—perhaps by reducing liquid components or extending baking time—so that your baked goods set properly and develop a tender, yet firm texture. Achieving this balance is crucial because it impacts not just appearance but also shelf life and overall eating quality. Baking science shows that reaching an internal temperature of about 200°F helps evaporate enough moisture, creating a crumb that is tender but not sticky or rubbery. The tradeoff lies in knowing when to stop mixing or baking—overdoing it can dry out your product, while underdoing it leaves undesirable chewiness or stickiness. Mastering these nuances ensures consistent, high-quality results with every bake.

Digital Infrared Thermometer gun for cooking,BBQ,Pizza oven,Ir Thermometer with Backlight,-58℉~932℉(-50℃~500℃) Handheld Non Contact Heat Laser Temperature Gun (Not for Human)
- Wide Temperature Range: -50℃ to 500℃
- High Display Resolution: 0.1℃ or 0.1℉
- Unit Conversion: ℃/℉ switchable
As an affiliate, we earn on qualifying purchases.
As an affiliate, we earn on qualifying purchases.
What Causes Tough, Overbaked Edges and How to Fix It
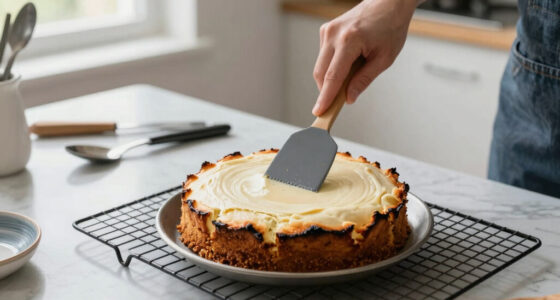
Ever had a cookie or cake with tough, dark edges? This usually happens when your oven runs hot or you bake too long. The outer layer dries out rapidly, losing moisture and becoming tough or even burnt. But it’s not just a matter of overbaking; the development of tough edges also affects the overall texture and flavor, often leading to a less tender bite and a less appealing appearance. Overmixing batter can develop excess gluten, which makes baked goods more elastic and less tender—this is especially problematic for delicate items like cakes and cookies. Recognizing these causes helps you prevent overbaking and tough edges. For instance, a hot oven accelerates browning and moisture loss, so calibrating your oven with an accurate thermometer is crucial. Overmixing develops gluten, which contributes to a chewier, tougher texture. To fix this, start by calibrating your oven to ensure accurate temperature control. Use gentle mixing techniques, and keep a close eye after the usual baking time. If you notice the edges browning too quickly, tent the pan with foil or lower the oven temperature by 25°F. These adjustments prevent excessive moisture loss and gluten development, resulting in a tender, evenly baked product. Understanding these factors allows you to strike a balance—baking long enough to set the structure without sacrificing tenderness or moisture. This knowledge helps you achieve a uniform, perfect crust and a soft interior, elevating your baking results from good to great.
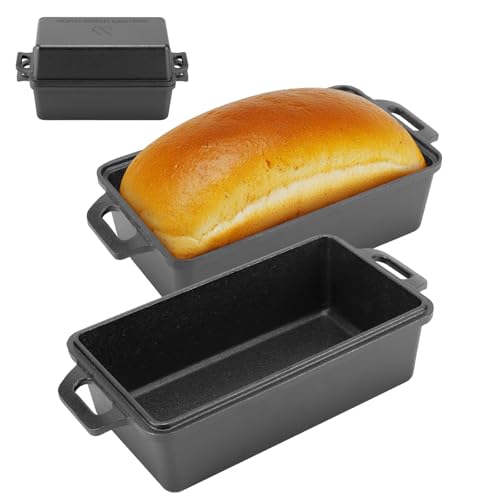
Northriver Casting 9×5 Inch Cast Iron Loaf Pan with Lid | Bread Baking Pan | Even Heat Distribution for Homemade Bread, Cake, and Meatloaf | 2 Piece Set
- Material: High-grade cast iron for even heat
- Size: 9×5 inch standard loaf pan
- Versatile Use: Use separately or as lids
As an affiliate, we earn on qualifying purchases.
As an affiliate, we earn on qualifying purchases.
The Science of Perfect Baking: Internal Temp & Visual Cues
Understanding what’s happening inside your bake is half the battle. For cakes, an internal temperature of about 200°F (93°C) signals they are just right—fully cooked but not dried out. Bread and muffins often reach about 210°F (99°C). Use a digital thermometer for accuracy, especially with larger or denser bakes. This internal temperature acts as an objective indicator, reducing reliance on visual cues alone, which can sometimes be misleading due to variations in oven calibration or pan color. Visual cues like crust color, slight pulling away from the pan edges, and a bounce when you gently press the top are helpful, but they can be affected by factors like oven hot spots or uneven heat distribution. Combining temperature readings with visual cues gives you a more comprehensive understanding of doneness. For example, a golden crust with a temperature of 200°F typically means your cake is perfectly baked—moist inside, with enough structure to hold together. Recognizing these signs prevents overbaking, which dries out baked goods, or underbaking, which leaves raw centers. The science behind this is rooted in how heat causes starch gelatinization and protein coagulation, which solidifies the structure. Mastering these cues ensures your baked goods have the right texture, appearance, and internal consistency—key to achieving consistent, professional results every time.

French Macarons for Beginners: Foolproof Recipes with 30 Shells and 30 Fillings
As an affiliate, we earn on qualifying purchases.
As an affiliate, we earn on qualifying purchases.
How to Troubleshoot Common Baking Failures in 3 Easy Steps
- Assess the signs: Is it raw, gummy, or tough? Use visuals and temperature as your guide. Recognizing these signs early allows you to adapt your baking process, such as extending baking time or adjusting oven temperature, before the damage is done. Understanding whether the issue stems from underbaking, overbaking, or ingredient imbalance is critical because each has different implications. For example, a raw center indicates insufficient heat penetration or time, while a gummy texture suggests excess moisture or incomplete setting. Being able to distinguish these signs helps you choose the right intervention—like extending baking time or lowering oven temperature—so you don’t waste ingredients or time. It also helps you avoid repeating the same mistake, leading to more consistent results over time. The implications are significant: timely recognition prevents overcorrection, which can cause other issues like dryness or uneven texture, and ensures your baked goods come out perfect more often.
- Identify the cause: Check your oven calibration, ingredient ratios, mixing method, and baking time. For example, if your cake is raw in the middle but the edges are overdone, it suggests uneven heat distribution or insufficient baking time. Understanding the root cause allows you to make targeted adjustments—like rotating the pan, adjusting oven racks, or tweaking ingredient proportions—rather than guesswork. This systematic approach minimizes trial and error, saving you time and ingredients. Recognizing that an oven running hot can cause uneven baking helps you calibrate your oven with an oven thermometer, which is a small investment with big payoffs. Knowing whether your batter is undermixed or overmixed informs your technique—less mixing for delicate baked goods, more for bread dough. This level of understanding leads to more predictable, successful outcomes, reinforcing your confidence as a baker.
- Apply the fix: Adjust oven settings, extend baking time, tweak ingredient ratios, or improve your mixing technique. For instance, lowering oven temperature and baking longer can prevent raw centers, while reducing moisture content or overmixing can improve texture. This systematic approach ensures your baked goods turn out consistently perfect, reducing frustration and increasing confidence in your baking skills. For example, if your cake is raw in the middle but looks golden on top, try lowering the oven temperature and baking longer. If brownies turn out sticky, check your moisture content and ensure you bake until they reach 200°F internally. Understanding the science behind these fixes helps you develop a more intuitive baking process, where adjustments are based on evidence rather than guesswork. This process not only improves your current bake but also helps you identify patterns and prevent future failures, leading to more reliable, professional-quality results over time.
Comparison Table: Common Causes & Fixes for Baking Problems
| Problem | Likely Cause | Fix |
|---|---|---|
| Raw in the middle | Insufficient oven heat, wrong pan size, underbaking | Preheat oven, use thermometer, extend baking time, check internal temp |
| Gummy or dense texture | Too much moisture, underbaked, overmixing | Bake until internal temp hits 200°F, avoid overmixing, adjust recipe ratios |
| Tough, overbaked edges | Oven too hot, overbaking, overmixing | Lower oven temp, tent with foil, gentle mixing |
Frequently Asked Questions
Why is my cake raw in the middle even after baking for the recommended time?
This often happens because of an oven that runs cooler than the dial or using a pan that’s too dark, which insulates the heat. Check your oven temperature with a thermometer, and consider extending baking time by 5-10 minutes. Also, insert a thermometer into the center to confirm doneness.
How can I fix brownies that come out gummy?
Gummy brownies usually mean they need more baking or your moisture content is too high. Bake until the internal temperature reaches about 200°F, and let them cool completely before cutting. This helps set the texture and prevents stickiness.
What causes my cookies to be tough or overbaked?
Overmixing dough or baking at too high a temperature can toughen cookies. Use gentle mixing, and keep an eye on them after the usual baking time. Use a thermometer to verify they reach the correct internal temperature but don’t overbake.
How do I know when my baked goods are perfectly done?
Look for a golden crust, a bounce when gently pressed, and internal temperature around 200°F for cakes. Use a toothpick for muffins and bread—insert it into the center; it should come out clean or with a few moist crumbs.
Are there tools that help diagnose baking problems?
Yes. A digital food thermometer is invaluable. An oven thermometer checks calibration. And a timer helps track accurate baking times. These simple tools turn guesswork into reliable science.