TL;DR
Greasing and lining pans correctly is key to preventing sticking. Use the right fats, tools, and materials—like parchment or silicone mats—for a smooth, mess-free baking experience.
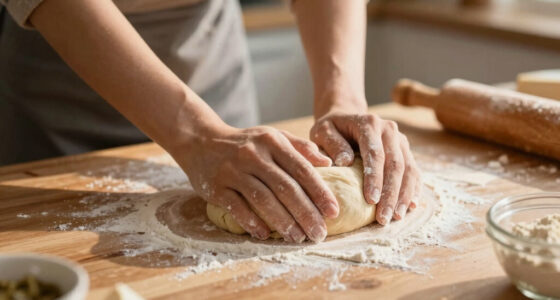
Nothing ruins a batch of freshly baked cookies or a delicate cake faster than sticking to the pan. It’s frustrating—your beautiful creation, half stuck, half falling apart when you try to remove it. But here’s the truth: with a few simple tricks, you can make sticking a problem of the past.
This guide walks you through the most effective ways to grease and line your pans so baked goods slide out clean and perfect. Whether you’re baking a dense bread, a fragile sponge, or gooey brownies, these techniques will transform your results. Ready to get your baking game flawless? Let’s dive in.
Use a thin, even layer of butter, oil, or shortening, then dust with flour or cocoa powder for most cakes and quick breads.
Line pans with parchment or silicone mats for sticky or delicate baked goods to guarantee easy release.
Avoid over-greasing—less is often more, and dusting adds an extra non-stick barrier.
Test your pan preparation techniques on small batches to perfect your process.
Combine lining and greasing for the most reliable, mess-free baking experience.
Choose the Right Grease and Lining Materials for Your Bake
The secret to non-stick baking starts with selecting the right materials. For greasing, you have options like butter, oil, shortening, or non-stick sprays. Each offers different advantages—think butter for flavor, spray for convenience.
But beyond just selecting a fat, understanding why these choices matter can help you optimize your results. For instance, butter adds rich flavor but can brown quickly and sometimes burn if not applied carefully. Oil provides a neutral, even coating and is less likely to burn, making it suitable for high-temperature baking. Shortening, with its solid fat content, creates a more stable barrier, especially in recipes requiring a tender crumb. Non-stick sprays are quick but often contain additives that might affect flavor or texture if used excessively.
For lining, options include parchment paper, silicone baking mats, aluminum foil, or wax paper. Parchment is versatile and excellent for cakes and cookies because it prevents sticking without altering the batter. Silicone mats are durable and reusable, ideal for multiple batches and reducing waste. Aluminum foil can be used in some cases but may not provide as smooth a release as parchment or silicone. Wax paper is generally not suitable for high heat. Matching your choice to the baked good and pan shape ensures a clean, easy release and minimizes waste or damage to your baked items.

PAM Non-Stick Baking Spray, 5 oz. (Pack of 2)
The information below is per-pack only
As an affiliate, we earn on qualifying purchases.
As an affiliate, we earn on qualifying purchases.
Step-by-Step: How to Grease Your Pan for Perfect Release
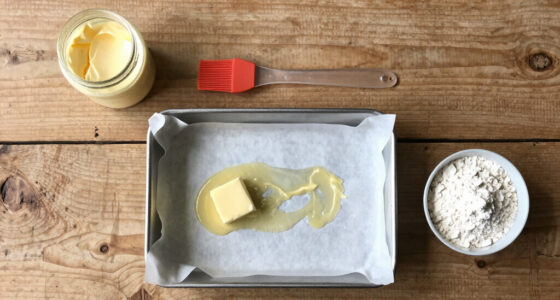
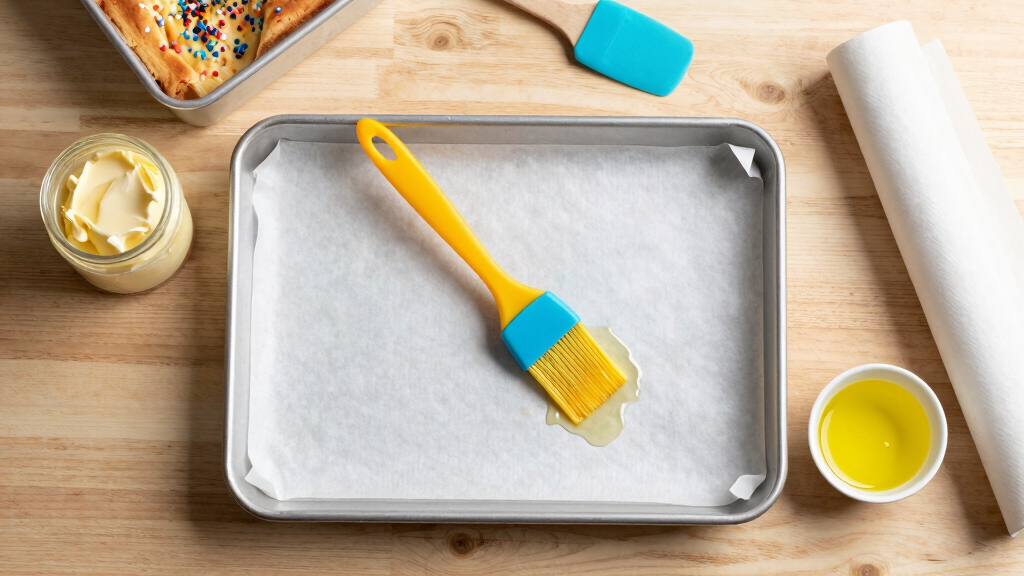
- Start with a clean, dry pan. Use a paper towel or pastry brush to spread a thin, even layer of butter, oil, or shortening across the bottom and sides. This initial step ensures the fat adheres well and forms a consistent barrier.
- If you want extra assurance against sticking, dust the greased surface with a tablespoon of flour, cocoa powder, or powdered sugar. Tilt and tap the pan to distribute evenly, then tap out the excess. This creates a fine layer that fills in any microscopic gaps, making it easier for baked goods to slide out without tearing.
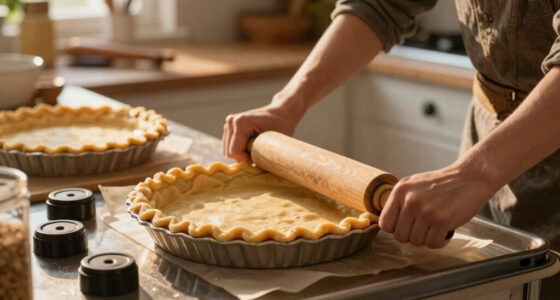
- For intricate pans like Bundt or tube pans, use a small brush or your fingers to reach all crevices. Don’t forget the edges and corners, as these are often the first places where sticking occurs. Carefully applying grease to every nook ensures uniform release.
- Allow the greased pan to sit for a minute or two. This pause allows the fat to bond with the pan surface, forming a more durable barrier that resists sticking, especially during high-temperature baking.
For example, when baking a classic pound cake, thoroughly greasing and dusting the pan with flour prevents sticking and makes flipping the cake out so much easier. Skipping or rushing this step can lead to fragile baked goods tearing or breaking during removal, which affects presentation and texture.

Amazon Basics Non-Stick Silicone Baking Mat, Food Safe, Dishwasher Safe, Heat Resistant, 16.5" x 11.6", Beige/Gray, Rectangular, 4-Pack
Baking mat (4-pack) for easy and convenient baking, roasting, or food prep
As an affiliate, we earn on qualifying purchases.
As an affiliate, we earn on qualifying purchases.
Why and How to Line Your Pans for Flawless Baked Goods
Line your pans with parchment paper or silicone mats to guarantee easy release. For cakes, cutting parchment to fit the bottom and sides, then lightly oiling or buttering the paper itself, creates a smooth surface that prevents sticking even with delicate or sticky batter. Lining also helps maintain the shape and integrity of fragile baked goods, reducing the risk of tearing or breaking during removal.
For cookies or bars, you can cut parchment to size or use a silicone mat directly on the baking sheet. These options provide a non-stick surface that simplifies cleanup and ensures consistent results across batches.
Here’s a quick tip: lightly oil the parchment or silicone mat if you’re worried about curling or sticking, especially if your batter is sticky or rich in sugar. This extra step can help keep the lining flat and secure during baking, preventing shifting that could cause uneven edges or sticking.
For instance, lining a 9-inch cake pan with parchment and then greasing it ensures the cake slides out smoothly, regardless of how delicate or sticky the batter is. Proper lining preserves the presentation and reduces the risk of damaging the baked good during removal, which is especially important for layered or decorated cakes.

Reynolds Kitchens Unbleached Parchment Paper Roll, Non Stick Parchment Paper for Cooking and Baking, Oven Safe up to 425 Degrees, Chlorine-Free, 45 Feet x 12 Inches, 45 Total Sq. Ft.
Package Includes: One (1) Reynolds Kitchens Unbleached Parchment Paper Roll measuring 45 feet long by 12 inches wide…
As an affiliate, we earn on qualifying purchases.
As an affiliate, we earn on qualifying purchases.
Comparison Table: Greasing vs. Lining — When to Use What
| Method | Best For | Pros | Cons |
|---|---|---|---|
| Greasing alone | Quick breads, muffins, some cookies | Fast, easy, minimal waste, suitable for recipes with less stickiness | Less effective for sticky or delicate items; can sometimes result in uneven release if not applied properly |
| Lining with parchment or silicone | Cakes, cookies, sticky batters, delicate baked goods | Ensures easy removal, cleaner edges, reduces tearing, especially for fragile or sticky items | Requires extra steps and materials, slightly more preparation time |

Riccle 148PCs Cake Pan Set for Baking, 3 Non-Stick Springform Pan Set (4, 7, 9 Inches), Cake Decorating Kit, Piping Bags and Tips Set, Cake Leveler, Multi-functional Leak-Proof CheeseCake Pan (148)
Complete 148 pieces Cake Baking Set for Every Baker: Riccle offers the ultimate solution for your kitchen with…
As an affiliate, we earn on qualifying purchases.
As an affiliate, we earn on qualifying purchases.
Avoid Common Mistakes That Make Things Stick
Over-greasing creates greasy textures and can cause baked goods to brown unevenly. Not lining the pan when needed leads to tears and breakage, especially for delicate items like sponge cakes or layered desserts. Forgetting to dust with flour or cocoa powder after greasing can result in a stubborn stick that’s difficult to remove, often damaging the baked good or leaving residue.
For example, skipping the flour dusting on a rich chocolate cake often results in parts of the cake sticking to the sides, making it hard to remove cleanly and potentially ruining the presentation. These mistakes are often compounded by rushing or applying too much product, which can alter the texture or appearance of your baked goods. Always test your methods on small batches to see how your specific pan reacts and adjust accordingly to avoid these pitfalls.
Quick Tips for the Perfect Non-Stick Bake Every Time
- Use a light layer of butter or spray, then dust with flour or cocoa powder for cakes. This combination creates an effective barrier that prevents sticking while maintaining a tender crumb.
- For sticky batters, line the pan with parchment before pouring. This prevents batter from adhering to the pan and simplifies cleanup.
- For high-moisture or sugary recipes, double-line with parchment or silicone to reinforce the non-stick barrier, especially in recipes prone to sticking or spreading.
- Always preheat your oven before baking to ensure the fat bonds properly with the pan surface, enhancing the non-stick effect.
- Let baked goods rest for a few minutes after baking before removing to allow steam to escape and the structure to set, reducing the risk of tearing or breaking during removal.
Frequently Asked Questions
What is the best way to grease a pan for baking?
Apply a thin, even layer of butter, oil, or shortening with a paper towel or pastry brush. For cakes, dust with flour or cocoa powder afterward to create a non-stick barrier.Should I line my baking pan every time?
Not always. For sticky, delicate, or high-moisture items like cakes or brownies, lining with parchment or silicone is highly recommended. For quick breads and muffins, greasing alone often suffices.Can I reuse parchment paper or silicone mats?
Yes. Parchment paper can often be reused if lightly soiled, and silicone mats are durable and reusable for countless batches, making them eco-friendly choices.How do I prevent parchment paper from curling or moving?
Lightly oil the pan or parchment edges, then press the parchment into the pan’s corners before pouring batter. This keeps everything in place during baking.Is it necessary to flour the pan after greasing?
For cakes and quick breads, yes. Flouring creates a barrier that helps prevent sticking and makes removal easier, especially for delicate crumb structures.Conclusion
Getting your pans perfectly prepared isn’t about luck; it’s about technique. A little effort in greasing and lining saves you time, frustration, and ruined baked goods. Your future self will thank you when everything slides out clean and perfect.
Next time you bake, remember: the right materials, proper application, and a dash of patience are your best tools. Your baked goodies deserve a flawless exit—make it happen.