
TL;DR
Blind baking is the key to crisp, non-soggy pie bottoms. Proper use of weights, liners, and timing ensures a perfect crust that holds up against moist fillings. A few simple steps make all the difference.
Ever bitten into a pie only to find a soggy, limp bottom? That frustration is common, but it’s entirely avoidable. The secret: blind baking. It’s a simple trick that guarantees a crisp, golden crust that stays firm, no matter how moist the filling.
In this guide, I’ll walk you through the exact steps, tools, and tips to nail blind baking every time. Whether you’re making a fruit tart, custard pie, or a no-bake favorite, this technique transforms your baking game and prevents soggy bottoms for good.
Always chill your dough before blind baking to prevent shrinking.
Use pie weights or alternatives like dried beans for even pressure and flat crusts.
Line the crust with parchment or foil for easy weight removal and tear-free edges.
Bake at 375°F to 425°F for 15-20 minutes or until golden brown.
Cool the crust completely before adding fillings to avoid sogginess.
The Blind Baking Trick That Ends Soggy Pie Bottoms for Good
Blind baking sets the crust before moisture gets a chance to soak in. With cold dough, a snug liner, enough weight, and the right finish bake, your pie shell becomes crisp, golden, and strong enough for custard, fruit, cream, or no-bake fillings.
Set the base before the filling arrives.
A properly weighted, pre-lined crust can cut shrinkage and sogginess by more than half because the dough stays flat, supported, and fully cooked.
The crisp crust equation
Blind baking is not just pre-baking. It is a controlled sequence that fixes the crust shape, drives off moisture, and creates a sturdy surface before wet fillings can soften the bottom.
Cold dough holds its line
Chilling firms the fat and relaxes the dough, reducing shrinkage so the shell keeps its shape in the oven.
Weights stop bubbles
Pie weights press the dough flat while steam forms, preventing domes, cracks, and uneven pockets.
Dry heat builds crunch
Removing the liner for a final bake deepens color and dries the base so it can stand up to moisture.
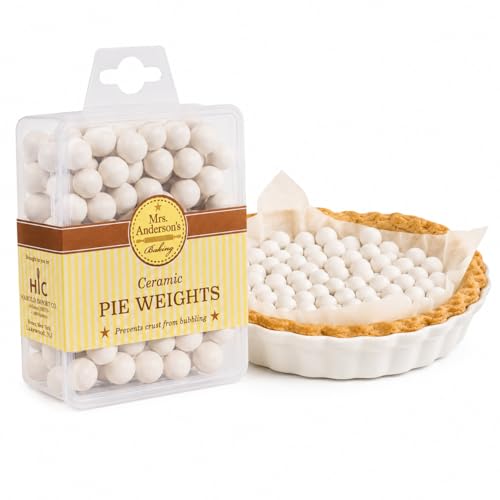
Mrs. Anderson's Baking Ceramic Pie Crust Weights, 135 Count, Natural Stoneware, For Blind Baking Pie Crusts And Tart Shells With Even Baking Results
Mrs. Anderson's Baking Ceramic Pie Crust Weights: reusable blind baking pie crust tool for empty pie and tart…
As an affiliate, we earn on qualifying purchases.
As an affiliate, we earn on qualifying purchases.
Six steps to a no-sog bottom
Use this as the repeatable route for custard pies, fruit tarts, cream pies, and no-bake fillings that need a finished shell.
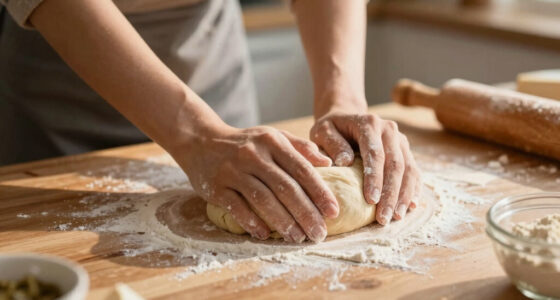
Chill the dough
Keep it cold before rolling and again after fitting into the pan.
Roll evenly
Aim for about 1/8 inch so the crust bakes at the same pace.
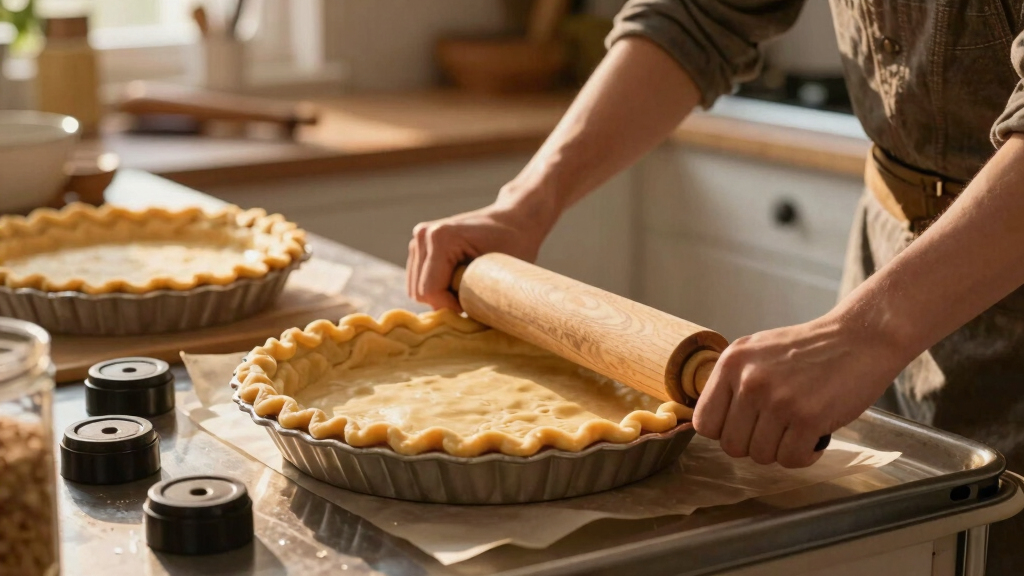
Line the shell
Press parchment or foil into the corners without tearing the dough.
Add weights
Fill enough to support the sides and flatten the bottom.
Bake weighted
Use 375°F to 425°F until edges begin turning golden.
Finish uncovered
Remove liner and bake 5-10 minutes more for deeper crispness.
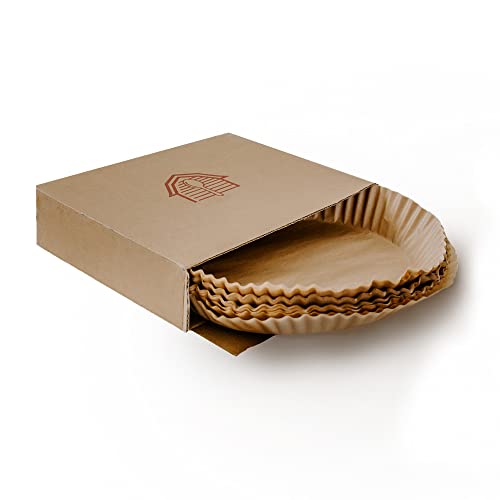
BakeBarn Parchment Paper for Pie Weights and Pans, Plastic Free Packaging, Pre Formed fit 8,9,10 Inch Dish, Natural Unbleached Food Grade Non-Stick Liners, High Heat Safe, Designed in USA, 50 Sheets
BLIND BAKE: Fine, bleach free parchment paper fits 8, 9, and 10 inch pie crusts. Easy to use,…
As an affiliate, we earn on qualifying purchases.
As an affiliate, we earn on qualifying purchases.
Where the crispness comes from
The best setup combines steady pressure, easy release, and enough heat to cook the bottom before filling goes in.
The working heat zone
Most pie shells blind bake between 375°F and 425°F. Lower heat gives control; higher heat creates faster browning and a more assertive crisp.

FurRain Ceramic Pie Weights Reusable 10mm Baking Beans Pie Crust Weights Natural Ceramic Stoneware with Wheat Straw Container
[ Good choice for the party catering and home baking ] Blind Bake Pie Crust for banana cream…
As an affiliate, we earn on qualifying purchases.
As an affiliate, we earn on qualifying purchases.
Traditional vs. modern blind baking
Both methods can work beautifully. Modern tools improve reuse and precision, while pantry substitutes keep the technique accessible.
| Feature | Traditional Method | Modern Method | Best Use | Risk Control |
|---|---|---|---|---|
| Weights | Dried beans or rice | Ceramic or metal pie weights | ✓ Flat shells | ✓ Even pressure |
| Liner | Foil or parchment | Reusable silicone or parchment | ✓ Clean removal | ~ Edge care |
| Temperature | 375°F to 425°F | Same range, sometimes staged | ✓ Crisp bottom | ~ Watch browning |
| Pre-bake time | 15-20 minutes | Partial or full bake options | ✓ Flexible fillings | ✓ Better control |
| Common miss | Too few weights | Skipping full cool-down | ✗ Soggy risk | ~ Fixable |

BakeBarn Pie Armor, Universal Fit Pie Weight for 7-10 inch Pies, Durable Alternative to Traditional Ceramic Pie Weights, 100% Stainless Steel 304
Protect Your Pies: Pie Armor’s 100% stainless steel 304 mesh prevents shrinking and bubbling, ensuring a perfectly blind-baked…
As an affiliate, we earn on qualifying purchases.
As an affiliate, we earn on qualifying purchases.
When the bottom still goes soft
Sogginess usually points to one of four issues: the crust was under-baked, unsupported, filled too warm, or exposed to extra-wet filling without a barrier.
The shell puffed or shrank
Chill longer, dock lightly, line snugly, and use enough weights to press into the corners and support the sides.
The base stayed pale
Remove the liner and return the crust to the oven for 5-10 minutes so the bottom dries and turns golden.
The filling made it limp
Cool the crust completely before filling, then add a thin egg wash or melted chocolate layer for a moisture shield.
The fruit released too much juice
Thicken fruit fillings properly, avoid overfilling, and choose a full blind bake for especially wet or no-bake pies.
What is blind baking — and why does it matter?
Blind baking is pre-baking your pie crust before adding the filling. Think of it as setting a sturdy base, so the bottom doesn’t turn soggy when moisture from the filling seeps in. It’s especially vital for recipes like custard pies, fruit tarts, or cream pies, where moisture can turn your crust into a soggy mess.
Why does this matter? Because a soggy crust not only ruins the texture but also compromises the overall presentation of your dessert. When the crust remains crisp, it provides a satisfying crunch and a sturdy foundation that holds up against the filling’s moisture. Skipping this step often results in a crust that becomes limp and unappetizing, diminishing the quality of your final pie. The tradeoff is that blind baking adds a little extra time and effort, but the payoff in texture and appearance is well worth it.
The exact steps to blind bake a perfect crust every time
- Chill your dough. Keeping the dough cold minimizes gluten development and makes it easier to handle, which reduces shrinkage during baking. This leads to a more even, stable crust that retains its shape.
- Roll out evenly. Aim for a uniform thickness of about 1/8 inch. An even crust ensures consistent baking and prevents thinner areas from burning or thicker areas from undercooking, both of which can affect the final texture.
- Line the crust. Use parchment paper or aluminum foil to cover the dough, pressing gently into edges. Proper lining supports the crust and prevents it from puffing up or tearing when weights are added, which is crucial for a smooth, flat base.
- Add weights. Fill with pie weights, dried beans, or rice to hold the crust down and prevent bubbles. Weights counteract the natural tendency of the dough to puff or shrink, ensuring a flat, even surface that’s ready for fillings.
- Bake at the right temp. Usually 375°F to 425°F for 15-20 minutes, until the edges are golden. This temperature range promotes a golden, crisp crust without burning or under-baking, balancing heat for optimal texture.
- Remove weights and liners. Carefully lift out the weights and paper, then return the crust to the oven for 5-10 minutes if you want a deeper golden color. This final step enhances the crust’s color and crispness, making it more durable against moist fillings.
This precise process creates a sturdy, crisp base that’s ready for your filling without turning soggy. Each step influences the final texture and appearance, so understanding why each is important helps you make informed decisions for different recipes.
The best tools and tricks to make blind baking foolproof
- Pie weights or alternatives: Use ceramic weights for even heat conduction, or dried beans and rice as budget-friendly options. The choice of weights affects how evenly heat is distributed, which impacts the crust’s flatness and prevents puffiness or bubbles. Reusing weights also reduces waste and cost over time.
- Parchment or foil liners: Easy to remove and prevents crust tearing when lifting out weights. Proper lining supports the dough during baking, reducing the risk of cracks and ensuring a smooth surface.
- Chill the crust before baking: Cold dough resists shrinking and warping, maintaining the intended shape and size. This step is especially important if you’re working with warm or room-temperature dough, which can become more elastic and prone to movement during baking.
- Preheat your oven: Ensures even baking from the start, preventing hot spots that can cause uneven browning or underbaking of certain areas.
- Use a baking stone or heavy baking sheet: Promotes uniform heat transfer, which is crucial for a consistently crisp crust. The extra mass stabilizes oven temperature and helps achieve a professional-quality finish.
For example, I once used dried chickpeas as weights, and the crust stayed perfectly flat and crisp without any cracking or shrinkage. Choosing the right tools and techniques minimizes trial and error, saving you time and frustration while elevating your baking results.
Comparison: Traditional vs. Modern Blind Baking Techniques
| Feature | Traditional Method | Modern Method |
|---|---|---|
| Weights | Dried beans or rice | Ceramic or metal pie weights |
| Line Liners | Aluminum foil or parchment paper | Reusable silicone liners or parchment |
| Temperature | 375°F to 425°F | Same, but with gradual temperature increases |
| Pre-bake time | 15-20 minutes | 15-20 minutes, with options for partial or full bake |
| Additional tips | Chill crust, dock with fork | Chill, dock, preheat oven, use weights |
Modern techniques focus on reusability and precision, but both methods can yield great results when done correctly. The key is understanding how each approach influences heat distribution, crust structure, and ease of use, allowing you to choose based on your priorities and equipment availability.
Troubleshooting: Why your crust still turns soggy — and how to fix it
If your crust still ends up soggy, something’s off. Common culprits include under-baking, not using enough weight, or adding filling too soon. Sometimes, moisture from fruit or custard can seep through even a well-baked crust, especially if the crust isn’t cooled properly or if the filling is overly moist. The implications are that your pie will lack the desirable crunch, and the crust might become limp quickly, affecting presentation and mouthfeel. Recognizing these factors helps you address the root causes rather than just the symptoms.
Solution tips:
- Bake longer or at a slightly higher temperature for a crisper crust, but monitor carefully to prevent over-browning.
- Use enough weights and line liners properly to maintain flatness and prevent puffing or blistering.
- Let the crust cool completely before filling to eliminate residual heat and moisture that can cause sogginess.
- Brush a thin layer of melted chocolate or egg wash before blind baking to create a moisture-resistant barrier, which can significantly prolong crispness.
For example, I learned the hard way that skipping the cooling step leaves residual moisture, turning my crust soggy within minutes of adding filling. Understanding the tradeoffs—like how extra baking time can improve crispness but risks burning—helps you adapt techniques to different recipes and preferences.
Can’t resist moist fillings? Here’s how to keep your crust crispy
Moist fillings like fruit preserves or custard can threaten your crust’s crispness. The trick: blind bake thoroughly, then add a moisture barrier. Applying a thin layer of melted chocolate or egg wash before blind baking creates a shield against moisture seeping in, which is essential for maintaining crunch. This barrier acts like a protective armor, preventing the filling’s juices or steam from softening the crust prematurely. Additionally, pre-cooking high-moisture fillings or draining excess juices reduces the amount of moisture that reaches the crust, giving it a fighting chance to remain crispy. For instance, draining canned cherries before using them in tart fillings minimizes excess liquid, significantly improving the crust’s resilience against sogginess. Recognizing the tradeoff—adding steps that slightly lengthen prep time but yield a better texture—is key to mastering this technique.
Quick tips to perfect your blind baking every time
- Use chilled dough and cold ingredients. Less shrinkage and cracking help maintain the intended shape and size, which is crucial for a professional-looking crust.
- Line your crust with parchment and fill with weights. Proper lining supports the dough and prevents bubbles or warping, ensuring a flat, even surface.
- Bake at high enough temperature. 375°F to 425°F promotes a crisp, golden crust by encouraging Maillard reactions and moisture evaporation.
- Remove weights and liners halfway through. For even browning and to prevent over-baking the edges, which can lead to a tough crust.
- Cool completely before filling. This step is critical; residual heat and moisture can soften the crust rapidly, defeating the purpose of blind baking. Patience here results in a crust that stays crisp and firm during storage and serving.
Frequently Asked Questions
Why does my pie crust turn soggy even after blind baking?
Common reasons include under-baking, not using enough weights, or adding filling before the crust cools. Ensuring a full 15-20 minutes at the right temperature and cooling before filling can fix this.How do I prevent my crust from shrinking during blind baking?
Chill your dough thoroughly before rolling, and keep it cold until it goes into the oven. Using pie weights helps hold the shape and prevents shrinkage.Can I blind bake without pie weights?
Yes, dried beans, rice, or sugar can substitute for weights. Just ensure the crust is evenly weighted to avoid puffing or bubbling.How long should I blind bake my crust?
Typically 15-20 minutes for a partially baked crust, or 20-25 minutes for a fully baked, golden crust. Adjust based on your recipe and oven.What’s the best temperature for blind baking?
Most recipes call for 375°F to 425°F. Baking at the higher end ensures crispness, especially for thicker or richer crusts.Conclusion
Mastering the art of blind baking turns your soggy-bottomed pies into crisp, flaky delights. It’s a simple step that makes a huge difference. Next time you bake, give your crust the pre-bake treatment — your taste buds will thank you.
Imagine biting into a perfectly crisp pie, the crust crunching just right beneath your fork. That’s the magic of a well-executed blind bake. Why settle for soggy when crisp is just a few extra minutes away?