
TL;DR
The windowpane test is a quick, 10-second check to see if your dough has enough gluten. When the dough stretches thin and translucent without tearing, it’s ready for the next step, leading to better rise and crumb. This simple visual cue can prevent under- or over-kneading, saving your bread from common flaws.
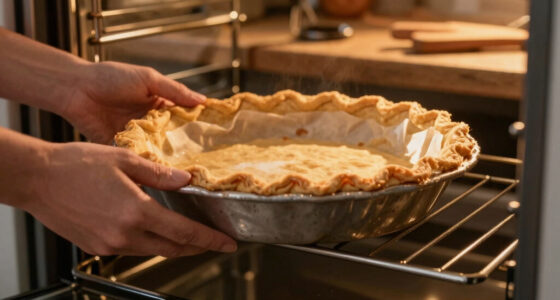
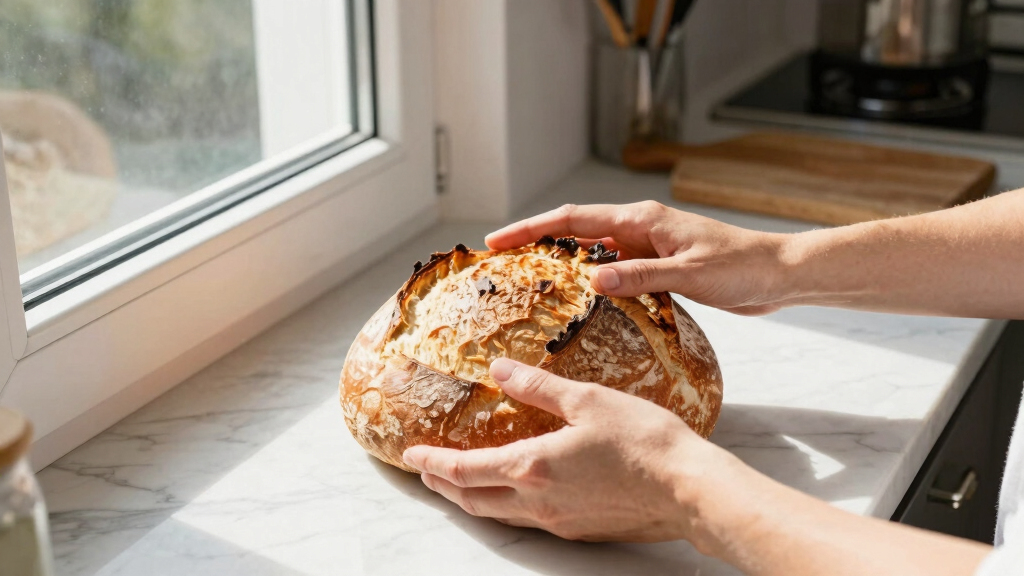
Imagine pulling a perfectly risen loaf from the oven, its crust crackling, crumb soft yet chewy. Achieving that starts long before baking—right in your mixing bowl. The secret? A quick, 10-second check called the windowpane test.
It’s a simple way to see if your dough has been kneaded enough to develop the gluten network that traps gases and gives bread its lift and texture. Skip it, and you risk bread that’s dense, gummy, or flat. Master this test, and you gain a reliable signal that your dough is on the right track—saving time, ingredients, and frustration.
The windowpane test is a quick, visual way to confirm gluten development in wheat doughs.
Stretch a small piece of dough into a thin, translucent sheet—if it passes, your dough is ready for proofing.
Perform the test after kneading but before the first rise to catch under- or over-kneading early.
Combine the windowpane test with other cues like dough elasticity and appearance for best results.
Practicing the test helps you develop an intuitive feel for perfect dough, improving your bread every time.
The Windowpane Test: The 10-Second Check That Saves Your Bread
Stretch a small piece of kneaded dough until it turns thin and translucent. If it holds without tearing, the gluten network is strong enough to trap fermentation gases, build volume, and create that soft, chewy crumb.
“If light passes through, your loaf has a fighting chance.”
Visual cue over guessworkWhy the windowpane matters
The test shows whether gluten has formed a stretchy network. That network holds fermentation gases, supports oven spring, and gives bread its structure. Too little development means weak dough; too much can make it tight and tough.
Structure you can see
A thin membrane means proteins have linked into a flexible web that can stretch instead of snap.
Gas stays trapped
Developed dough captures carbon dioxide during fermentation, helping the loaf rise higher and more evenly.
Better bite inside
Balanced gluten creates a crumb that is light, elastic, and chewy instead of dense, gummy, or flat.

"SAINT GERMAIN Premium Hand Crafted Bread Lame for Dough Scoring Knife, Lame Bread Tool for Sourdough Bread Slashing with 10 Blades Included with Replacement with Authentic Leather Protector Cover"
PREMIUM QUALITY: Premium hand crafted wood handle with stainless steel stick to attach replaceable blades. Built to last.
As an affiliate, we earn on qualifying purchases.
As an affiliate, we earn on qualifying purchases.
How to do it in three moves
Perform the check after kneading and before the first rise. It only takes a small sample, so the full batch stays intact while you diagnose readiness.
Take a small piece
Use a golf-ball-sized sample so you can test without disturbing the dough mass.
Work from center out
Gently pull with your fingers, easing the dough into a thin, even sheet.
Look for translucence
If it becomes see-through without holes or tears, move confidently to proofing.
dough windowpane test kit
As an affiliate, we earn on qualifying purchases.
As an affiliate, we earn on qualifying purchases.
Signals, risks, and fixes
Use the windowpane test as a fast diagnostic. When the dough fails, the remedy depends on how it feels: slack and tearing usually needs more development; tight and resistant usually needs rest.
The gluten sweet spot
Aim for dough that stretches thin, resists lightly, and stays intact. If it tears quickly, knead or rest. If it fights back hard, rest before retesting.
"SAINT GERMAIN Premium Hand Crafted Bread Lame for Dough Scoring Knife, Lame Bread Tool for Sourdough Bread Slashing with 10 Blades Included with Replacement with Authentic Leather Protector Cover"
PREMIUM QUALITY: Premium hand crafted wood handle with stainless steel stick to attach replaceable blades. Built to last.
As an affiliate, we earn on qualifying purchases.
As an affiliate, we earn on qualifying purchases.
Read the dough like a baker
The windowpane test works best when paired with touch, appearance, and timing. Here is how to interpret the most common outcomes before proofing.
| Result | What you see | Likely cause | Next move | Bread risk |
|---|---|---|---|---|
| ✓ Pass | Thin translucent sheet, no holes | Good gluten development | Begin first proof | Better rise and open crumb |
| ✗ Tears fast | Breaks before thinning | Under-kneaded or under-rested | Knead more or rest 10-15 min | Dense, flat, weak structure |
| ~ Opaque sheet | Stretches but stays thick | Gluten not fully organized | Rest briefly, then retest | Uneven crumb and lower lift |
| ✗ Very tight | Resists stretching and snaps back | Overworked or tense dough | Stop kneading and let it relax | Tough crust, chewy crumb |
Astercook Sourdough Starter Kit with Round & Oval Banneton Bread Proofing Basket, Starter Jar, Dough Whisk, Scrapers, Stencils, Complete Sourdough Bread Baking Supplies, Fathers Day Gift for Men
【All in One Sourdough Starter Kit】 Unlike basic sourdough proofing basket sets, this complete kit includes everything. You…
As an affiliate, we earn on qualifying purchases.
As an affiliate, we earn on qualifying purchases.
When to use it and when to skip it
The test is most useful for yeast breads, sourdoughs, and enriched wheat doughs. It is not the right signal for quick breads or gluten-free formulas, where hydration and batter texture matter more.
Wheat doughs with structure
Bread flour loaves, sourdough, rolls, pizza dough, and enriched doughs benefit from checking gluten strength before the first rise.
Batters and gluten-free bread
Banana bread, muffins, and gluten-free formulas do not form the same elastic membrane, so judge them by recipe-specific texture cues.
What if it tears but looks smooth?
Rest for 10-15 minutes, then test again. Smoothness alone does not prove the gluten network can stretch.
Is time enough?
No. Kneading times vary by flour, hydration, and method. The membrane is the better signal.
The bread-saving chain
A simple visual check connects the entire loaf journey, from mixing bowl to crackling crust.
What Is the Windowpane Test and Why Does It Matter?
The windowpane test is a quick way to assess gluten development in wheat-based doughs. It involves stretching a small piece of dough into a thin, translucent sheet that resembles a windowpane.
If the dough stretches without tearing, it indicates a strong gluten network—crucial for trapping gases during fermentation. This means your bread will rise well, with a light, open crumb. Proper gluten development also contributes to the dough’s elasticity, resilience, and ability to hold its shape during proofing and baking.
Understanding why gluten matters is key: gluten proteins form a network that provides structure and stretchability. Without enough gluten, dough can be sticky, weak, or prone to tearing, which leads to dense or flat bread. Conversely, over-kneading can make gluten too tight, resulting in a tough, chewy crust and a less tender crumb. The windowpane test helps you find that perfect balance—ensuring your dough is neither under- nor over-processed for optimal baking results.
How to Do the Windowpane Test in 3 Easy Steps
- Pinch off a small piece of your dough, about the size of a golf ball. This small sample allows you to test without disturbing the entire batch.
- Gently stretch it with your fingers, working from the center outward. The goal is to create a thin, almost transparent sheet without tearing. This process mimics how gluten’s elasticity allows the dough to stretch without breaking, which is crucial for a good rise.
- Hold it up to the light—if you see through it without tears or holes, it’s ready. If it tears easily or appears opaque, it indicates that the gluten network isn’t fully developed, and more kneading or resting is needed.
This test takes no more than 10 seconds but provides invaluable insight into the dough’s readiness. It prevents over- or under-kneading, both of which can compromise the final bread’s texture and volume.
When and Why You Should Perform the Windowpane Test
The best time to do the windowpane test is right after kneading, before your first proof. This timing is critical because it assesses whether the gluten network is sufficiently developed to trap gases during fermentation, which directly impacts bread rise and crumb structure.
Performing this check early helps you identify if you’ve kneaded enough—if the dough passes, you can proceed confidently to proofing. If it fails, you can knead a bit more or give the dough additional resting time. This proactive step prevents common issues like dense, flat bread or a tough crust caused by over-kneading.
For example, with sourdough, the dough’s elasticity can be a good indicator of readiness. If it feels firm but resilient, a quick windowpane test confirms whether the gluten is ready for fermentation. Timing this check appropriately ensures consistent results and saves you from troubleshooting failed loaves later in the process.
Common Problems and How the Windowpane Test Helps You Fix Them
If your dough tears easily during the test, it’s a sign it needs more kneading or resting. This indicates that the gluten network isn’t yet sufficiently developed to handle the stretching required for a good rise. Resting the dough allows gluten strands to relax and strengthen, improving elasticity.
Overworked dough, on the other hand, might become too tight, making it difficult to stretch into a thin sheet without tearing. This often results from excessive kneading, which can lead to a dense crumb and a tough crust. Recognizing these signs early with the windowpane test helps you avoid over-processing the dough, which can be hard to correct after baking.
For example, if your bread isn’t rising as expected, perform the test: passing dough suggests the issue may be with fermentation conditions like temperature or yeast activity, not gluten development. Failing the test indicates you should knead longer or rest the dough longer. Using this diagnostic tool early allows you to adjust your process before baking, saving time and reducing waste.
Frequently Asked Questions
Can I perform the windowpane test on all types of bread dough?
It works best with wheat-based, gluten-containing doughs like bread and sourdough. For gluten-free bread, focus on dough texture, hydration, and appearance instead.How do I know when my dough is over-kneaded using this test?
Over-kneaded dough becomes too tight and elastic, making it difficult to stretch into a thin sheet without tearing. It may also feel stiff and resist shaping. Over-kneading can lead to a dense, chewy crumb and a tough crust, so recognizing the signs early is crucial to avoid these issues.What if my dough tears during the test but still looks good overall?
Tearing indicates insufficient gluten development. Rest the dough for 10-15 minutes and try again. Sometimes, gentle re-kneading can help rebuild elasticity, but if tearing persists, it’s best to knead longer before proceeding.Is the windowpane test necessary for every bread recipe?
Not for quick breads or recipes without gluten structure, such as banana bread or muffins. However, for traditional yeast breads, especially sourdoughs and enriched loaves, it’s a valuable step that can significantly improve your results by ensuring proper gluten development.How long does it take to develop enough gluten for the windowpane test?
Kneading times vary depending on the dough and method, but generally 8-12 minutes of kneading is typical for wheat-based doughs. The key is to use the test as a guide—look for a thin, elastic, translucent sheet rather than relying solely on time. Proper gluten development is a balance: too little kneading results in poor rise, while over-kneading can make the dough tough.Conclusion
Think of the windowpane test as your dough’s health check-up—simple, fast, and telling. When your dough passes, you’re almost guaranteed a loaf with a light crumb and good rise. When it doesn’t, a few more minutes of kneading or resting can save hours of disappointment.
Next time you’re kneading bread, take that 10 seconds. Your bread will thank you for it.