
TL;DR
A flaky pie crust that shatters on impact relies on cold ingredients, gentle handling, and proper baking temperature. Resting the dough and using specific fats help create distinct, crispy layers that break apart easily.
Nothing beats the crisp, delicate snap of a perfectly flaky pie crust. It’s the difference between a good pie and an unforgettable one. But achieving that shatteringly crisp texture takes more than just tossing ingredients together.
Today, I’ll walk you through straightforward techniques to craft a crust that doesn’t just taste good — it shatters with every bite. Whether you’re making a classic apple or a savory quiche, these tips will transform your baking game. Ready to elevate your crusts? Let’s get started.
Keep all ingredients cold until mixing to preserve flakiness.
Handle dough gently, avoid overworking to prevent tough crusts.
Chill the dough at least 30 minutes before rolling to relax gluten and solidify fats.
Use high oven temperatures (375-425°F) for a crispy, shattering crust.
Incorporate small butter pockets during mixing for visible, flaky layers.
Why Cold Ingredients Are the Secret to Flaky Layers
Cold ingredients are the backbone of a flaky pie crust. When butter, water, or fats stay chilled, they don’t melt into the flour right away. Instead, they form pockets that turn into flaky layers during baking.
For example, using butter straight from the fridge, cut into small cubes, ensures each piece stays solid until it hits the oven. As the crust bakes, the butter melts, creating steam that lifts the layers apart.
One trick? Keep your butter and water in the fridge until you’re ready to mix. It’s a simple step that makes a big difference in texture.
Beyond just maintaining coldness, the reason this matters is because the melting of butter during baking creates steam that separates the layers. If the ingredients are warm, the butter melts prematurely, resulting in a dense, less flaky crust. This also impacts the overall texture, making the crust less tender and more brittle. Therefore, ensuring ingredients stay cold helps control the melting process, producing those perfect, distinct layers that shatter beautifully.

ALLTOP Pastry Shortening Blender Cutter,Stainless Steel Dough Masher for Butter, Biscuit,Baking, Kneading,Dough, Flakier and Fluffier Pie Crusts, Almond – Hand Kitchen Tool (1, Black)
- Durable Metal Blades: High-quality, long-lasting blades
- Enhanced Baking Results: Creates flakier, fluffier baked goods
- Versatile Kitchen Tool: Ideal for butter, dough, and pastry mixing
As an affiliate, we earn on qualifying purchases.
As an affiliate, we earn on qualifying purchases.
How to Cut Butter into Flour for Perfect Flakiness
- Start with very cold, unsalted butter, cut into small cubes.
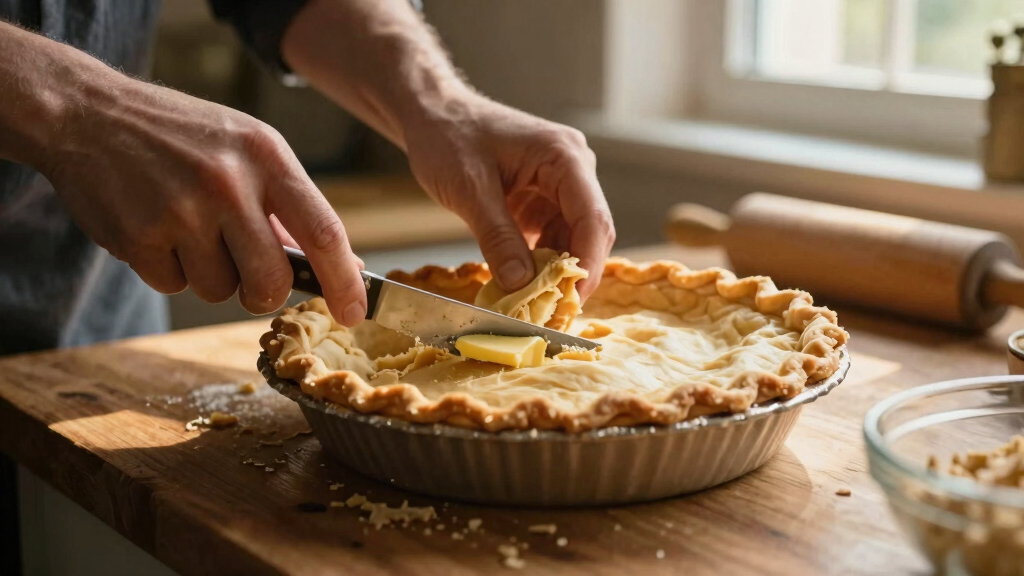
- Use a pastry cutter, fork, or your fingers to quickly cut the butter into the flour until the mixture resembles coarse crumbs with pea-sized pieces of butter visible.
- Aim to keep some larger chunks intact — those pockets of butter will create the layers.
- Mix in just enough ice water to bring the dough together—avoid overmixing.
This process creates tiny butter pockets that melt during baking, resulting in that delightful shatter. The key to understanding why this works lies in the balance between size and distribution of the butter pieces. If the butter is too small or evenly blended, you’ll get a more uniform, less flaky crust. Larger chunks, however, create distinct layers because they melt at different rates, releasing steam that pushes apart the dough layers. Overmixing, on the other hand, develops gluten, which can toughen the crust and diminish its flakiness. Therefore, the technique of cutting in butter to specific sizes and limiting water is about controlling the texture and layering, which directly influences the final shattering effect.

Pastry Cutter Tool – Heavy Duty Stainless Steel Pastry Blender, Comfortable Handle, Dishwasher Safe, Perfect Flaky Pie Crust & Biscuits – Turquoise
- Perfect Flaky Pie Crust: Effortlessly blend butter into flour
- Comfortable Non-Slip Handle: Provides a firm grip for easy use
- Durable Stainless Steel Blades: Serrated edges for versatile baking tasks
As an affiliate, we earn on qualifying purchases.
As an affiliate, we earn on qualifying purchases.
The Power of Minimal Handling and Resting
Handling your dough too much develops gluten, which toughens the crust. To keep it flaky, mix just until the dough comes together, then shape it into a disk and wrap tightly.
Chill the dough for at least 30 minutes. This resting period relaxes the gluten and solidifies the fats, making rolling easier and enhancing flakiness.
Imagine a baker gently pressing the dough into a pie dish — that tenderness translates into crisp layers that break apart beautifully.
Resting the dough is crucial because it allows the gluten strands, which develop during mixing, to relax. If you skip this step, the gluten can become elastic and cause the crust to shrink or toughen when baked. Additionally, chilling solidifies the fats within the dough, preventing them from melting too quickly during baking. This controlled melting creates steam at the right moments, forming the flaky layers that shatter on impact. The tradeoff here is timing: longer resting can improve flakiness but may require planning ahead. Overall, gentle handling combined with adequate resting ensures the dough maintains a tender, layered structure that results in a crisp, breakable crust.

Hotloop Digital Oven Thermometer Heat Resistant up to 572°F/300°C, LCD
- Easy-to-Read LCD Display: Shows actual oven temperature clearly
- High Temperature Accuracy: Measures 32~572°F with ±1.8°F precision
- Simple to Use: Probe fits through oven door or grill lid
As an affiliate, we earn on qualifying purchases.
As an affiliate, we earn on qualifying purchases.
Baking at the Right Temperature for Flaky Layers
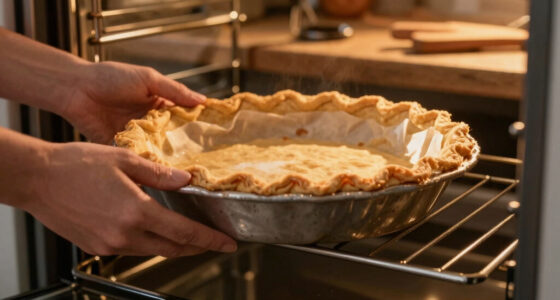
Baking your pie at 375-425°F is key. A hot oven causes the butter to melt rapidly, creating steam that lifts the layers apart. This quick “steam explosion” is what gives you that flaky, shattering texture.
For example, preheat your oven thoroughly — no peeking or turning the heat down mid-bake. This ensures the crust bakes evenly and crisps just right.
Remember, placing your pie on the lower rack can help develop a golden, crispy bottom crust.
It’s important to note that baking at too high a temperature can risk burning the crust before the layers have fully formed, while too low can result in a soggy or dense texture. The specified range balances rapid butter melting with enough time for steam to form and escape, creating those characteristic layers. Consistent oven temperature and proper preheating are essential because uneven heat can cause uneven layer formation, reducing the overall flaky quality. The tradeoff is between achieving a crisp exterior and ensuring the interior is thoroughly baked, so maintaining the right temperature ensures the layers develop fully and shatter perfectly.
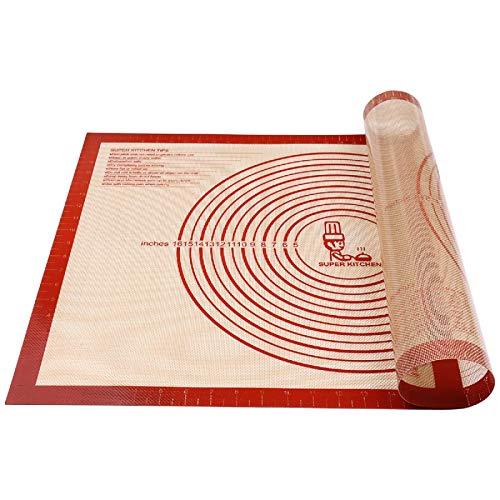
Non-slip Silicone Pastry Mat Extra Large Measurements 28''x 20'' Baking Mat
- Premium Food Grade Silicone: Safe and non-toxic material
- Non-Stick Surface: Easy to clean and use
- Extra Large Size: 28''x 20'' baking mat
As an affiliate, we earn on qualifying purchases.
As an affiliate, we earn on qualifying purchases.
Recent Tips to Boost Flakiness and Texture
Experimenting with different flours can make a difference. Pastry flour or a mix of all-purpose and cake flour yields a softer, more tender crust with better layers.
Adding a teaspoon of vinegar or lemon juice can tenderize the dough, making it easier to handle and less tough.
Some bakers fold and layer dough like laminated pastry, building extra flaky layers. Using a food processor speeds up the process and results in more even distribution of fat.
When experimenting with flours, it’s about finding the right balance between tenderness and structure. Pastry or cake flour contains less protein, which reduces gluten formation and leads to a more tender, flaky crust. Mixing flours can enhance this effect while maintaining strength. Adding a small amount of acid like vinegar or lemon juice helps break down gluten formation, making the dough more pliable and less likely to toughen. Techniques like lamination or folding can create multiple thin layers, similar to puff pastry, but they require careful handling and extra steps. Using a food processor can streamline the process, but overprocessing can warm the fats, reducing flakiness. The key is understanding how each tweak influences the dough’s ability to form distinct, delicate layers that shatter beautifully upon baking.
Key Facts That Make or Break Your Flaky Pie Crust
The ideal flaky crust has visible, delicate layers that shatter easily. Overworking or warming the dough causes the fat to melt prematurely, resulting in a dense, tough crust. Resting the dough is just as vital as the ingredients.
Using cold fats and minimal mixing preserves those precious layers. Remember: a quick bake at high heat is your best friend for that perfect crunch.
Understanding the science behind these facts is essential because it highlights the importance of controlling temperature and handling. Overworking the dough or letting fats warm up during mixing destroys the integrity of the layers, leading to a less flaky, more compact crust. Resting allows the gluten to relax and the fats to solidify, which is crucial for maintaining the layers’ separation. High-temperature baking ensures rapid steam generation that lifts and separates these layers. Tradeoffs include the risk of overbaking or burning if temperatures are too high, but when managed correctly, these facts guide you toward a crust that shatters with a satisfying crunch, showcasing the layered perfection of good pastry technique.
Your Top Questions About Flaky Pie Crust — Answered
- Why is my pie crust not flaky enough? Overworking dough, using warm ingredients, or skipping chilling steps can flatten those layers. Keep ingredients cold and handle dough gently.
- How can I prevent my crust from shrinking? Chill your dough thoroughly, don’t stretch it, and handle it with care when fitting into the pan.
- Can I make flaky crust gluten-free? Yes, with specific gluten-free flours and techniques, like adding xanthan gum or using a mix designed for pastries.
- What fat works best for flakiness? Cold unsalted butter remains the gold standard, but a mix of butter and shortening can boost layers.
- How do I get a shiny, golden crust? Brush with an egg wash before baking for that beautiful, glossy finish.
Conclusion
Mastering a flaky pie crust that shatters just right is about respecting the basics: cold ingredients, gentle handling, and the right bake. When you get these steps right, each bite becomes a delightful crunch—crisp, tender, and perfectly layered.
Next time you bake a pie, remember: the secret’s in the layering, not just the ingredients. A crust that breaks apart with a satisfying crack is within your reach. Go ahead—get flaky.