
TL;DR
Browning butter without burning it requires keeping the heat moderate, stirring constantly, and watching for color and smell cues. It’s a quick process—usually 3 to 5 minutes—that transforms butter into a rich, nutty flavor enhancer with careful attention.
Imagine the rich, nutty aroma filling your kitchen—your butter perfectly browned, not burnt. It’s a small step but makes a huge difference in flavor, whether you’re finishing a sauce or upgrading your baked goods. Yet, many struggle because browning butter involves a delicate dance of heat and timing.
In this guide, you’ll learn how to keep that butter from going from golden to black. We’ll cover the essential techniques, practical tips, and recent innovations that make browning butter foolproof. Ready to elevate your cooking with this simple, flavorful trick? Let’s get started.
Always use a light-colored, heavy-bottomed skillet for clear visual cues and even heat distribution.
Keep the heat at medium or medium-low—high heat is the fastest way to burn butter.
Constant stirring and attentive observation are your best friends to avoid burning.
Look for a golden to amber color and nutty aroma as signs of perfect browning.
Remove the butter from heat immediately once it reaches the right color to stop the cooking process.
What Makes Butter Turn Brown and How to Spot It
Browned butter isn’t just about melting butter; it’s about the Maillard reaction—where milk solids caramelize, giving that irresistible nutty aroma. This process is a chemical transformation that significantly impacts flavor development. The Maillard reaction occurs when heat causes amino acids and sugars in milk solids to react, creating complex flavor compounds and browning pigments. Recognizing this process is crucial because it signals that your butter is reaching that perfect flavor point—beyond which it risks turning bitter or burnt.
The key? Watching for color changes and smelling for that toasted scent. A perfect browned butter has a deep golden hue and a rich, fragrant aroma. These visual and aromatic cues are the result of controlled Maillard reactions, which are sensitive to temperature and time. If the reaction proceeds too quickly or at too high a temperature, you risk burning the milk solids, leading to bitter flavors and undesirable dark spots. Conversely, if you don’t allow enough time or heat, you won’t develop the full depth of flavor. Understanding these cues helps you balance the reaction for optimal flavor without crossing into burning territory.
For example, when you melt butter in a light-colored skillet, it starts to foam. After about 2-3 minutes, the foam subsides, and the butter begins to turn a warm amber. If you notice a darkening to deep brown or black, or smell bitterness, that’s a sign it’s gone too far. This delicate progression underscores why attentive observation and understanding the science behind browning are so important—your goal is to harness the Maillard reaction’s flavor potential without letting it tip into bitterness or burnt notes.
heavy-bottomed light-colored skillet
As an affiliate, we earn on qualifying purchases.
As an affiliate, we earn on qualifying purchases.
How to Control Temperature and Stirring for Perfect Browning
The biggest mistake? Using high heat. Butter can go from perfect to burnt in seconds at high temps. When you use high heat, the milk solids on the surface of the butter can quickly scorch, creating bitter flavors and dark spots that are difficult to reverse. This is because higher temperatures accelerate Maillard reactions unevenly, leading to localized burning rather than a uniform, rich brown. Instead, setting your stove to medium or medium-low—think a gentle simmer—provides enough heat to promote even caramelization without risking scorching. This controlled environment allows the milk solids to caramelize gradually, developing complex flavors while minimizing the risk of burning.
Stir constantly with a silicone spatula or wooden spoon. Continuous stirring ensures even heat distribution and prevents milk solids from settling and sticking to the pan’s bottom, where they can burn. This constant movement is akin to a gentle coaxing process—encouraging uniform caramelization. If you allow the butter to sit still, hotspots can develop, leading to uneven browning and potential burning. Imagine the process as a delicate dance—patience and attentiveness are key. The tradeoff of using lower, more controlled heat is that it takes a bit longer, but it results in a more nuanced, evenly browned butter with a rich flavor profile.
Here’s a quick tip: if your pan tends to heat unevenly, rotate it occasionally or use an induction cooktop with precise temperature control. This way, you can keep the butter at a steady, safe temperature, ensuring consistent results. The importance of temperature control lies in balancing the Maillard reaction’s development with the prevention of scorching—an essential skill for achieving perfect browned butter every time.
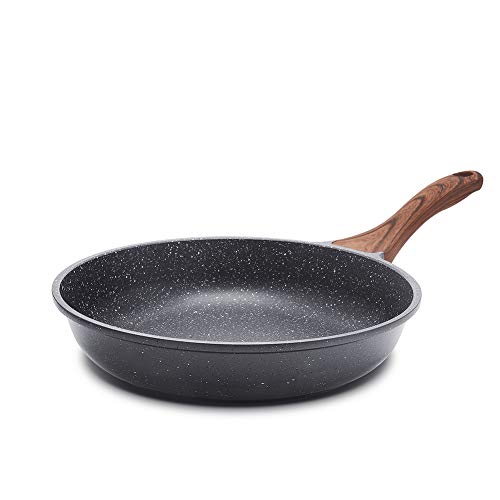
SENSARTE Nonstick Frying Pan Skillet, Swiss Granite Coating Omelette Pan, Healthy Stone Cookware Chef's Pan, PFOA Free (8/9.5/10/11/12.5 Inch) (8 Inch)
- Swiss Non-Stick Coating: PFOA free, safe, and healthy
- Woodgrain Bakelite Handle: Comfortable grip, stays cool, oven safe to 302°F
- High Magnetic Conductive Base: Even heat distribution, suitable for all stoves
As an affiliate, we earn on qualifying purchases.
As an affiliate, we earn on qualifying purchases.
Step-by-Step Guide to Browning Butter Without Burning It
- Start with a light-colored, heavy-bottomed skillet. This helps you see the color change clearly and promotes even heat distribution, which is critical for controlled browning.
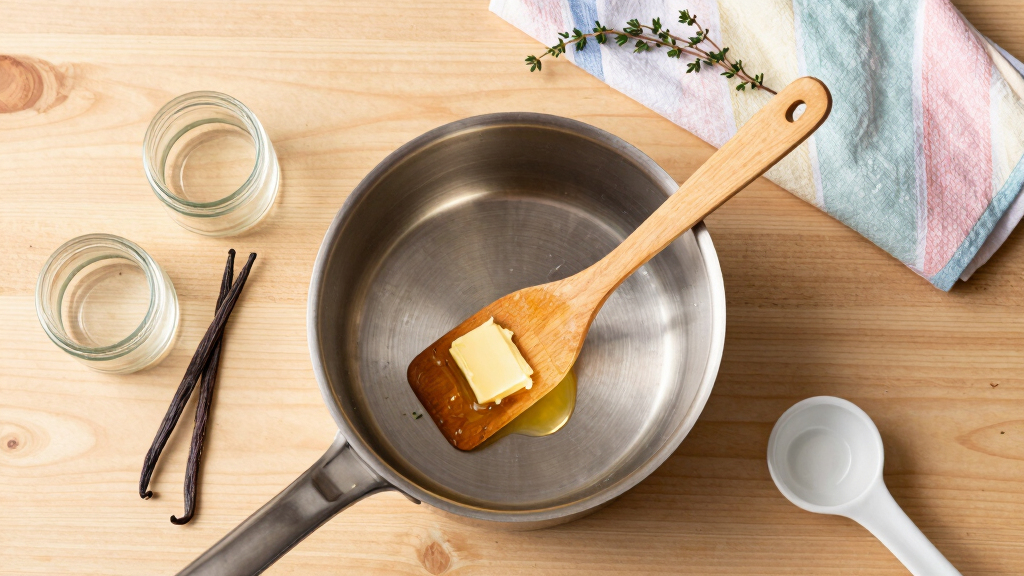
- Add ½ cup of unsalted butter and melt it over medium or medium-low heat. Using the right temperature ensures the milk solids caramelize gradually without scorching.
- Let the butter foam. Once the foam begins to subside, start stirring constantly. This prevents the milk solids from settling and burning at the bottom.
- Watch for a golden to amber color—this usually takes about 3-5 minutes. The color change signifies the Maillard reaction’s progress, indicating flavor development is underway.
- Smell for a nutty aroma—this is your sign it’s ready. The aroma results from the complex flavor compounds formed during caramelization, signaling optimal flavor without bitterness.
- Immediately remove from heat and transfer to a heat-safe container to halt the cooking process. This quick action preserves the perfect browning and prevents residual heat from continuing the reaction.
For example, when I browned butter last week, I kept the heat at medium-low, stirred constantly, and pulled it off the stove right at the first hint of amber. The result? Deeply flavored, perfectly browned butter without a hint of burnt bitterness. Recognizing the signs—color and aroma—is essential because overcooking even by a minute can lead to undesirable flavors, underscoring the importance of attentiveness and timing in this process.

Alpha Grillers Instant Read Meat Thermometer Digital, Cooking, Food, Grill
- Instant Read Response: 2-second temperature readings
- Versatile Use: Suitable for grilling, baking, and more
- Easy-to-Read Display: Bright backlight for visibility in dark
As an affiliate, we earn on qualifying purchases.
As an affiliate, we earn on qualifying purchases.
Tools and Recent Tips to Make Browning Butter Easier
Using a heavy-bottomed, light-colored pan helps you monitor color changes easily. Some cooks prefer using a kitchen thermometer—aim for around 250°F (121°C)—to keep heat in check. Infrared thermometers are handy for quick readings. These tools help you understand and control the precise temperature, which is critical because the Maillard reaction is highly temperature-sensitive. A small increase in temperature can rapidly accelerate caramelization, risking burning or uneven browning. Therefore, investing in accurate tools allows you to fine-tune your process, especially when making large batches or trying for consistent results.
Recent innovations include clarifying butter first. Removing water and milk solids makes browning more controlled, reducing the risk of burning and allowing for a cleaner, more predictable flavor development. Adding herbs or garlic during the process is trendy but requires extra attention—heat can quickly turn those aromatics bitter if you’re not cautious. The timing of adding aromatics is crucial; adding them too early can cause burning, while too late may not impart enough flavor. Experimenting with different methods, like oven-browning or sous-vide techniques, offers even more control—these methods allow for precise temperature regulation and can be particularly useful for large-scale or professional applications. For everyday use, sticking to the stovetop with proper tools and attentive timing remains the most accessible and reliable approach.

Cuisinart 5.5 Quart Sauté Pan w/ Cover, Stainless Steel Pan with Lid, Large Kitchen Pan, Dishwasher Safe, Compatible with Induction, Electric, Gas Cooktops, Oven Safe Saucepan, Cool Grip Handles
- Large Capacity: 5.5-quart with high sides and lid
- Precise Measurement Markings: Easy to measure and pour
- Drip-Free Pouring: Ensures clean serving and transferring
As an affiliate, we earn on qualifying purchases.
As an affiliate, we earn on qualifying purchases.
What Happens When You Burn Butter and How to Fix It
Burnt butter turns bitter and can ruin your dish. If you notice a dark brown or black color, along with a acrid smell, it’s gone too far. The Maillard reaction has crossed the point of optimal flavor development into burning, producing undesirable compounds that impart bitterness and astringency. Once burnt, the milk solids have undergone pyrolysis, creating compounds that are difficult to reverse or mask, and they can impart an unpleasant, acrid taste that lingers. The key? Act fast to prevent further damage and salvage what you can.
Immediately transfer the pan off the heat. If the butter is only slightly burnt, you might salvage it by straining out the burned milk solids, which are the primary source of bitterness. Pouring the butter through a fine mesh or cheesecloth can help remove the burnt bits, but keep in mind that some flavor compounds are already infused into the fat, so the result may still be less ideal. Often, it’s best to start fresh to ensure the flavor is clean and the desired nutty aroma intact. Burnt butter not only affects flavor but can also introduce harmful compounds if consumed in significant quantities. Preventing this is simpler than fixing—keep the heat low, stir constantly, and watch closely, especially during the last minute when browning accelerates. Recognizing the signs early is key to avoiding a ruined batch and maintaining the integrity of your dish.
Frequently Asked Questions
How do I prevent my butter from burning while browning?
Use a heavy-bottomed, light-colored pan and keep the heat at medium or medium-low. Stir constantly and watch closely for color changes and aroma. Removing the pan from heat as soon as it reaches a golden amber prevents burning.
How long does it take to brown butter?
Typically, it takes 3 to 5 minutes once the butter melts. The timing depends on your heat setting and pan type. Keep a close eye—this process happens quickly.
Can I brown butter in the microwave?
It’s possible but harder to control. Microwaves heat unevenly, increasing the risk of burning. For best results, stick to stovetop methods with constant attention.
What are the signs that my butter is burnt?
A dark brown or black color, a bitter smell, and an acrid taste indicate burning. If you see these signs, immediately remove it from heat and consider starting over.
What’s the difference between browned butter and clarified butter?
Browned butter includes the milk solids that have caramelized, giving it flavor, while clarified butter removes milk solids, leaving pure butterfat. Browning adds flavor, clarifying removes water and solids for a higher smoke point.
Conclusion
Perfectly browned butter isn’t about luck — it’s about control, patience, and keen observation. Keep your heat moderate, stir constantly, and pay attention to color and smell. Soon, you’ll be adding that rich, nutty flavor to everything from sauces to baked goods.
Remember, browning butter is quick—don’t walk away! With these tips, you’ll master it every time, turning a simple ingredient into a flavor powerhouse that elevates your cooking.