
TL;DR
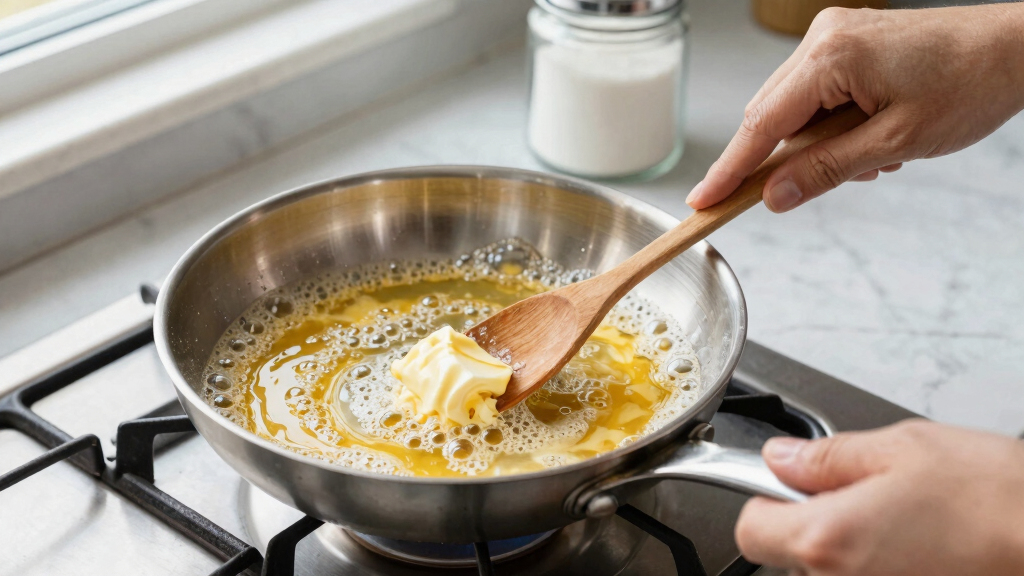
Browning butter involves heating it until it turns a golden-brown, nutty aroma appears. The key is controlling the heat, stirring constantly, and choosing the right pan to prevent burning. With attentive supervision, you can achieve perfect browned butter every time.
Use a light-colored or stainless steel pan to see the color change easily.
Maintain medium to medium-low heat for gentle, even browning.
Constant stirring or swirling prevents uneven cooking and burning.
Remove the butter from heat at the first sign of golden color and nutty aroma.
Practice patience—browning butter is quick but needs close attention.
Why controlling heat is your best friend when browning butter
Browning butter without burning it hinges on one thing: temperature control. Butter melts quickly, and the milk solids start to turn golden at around 250°F (121°C). If the heat is too high, those solids burn instantly, giving your butter a bitter, smoky flavor. Using medium or medium-low heat keeps the process gentle, letting you watch as the butter gradually turns a warm amber and fills your kitchen with a toasty aroma.
Imagine you’re cooking for a dinner party. You turn the burner to high, and within seconds, the butter smokes and turns dark. But if you start with medium heat, you’ll see the foam subside, then the milk solids settle, and the color deepen slowly. This is your cue to remove it from the heat at just the right moment. The importance of temperature control is about balancing the heat to promote even browning without crossing into burnt territory. Too high, and you risk ruining the flavor and texture; too low, and the process takes longer and may not develop the desired nutty aroma. Finding that sweet spot ensures your butter develops complexity without bitterness, which is crucial because burnt butter can ruin a dish, overpowering other flavors with a smoky, acrid taste.
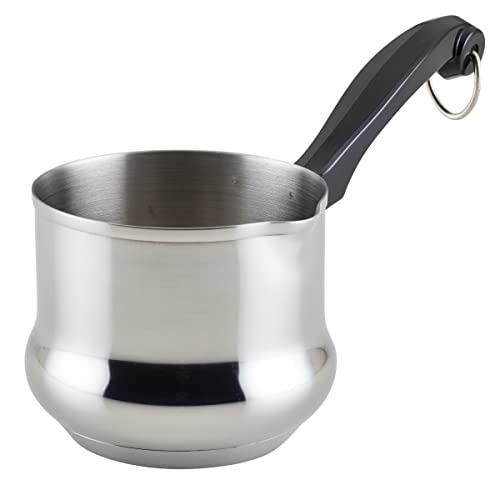
Farberware Classic Series Stainless Steel Butter Warmer, Melting Pot, Milk Warmer Pot
- Material: Stainless steel with aluminum core
- Design: Mirror finish for classic look
- Pouring Spout: Convenient for sauces and butter
As an affiliate, we earn on qualifying purchases.
As an affiliate, we earn on qualifying purchases.
Choose the right pan to see your butter turn perfect
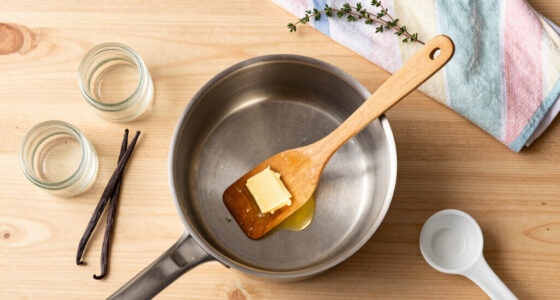
The type of pan you use makes a huge difference. A light-colored or stainless steel pan shows the color change clearly—crucial for timing. Dark pans absorb heat unevenly and can hide when your butter is turning from golden to burnt, making it harder to judge the perfect moment to remove the pan from heat. Cast iron pans are sturdy but tend to retain heat longer, so they require you to lower the heat slightly to prevent hotspots that can cause uneven browning or burning. The visual cues provided by lighter pans serve as an early warning system, helping you catch the moment the butter reaches that rich, golden hue before it turns dark and bitter. Choosing the right pan minimizes guesswork, making the process more forgiving, especially for beginners. This is important because it allows you to develop a more intuitive sense of timing, reducing the risk of overcooking and ensuring consistently perfect browned butter, which can elevate your recipes significantly.
non-stick skillet for cooking butter
As an affiliate, we earn on qualifying purchases.
As an affiliate, we earn on qualifying purchases.
Step-by-step: How to brown butter without burning it
- Start with a cold pan and add unsalted butter — about 4 tablespoons for most recipes.
- Turn the heat to medium or medium-low, allowing the butter to melt slowly. This gradual melting is key because it provides better control over the temperature, preventing sudden scorching.
- Watch for foam to form; this signals melting and initial bubbling. Stir gently or swirl the pan to promote even melting. Stirring helps distribute heat evenly, which is critical because uneven heat can cause some parts to burn while others remain undercooked.
- As the foam reduces, the milk solids will begin to settle and turn a light golden color. Keep stirring or swirling to prevent sticking and ensure even browning. This phase is delicate; the color change indicates the development of nutty flavors, but it can quickly go from perfect to burnt if not attentive.
- Once you notice a rich amber hue and smell a nutty aroma, remove the pan from heat immediately. This moment captures the peak flavor before the solids burn, which is a common pitfall that ruins the butter’s flavor profile.
Timing is quick—usually 3 to 5 minutes once melting begins. Practice patience and stay close to avoid overcooking. Remember, the goal is to reach that perfect amber color and aroma, not to cook until dark brown or black, which indicates burnt butter that can ruin your dish with a harsh, bitter flavor.
As an affiliate, we earn on qualifying purchases.
Common pitfalls and how to avoid burning your butter
Burning butter happens fast if you’re not attentive. The biggest mistake? Turning up the heat too high or leaving it unattended. The milk solids in butter are delicate—they begin to brown at around 250°F (121°C), but if the temperature exceeds that or if the heat is too high, they can quickly burn, turning dark brown or black and producing a bitter, acrid flavor that ruins the entire batch. This is why controlling the heat is critical; it allows the milk solids to toast gradually, developing that desirable nutty aroma, without crossing the line into burnt territory.
Another issue is stirring too vigorously, which can cause uneven browning or splattering. Gentle stirring or swirling helps distribute heat evenly, preventing hot spots that can cause burning. If you notice smoke or a bitter smell, immediately remove the pan from heat, as these are signs the butter is on the verge of burning. Think of it like caramelizing sugar: slow, steady, watchful—rushing or neglecting can lead to disaster. Practice makes perfect, and if your butter does burn, discard it; attempting to salvage burnt butter often results in a bitter taste that spoils the dish.
As an affiliate, we earn on qualifying purchases.