
TL;DR

Get baking supplies delivered free with Prime
- Fast, free delivery on millions of items
- Prime Video, Amazon Music and more included
- Member-only deals all year
Whipped cream turns to butter when beaten past the point where its structure can hold air, causing milk-fat globules to clump and liquid to separate. Proper technique and timing are key to avoiding this kitchen mishap.
Ever whipped your cream into a fluffy cloud, only to watch it suddenly turn grainy and oily? That’s the moment your cream crosses from perfect topping to buttery mess. It’s a common kitchen mishap, but understanding what’s happening makes it easier to prevent or fix.
This guide reveals exactly why your whipped cream turns to butter, what signals to watch for, and how to rescue it if you go too far. Whether you’re aiming for light peaks or just want reliable results, knowing the science behind the process puts you in control of your desserts.
Stop whipping as soon as your cream forms soft or stiff peaks—overwhipping quickly turns it into butter.
Chill your cream, bowl, and beaters beforehand to improve stability and prevent overwhipping.
Watch closely during whipping; high speeds and warm environments increase the risk of turning cream into butter.
If slightly grainy, fold in cold cream to salvage; once butter forms, it’s best to start fresh.
Leftover buttermilk can be used in other recipes, but always rinse and knead your homemade butter thoroughly.
Kitchen science · Troubleshooting guide
Why Your Whipped Cream Turned to Butter
That fluffy cloud can turn grainy and oily in a few moments. Keep beating past firm peaks and milk-fat globules clump together: the foam collapses, butter forms, and liquid separates. Learn the warning signs, prevent the switch, and make the most of a batch that went too far.
Whipping builds the foam. Overwhipping makes the fat join up.
01 / What happens in the bowl
From airy foam to butter
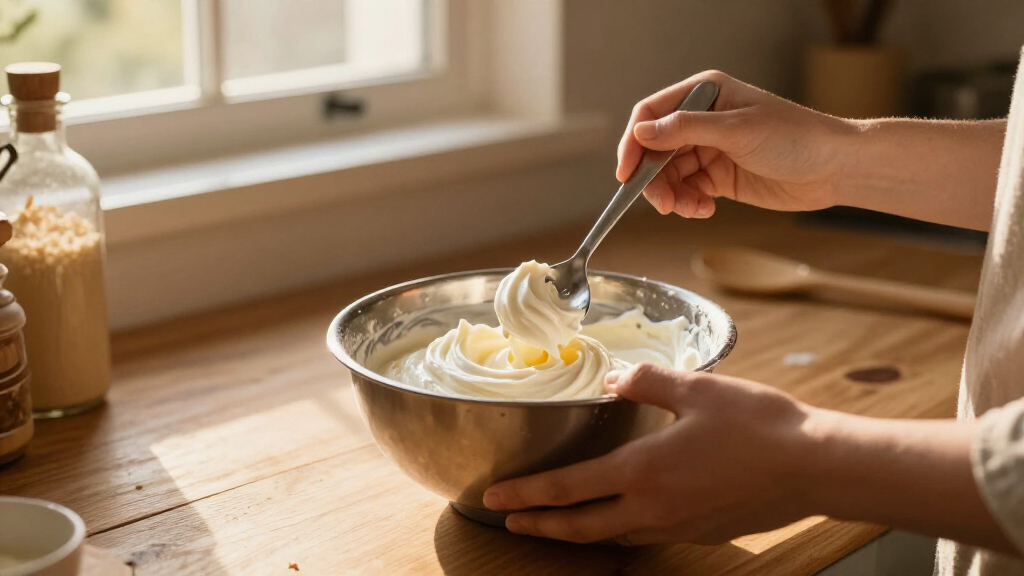
At first, whipping traps air and milk-fat globules gather around the bubbles. Keep going, and the globules stick together in larger clumps. The foam loses structure, leaving butterfat and liquid often called buttermilk.
Frothy
Air enters the cream; bubbles begin to form.
Soft to firm peaks
Fat helps stabilize the airy foam. Stop when it reaches your desired peak.
Grainy and yellow
Fat globules clump; the smooth foam starts to break down.
Butter + liquid
The foam collapses and butter separates from the liquid.
02 / The variables you control
Small changes make whipping steadier
Overwhipping is the main cause. Temperature, fat content, batch size, and mixer speed affect how quickly you reach the point where the foam breaks.
Start cold
Chilled cream holds its shape more readily. Chill the bowl and beaters too, especially in a warm kitchen.
Choose whipping cream
Heavy cream is typically around 36% milk fat or more in the U.S. Lower-fat cream may take longer or fail to hold a stable foam.
Ease off near the end
High speed can carry cream past firm peaks quickly. Watch closely and reduce speed as it thickens.
Stay with the mixer
A large batch or a moment away from the bowl can make it easy to miss the transition from peaks to graininess.
Add after thickening
Sugar and flavorings are not usually the cause. Add them once the cream starts to thicken; excess liquid flavoring can loosen it.
Expect different behavior
Non-dairy products may use vegetable fats and stabilizers, so overwhipping does not necessarily produce dairy butter.
03 / Read the signals
Stop at smooth peaks
Soft peaks curl gently when you lift the beaters. Firm peaks stand upright and still look smooth. Graininess, a yellow tint, or liquid at the edges means the cream is moving toward butter.
Peak check
Soft peaks: a gentle curl; stop here for a light topping.
Firm peaks: upright, smooth peaks; stop for a more structured finish.
Grainy or yellow: stop immediately; separation may be starting.
04 / Rescue or repurpose
How far has it gone?
Try a gentle rescue
Stop the mixer and fold in a little cold, unwhipped cream. This may smooth cream that has only just started to turn grainy.
Finish the butter
Once clearly separated, continue churning, drain the liquid, then rinse and knead the butter in cold water. Store it airtight. The liquid can be used in baking or smoothies; it is not the same as cultured buttermilk.
05 / Quick answers
Whipping cream FAQ
How can I tell when it is ready?
Look for smooth peaks that hold their shape. Soft peaks curl over; firm peaks stand upright. Stop at your preferred stage.
Can I fix overwhipped cream?
If it is only slightly grainy, fold in a little cold cream. If butter and liquid have separated, finish making butter or start fresh.
Why did my cream refuse to whip?
It may be too warm or too low in fat. Try well-chilled cream with about 36% milk fat or more for reliable results.
Does powdered sugar prevent overwhipping?
It may add some stability when used early, but it cannot stop cream from passing its peaks. Add it after thickening begins.
Is grainy cream safe to eat?
Graininess alone signals a texture change, not spoilage. If the cream smells or looks spoiled, discard it.
Will non-dairy cream turn into butter?
Not necessarily. Plant-based whipping products vary and may use vegetable fats, stabilizers, or emulsifiers.
What is the separated liquid?
It is often called buttermilk and can be used in baking or smoothies. It differs from cultured buttermilk sold in stores.
Does a stand mixer overwhip faster?
Any mixer can go too far. Stay close, check often, and slow down as the cream thickens.
The transformation, at a glance
Air in. Fat together. Liquid out.
Timing, temperature, and attention put you in control: stop at smooth peaks for a fluffy topping, or keep churning deliberately once separation has begun.
What Really Causes Whipped Cream to Turn into Butter?
Whipped cream turns to butter when it’s beaten past the stage of forming stable foam. Initially, whipping incorporates air into the cream, creating tiny bubbles surrounded by clusters of milk-fat globules. As you keep beating, these globules start to stick together, forming larger clumps. Eventually, the foam collapses, liquid separates, and what’s left is butterfat and buttermilk.
In simpler terms, once the milk fats in the cream clump together enough, they form solid butter. The liquid that separates? That’s the leftover buttermilk, which is often mistaken for spoiled milk.
Understanding this process is crucial because it highlights the importance of timing and environment. Overwhipping doesn’t just ruin the texture; it also wastes ingredients and time, and can cause frustration. Recognizing the signs—grainy texture, yellowish color, and separation—helps you intervene before it’s too late. This knowledge allows you to adjust your technique and environment to produce perfect whipped cream consistently, avoiding the tradeoff between fluffy peaks and butter.
For example, imagine you’re making whipped cream for a dessert topping. If you notice it starting to look grainy and yellow after several minutes of whipping, it’s a sign you’re close to overwhipping. Stopping at the right moment preserves the delicate air bubbles and prevents the cream from turning into butter.
Products Worth Considering

KitchenAid Artisan 5-Quart Tilt-Head Stand Mixer, Almond Cream

Instant Pot Pro Plus 6 Qt 10-in-1 Electric Pressure Cooker, Black

Ninja CREAMi 7-in-1 Ice Cream Maker, NC301
As an affiliate, we earn on qualifying purchases.
How to Spot When Your Whipped Cream Is About to Turn
Timing is everything when whipping cream. The moment your cream reaches soft peaks—where it holds a gentle curl when you lift the beaters—is a good cue to stop if you want fluffy topping. For stiffer peaks, keep going until the cream stands upright but is still smooth.
But why does this matter beyond just achieving the right texture? Because each stage reflects the balance of air incorporation and fat stability. Going beyond soft peaks means the air bubbles are starting to burst, and the fat globules are beginning to coalesce. If you ignore these signs, you risk overwhipping, which not only ruins the texture but also wastes ingredients and effort.
Let’s consider an example: you’re whipping cream for a fruit parfait. As it thickens, you notice it becomes glossy and forms soft peaks. If you continue and it starts to look grainy or yellow, with some liquid separating, it’s a clear sign you’re nearing the overwhipping stage. Recognizing these signs early allows you to stop just in time, saving your cream from turning into butter.
Another tip: think of whipping as similar to kneading bread dough—overdoing it causes the structure to break down. Keep the environment cool and the beaters at high speed, but stay attentive. An example scenario: whipping cream in a warm kitchen can accelerate overwhipping, so working quickly and efficiently is key.
Frequently Asked Questions
How can I tell when whipped cream is ready?
Look for glossy, smooth peaks that hold their shape. Soft peaks gently curl over, while stiff peaks stand upright without drooping. Once it reaches this stage, stop immediately to avoid turning it into butter.
Can I fix overwhipped cream?
If it’s only slightly grainy or thickened, gently fold in a little cold, unwhipped cream. For heavily overwhipped or separated cream, it’s best to start over, or turn it into butter if it’s fully separated.
Why did my cream refuse to whip?
Most often, it’s because the cream isn’t cold enough or has too low a fat content. Use heavy cream chilled to near freezing, with at least 36% milk fat, for best results.
Does powdered sugar help prevent overwhipping?
Powdered sugar can stabilize whipped cream slightly if added early, but it doesn’t prevent overwhipping once the cream is near or past the peak stage. It’s better used to add sweetness and stability after whipping begins.
What should I do with leftover liquid after turning cream into butter?
The liquid, called buttermilk, is flavorful and can be used in baking, smoothies, or as a tangy drink. Always rinse your butter in cold water and store it in an airtight container for best shelf life.
Conclusion
Understanding why whipped cream turns to butter empowers you to control the process. The secret lies in timing, temperature, and attention. With a little care, you can whip perfect, fluffy toppings every time — or turn that mishap into homemade butter with confidence.
Next time you whip, keep a close eye, and remember: patience and precision make all the difference. Your desserts—and your kitchen skills—will thank you for it.