TL;DR
Autolyse is a resting period where flour and water hydrate before adding salt and yeast. It boosts gluten development, simplifies handling, and enhances flavor. Extending autolyse can make your bread lighter, airier, and more flavorful with less effort.
Autolyse is a simple yet powerful step that hydrates flour and kickstarts gluten development, making dough easier to handle.
Extending autolyse beyond 30 minutes—up to several hours or overnight—can significantly boost flavor and crumb structure.
Use autolyse especially with whole grain or dense flours to improve hydration and elasticity.
Always keep autolyse ingredients minimal—just flour and water—to maximize enzymatic activity.
Combine autolyse with other techniques like stretch and fold for even better bread results.
What Is the Autolyse and Why Does It Matter?
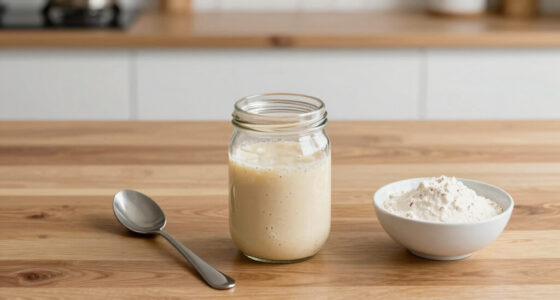
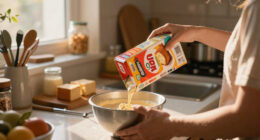
Autolyse is a rest period after mixing only flour and water, before adding salt and yeast. During this time, the flour hydrates fully, and gluten begins to develop naturally. This process results in dough that’s more elastic, easier to shape, and capable of a better rise.
Think of it as giving your flour-water mixture a head start—allowing enzymes to activate and begin breaking down complex carbohydrates and proteins. This biochemical activity is crucial because it enhances gluten formation and flavor development without the need for vigorous kneading. The implication is that you can achieve a more extensible dough with less physical effort, reducing stress on the gluten network that might otherwise tear under overworking. The tradeoff is that autolyse requires planning ahead and patience, but the payoff is a dough that’s more forgiving and yields superior bread.
For example, when making a simple sourdough loaf, a 30-minute autolyse allows the flour to absorb water completely and gets gluten forming without heavy kneading. This step alone can cut down kneading time and improve the final texture.

AltarreT Large Glass Bowl for Sourdough Bread Making, 4.7 Quart Glass Mixing Bowl with Lid, Clear Glass Salad Cooking Bowl Kitchen Bread Salad Storage
Our large glass mixing bowl is made of thickened and durable borosilicate glass, lead free and safer. The…
As an affiliate, we earn on qualifying purchases.
As an affiliate, we earn on qualifying purchases.
How to Do Autolyse the Right Way in Your Kitchen
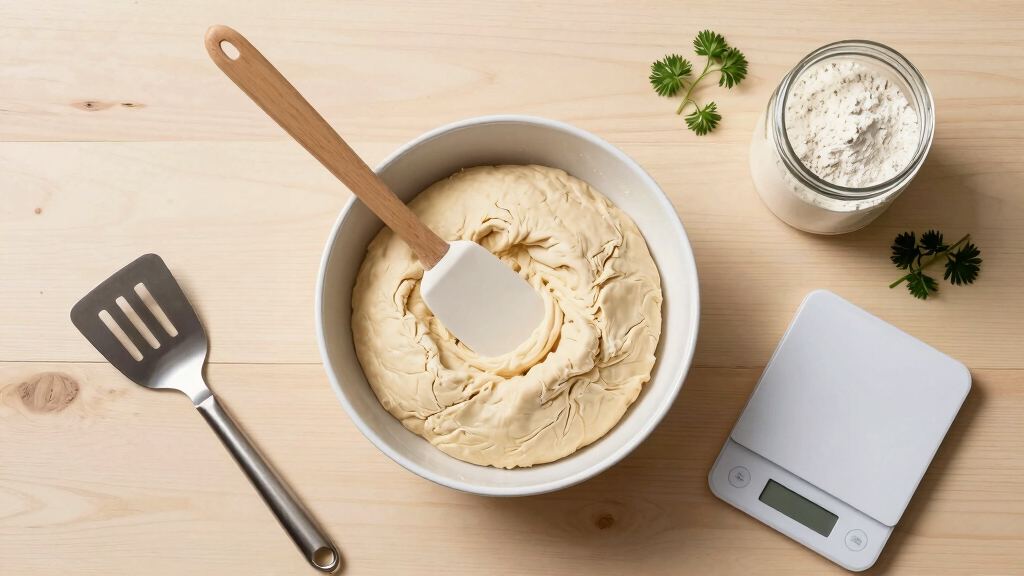
- Mix only flour and water until just combined. No salt, yeast, or other ingredients yet.
- Let it rest in a covered bowl at room temperature for 20 to 60 minutes. Longer autolyse (up to 2 hours) can boost gluten and flavor, especially with whole grains. The duration influences the extent of enzymatic activity: longer autolyse allows enzymes to break down more starches and proteins, which can lead to a softer dough and richer flavor but may also cause over-softening if extended too long. Adjust timing based on your flour type and desired dough characteristics.
- Proceed with adding salt, yeast, or starter, then knead or fold as your recipe requires.
For instance, when baking a hearty whole wheat loaf, a 45-minute autolyse helps hydrate coarse flour and makes kneading much easier. Your dough will feel more supple and less sticky. Proper hydration during autolyse ensures gluten can develop evenly, but overhydration can make handling messy. Balance hydration with your flour’s absorption capacity for optimal results.

SURDOCA Dough Scraper Bench Scraper – 3P 4.7×3.7" Plastic Flexible Bowl Scraper, Sharp Edge & Angles Cake Scraper. Non-Slip Bakeware Decorating Tools Sculpting & Modeling Tools – Green+White+Green
👩🍳👩🍳👩🍳PERFECT WORK WITH VARIOUS KNEADING BOWLS — Instead of traditional rigid PP plastic, These flexible dough scrapers are…
As an affiliate, we earn on qualifying purchases.
As an affiliate, we earn on qualifying purchases.
Why Extending Autolyse Can Take Your Bread to the Next Level
While 20-60 minutes is standard, many bakers now extend autolyse to several hours or even overnight. This slow rest allows enzymes to break down starches and proteins more thoroughly, which enriches flavor and enhances gluten development. The deeper enzymatic activity results in a dough that is not only easier to handle but also produces a more complex flavor profile because of the increased breakdown of carbohydrates into fermentable sugars.
Imagine your dough as a sponge soaking up water and enzymes, softening the tough bits and boosting fermentation. When baked, this translates into a bread with a more open, airy crumb, a richer flavor, and a more developed crust. The tradeoff is that extended autolyse requires more planning and patience, but it rewards you with a superior loaf that has greater depth of flavor and improved texture. For sourdoughs, overnight autolyse can significantly improve both flavor complexity and crust crispness, making it a preferred technique among artisan bakers.

Sourdough Proofing Basket Gift Set, 9" Round and 10" Oval Banneton Bread Baking Supplies, Sourdough Baskets with Bread Lame, Danish Whish, Bowl Scraper, Sourdough Scraper, and Linen Liner
What You Get: 1 9-inch round banneton bread proofing basket , 1 10-inch oval proofing basket, 2 liners,…
As an affiliate, we earn on qualifying purchases.
As an affiliate, we earn on qualifying purchases.
Autolyse Works Best with Whole Grains and Challenging Flours
Using whole grain or rye flours? Autolyse is your friend. These flours absorb water slower and contain more bran and fiber, which can make gluten formation tricky. The bran particles physically cut through gluten strands, making the dough less elastic and more prone to tearing if not properly hydrated.
By letting the water fully hydrate these tougher particles during autolyse, you give the flour a head start in gluten development. This process softens the bran’s abrasive effect, resulting in a dough that’s more manageable, extensible, and capable of trapping gases efficiently. For instance, a 1-hour autolyse with rye flour can turn a sticky, difficult dough into something much more elastic and easier to shape. The longer you allow the flour to hydrate and enzymes to act, the better the dough’s structure and flavor become. If your bread feels dense or tough, extending autolyse can help unlock better texture and taste, making even challenging flours more accessible.
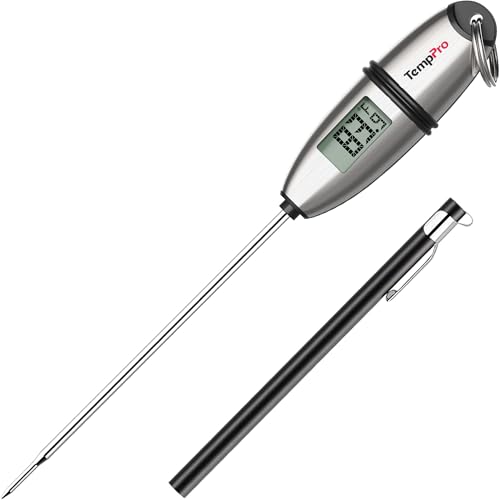
TempPro TP02S Digital Food Thermometer for Cooking Bread Baking Sourdough Liquids, Meat Thermometer Digital with Super Long Probe for Kitchen Candy Making Gift for Dad Husband (Previously ThermoPro)
Fast and Accurate Reading: Kitchen thermometer for cooking features a 1 second readout speed and high accuracy of…
As an affiliate, we earn on qualifying purchases.
As an affiliate, we earn on qualifying purchases.
Common Mistakes and How to Avoid Them When Autolyse
One common mistake? Adding salt or yeast too early. Salt inhibits enzyme activity, so keep autolyse simple—just flour and water. Including salt or yeast during autolyse can diminish enzymatic benefits by slowing down or halting enzyme activity, which reduces the potential improvements in gluten development and flavor. This can lead to a less extensible dough and a less flavorful loaf.
Another pitfall is autolyse that’s too short. If you only rest for 10 minutes, you miss out on the full benefits of enzymatic activity, which typically requires at least 20 minutes to significantly impact gluten structure and flavor. Longer autolyse, especially with whole grains, allows enzymes to break down complex molecules more thoroughly, resulting in softer, more elastic dough.
Also, don’t leave the dough uncovered in drafty spots. Cover loosely with plastic or a damp towel to keep moisture in. This prevents the surface from drying out, which can create a crust that hampers gluten development and makes shaping more difficult.
Finally, avoid overhydrating if your dough becomes extremely sticky—adjust water gradually to find the right hydration level. Overhydration can make handling tricky and may lead to a weak gluten network, so understanding your flour’s absorption capacity is key to optimal autolyse results.
Compare Autolyse to Other Dough-Boosting Techniques
| Technique | What It Does | Best For |
|---|---|---|
| Autolyse | Hydrates flour and begins gluten development naturally, activating enzymes that break down starches and proteins, leading to better extensibility and flavor. | Rustic breads, sourdoughs, whole grains |
| Bulk Fermentation | Enzymes and yeast work together to improve flavor, increase gas production, and develop gluten structure over time, making the dough more flavorful and airy. | Long-rise loaves, sourdough |
| Stretch and Fold | Strengthens gluten network after initial mixing, allowing for high-hydration doughs to develop elasticity without kneading. | High-hydration doughs, artisan bread |
While autolyse focuses on initial hydration and enzyme activation, combining it with techniques like stretch and fold or extended fermentation amplifies gluten development and flavor complexity. Think of autolyse as laying a solid foundation—subsequent steps build upon it for a more structured, flavorful loaf.
Quick Tips to Maximize Your Autolyse Results
- Use warm water (around 75-80°F) to speed hydration without killing enzymes. Warmer water accelerates enzymatic activity, but too hot can denature enzymes or damage yeast if used later.
- Cover the dough lightly to prevent drying out, ensuring a humid environment that facilitates even hydration and enzyme activity.
- For whole grain flours, extend autolyse to 1-2 hours to allow thorough hydration of coarse particles and better enzyme action, which leads to a softer dough and richer flavor.
- Mix thoroughly but gently—don’t knead during this phase. Gentle mixing ensures even hydration without activating gluten prematurely, which helps maintain extensibility.
- Try autolyse overnight for deep flavor and easy handling. The slow enzymatic activity during extended autolyse enhances flavor complexity and dough pliability.
For example, during a weekend bake, a 2-hour autolyse with a sourdough starter can make your dough much easier to shape and give it a richer taste. Planning ahead for longer autolyse times can yield significantly better results, especially with challenging flours or high-hydration doughs.