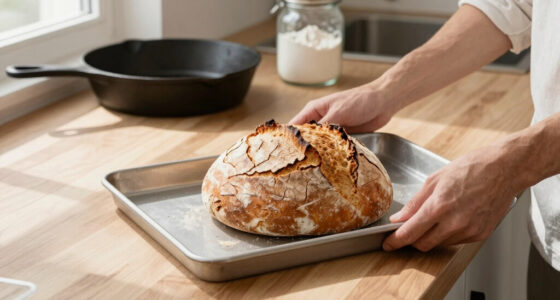
TL;DR
This guide walks you through each day of building a sourdough starter from just flour and water. It emphasizes patience, proper care, and identifying signs of a healthy, bubbling starter ready for baking.
Starting a sourdough starter from scratch might seem intimidating, but it’s really about patience, consistency, and a little bit of science. In just a week, you can cultivate wild yeast and friendly bacteria that turn simple ingredients into a lively, flavorful base for bread.
Whether you’re after a crusty loaf, a healthier bread option, or just want to try your hand at an ancient craft, this day-by-day guide breaks down the process into manageable steps. No fancy equipment needed—just flour, water, and a little attention.
Start with equal parts flour and water, and be patient for microbial activity to develop.
Daily feedings and proper environment (warm, not hot) encourage healthy fermentation.
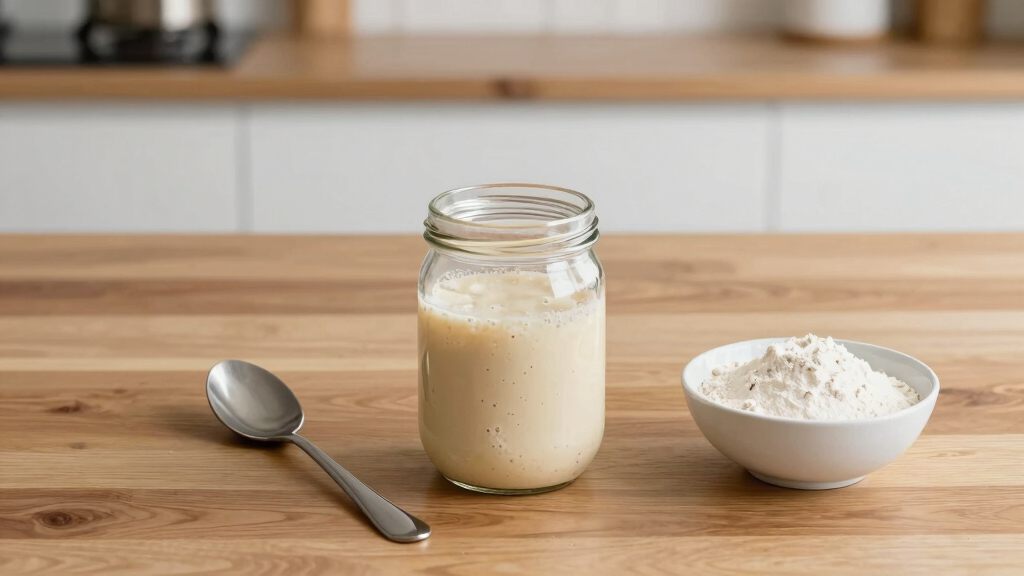
Signs of a healthy starter include bubbling, doubling in size, and a tangy smell.
Use the float test to confirm readiness before baking.
Long-term storage at room temperature needs daily feeding; refrigeration extends intervals.
What a sourdough starter really is — simple and straightforward
A sourdough starter is a living mixture of flour and water that captures wild yeast and bacteria from your environment. These microorganisms ferment the flour, producing carbon dioxide and acids that leaven bread naturally and add flavor. Basically, it’s a tiny, self-sustaining ecosystem that you nurture over time.
Imagine your kitchen as a bustling city of microbes. When you feed your starter, you’re inviting more residents to thrive, creating a bubbling, sour-smelling community ready to bake.

Complete Sourdough Starter Kit, Sourdough Bread Baking Supplies, Banneton Bread Proofing Basket with Sourdough Starter Jar, 9inch Round Bread Proofing Basket, for Bread Baking
700ml Sourdough Starter Jar:Around 24 oz capacity is enough to make 2-4 sourdough loaves. You can easily add…
As an affiliate, we earn on qualifying purchases.
As an affiliate, we earn on qualifying purchases.
Day 1: Kickstarting your starter — what to do and what not to do
Start with equal parts flour and water—about 50 grams each. Mix until smooth, cover loosely, and leave it at room temperature (around 70°F). Expect no activity yet—just a thick, sticky batter. The goal today is to get your environment ready for yeast to settle in.
Use filtered water to avoid chlorine inhibiting fermentation. Keep your container clean, and don’t disturb it too much. Now, patience begins.

Etekcity Food Kitchen Scale, Digital Grams and Ounces for Weight Loss, Baking, Cooking, Keto and Meal Prep, LCD Display, Medium, 304 Stainless Steel
𝗘𝗳𝗳𝗼𝗿𝘁𝗹𝗲𝘀𝘀 𝗪𝗲𝗶𝗴𝗵𝗶𝗻𝗴: Supports 5 units (oz/lb:oz/fl'oz/g/mL), tare function, and includes 2 AAA batteries for hassle-free operation
As an affiliate, we earn on qualifying purchases.
As an affiliate, we earn on qualifying purchases.
Day 2-3: Watching for tiny signs of life
By now, you might see some tiny bubbles or a slight rise in the mixture. Don’t worry if you see nothing—microbial activity takes time. Each day, discard half of the mixture and feed with fresh flour and water, maintaining the same ratio.
This daily refresh encourages yeast and bacteria to multiply. Expect a faint sour smell by day 3, which means your microbes are waking up.
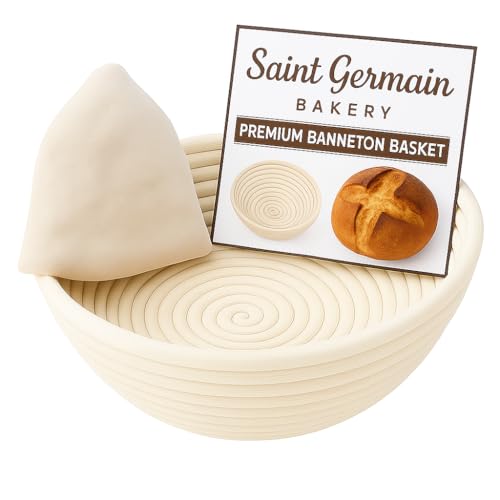
Saint Germain Bakery Premium Round Bread Banneton Basket with Liner – Perfect Brotform Proofing Basket for Making Beautiful Bread (9 inch)
"EXCELLENT CRAFTSMANSHIP: Beautiful handmade using natural rattan, absolutely free from dye and free from chemicals. Made with love…
As an affiliate, we earn on qualifying purchases.
As an affiliate, we earn on qualifying purchases.
Day 4-5: Building strength and flavor
Your starter should now be more lively—bubbles are bigger, and it doubles in size within 4-6 hours of feeding. It should smell tangy, like yogurt or vinegar, and have a slightly bubbly surface.
If it’s sluggish, give it a little more time. If it develops a foul odor or mold, discard and start over. This is the point where your starter begins to develop real character.

"SAINT GERMAIN Premium Hand Crafted Bread Lame for Dough Scoring Knife, Lame Bread Tool for Sourdough Bread Slashing with 10 Blades Included with Replacement with Authentic Leather Protector Cover"
PREMIUM QUALITY: Premium hand crafted wood handle with stainless steel stick to attach replaceable blades. Built to last.
As an affiliate, we earn on qualifying purchases.
As an affiliate, we earn on qualifying purchases.
Day 6-7: Is your starter ready to bake?
By now, your starter should reliably double in size within 4-6 hours after feeding. Perform the float test—drop a small spoonful into water; if it floats, it’s active and ready to use.
If it passes the test, congratulations! You’ve cultivated a living, breathing sourdough starter. If not, keep feeding daily and wait a few more days.
How to keep your starter healthy and active long-term
Once your starter is mature, you can maintain it at room temperature with daily feedings or refrigerate it for longer intervals—about once a week. Always feed at least once before baking to revive its strength.
Use filtered water, keep it in a clean jar, and discard or feed regularly. Remember, a healthy starter smells tangy but not foul, and bubbles are your best sign of activity.
Troubleshooting common issues — mold, foul odors, and sluggish starters
If mold appears, or it smells rotten or like rotten eggs, discard immediately. A healthy starter smells pleasantly sour, not off-putting. If bubbles are absent after several days, check your environment—warmth and humidity matter.
Adjust by moving your starter to a warmer spot or feeding more frequently. Sometimes, a new batch is the easiest fix.
Quick comparison: Flour types and how they affect your starter
| Flour Type | Fermentation Speed | Flavor Impact |
|---|---|---|
| Whole wheat | Faster, more vigorous activity | Richer, nuttier flavor |
| Rye | Very fast, with potent fermentation | Deep, malty aroma |
| White bread flour | Slower, steadier growth | Cleaner, milder flavor |
Frequently Asked Questions
How long does it take to develop a healthy sourdough starter from scratch?
Most starters are ready in about 5-7 days, but it can take longer if your environment is cooler or less humid. Watch for bubbling, doubling, and a tangy aroma as signs of readiness.Can I use any flour to start my sourdough starter?
Whole wheat and rye flours often ferment faster due to higher nutrient content, but bread flour works well too. Choose based on flavor preference and what’s available in your pantry.What if my starter develops mold or a foul smell?
Discard it immediately. A healthy starter smells tangy and fresh. Mold or rotten odors mean contamination—start fresh, keep everything clean, and follow proper feeding routines.Should I use tap water or filtered water?
Filtered or dechlorinated water is preferred, as chlorine can inhibit fermentation. Let tap water sit out for a few hours to allow chlorine to dissipate if you must use it.When can I start baking with my starter?
Once it consistently doubles in size within 4-6 hours and passes the float test, your starter is ready to leaven bread. Usually around day 7, if all signs align.Conclusion
Building a sourdough starter from scratch is about patience and observation. The tiny bubbling ecosystem you cultivate transforms simple ingredients into flavor-packed bread—something truly satisfying to watch unfold.
Remember, every bubbly, sour-smelling starter is a sign of life. Nurture it well, and you’ll have a reliable baking partner for years to come.