
TL;DR
Baking your first loaf is about mastering basic ingredients, timing, and technique. Patience and practice matter most—your perfect bread is within reach.
Start simple with high-quality bread flour, active yeast, and basic techniques.
Master the timing of fermentation and proofing to develop flavor and structure.
Use a Dutch oven or covered casserole for a crusty crust without fancy equipment.
Practice patience—extended fermentation enhances flavor and crumb quality.
Follow online tutorials and join baking communities for support and inspiration.
What are the must-know ingredients for your first loaf?
For your first loaf, sticking with the basics is best. High-quality bread flour with about 11-13% gluten gives your dough structure. Water should be warm—around 75-80°F—to activate the yeast. Yeast, whether active dry or instant, is your leavening agent, and salt adds flavor while controlling fermentation.
Imagine the aroma of freshly baked bread filling your kitchen—those simple ingredients are the foundation for that satisfying smell.

Enameled Cast Iron Dutch Oven – Umite Chef 5QT Pot with Lid & Cotton Potholders – Heavy-Duty Cookware for Bread Baking, Braising, Stews, Roasting(Cream White)
Even Heat Distribution Retention: This Umite Chef Dutch oven Made with heavy-duty enameled cast iron, ensures even heat…
As an affiliate, we earn on qualifying purchases.
As an affiliate, we earn on qualifying purchases.
How to master the basic bread-making techniques in 5 steps
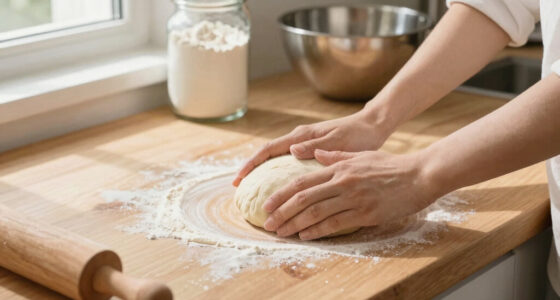
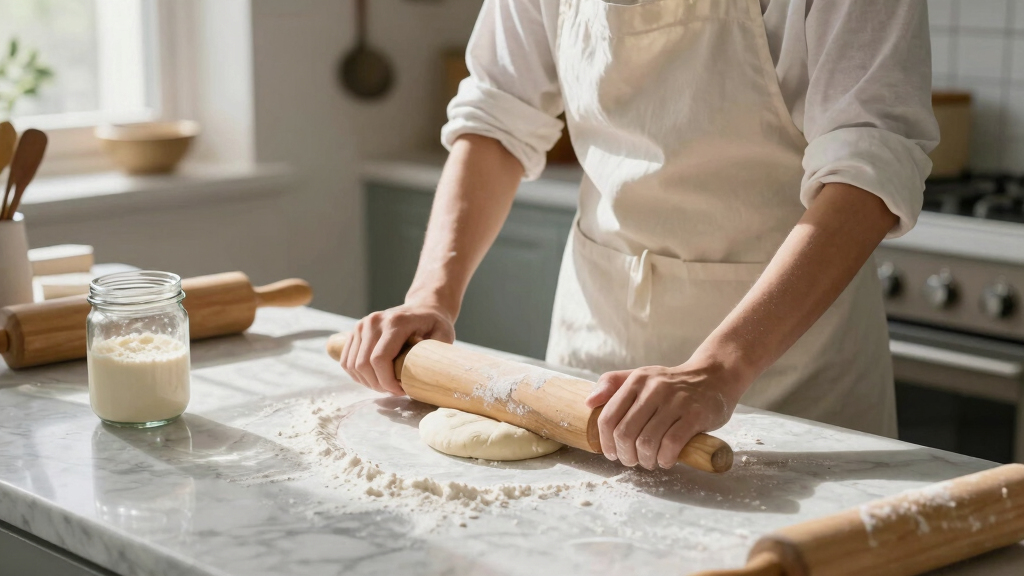
- Mix and knead: Combine ingredients until cohesive. Knead for 8-10 minutes until the dough feels elastic and slightly tacky.
- Fermentation: Let the dough rise until it doubles in size, about 1-2 hours depending on temperature.
- Shape: Gently punch down, then form into a tight round or oval shape.
- Proof: Let it rise again for 45-60 minutes, until slightly puffy.
- Bake: Use a hot oven (450°F/232°C) and create steam by placing a pan of water beneath the bread or inside the oven for a crusty exterior.
This step-by-step approach is like a dance—each move building on the last to produce a beautiful loaf.

Sourdough Proofing Basket Gift Set, 9" Round and 10" Oval Banneton Bread Baking Supplies, Sourdough Baskets with Bread Lame, Danish Whish, Bowl Scraper, Sourdough Scraper, and Linen Liner
What You Get: 1 9-inch round banneton bread proofing basket , 1 10-inch oval proofing basket, 2 liners,…
As an affiliate, we earn on qualifying purchases.
As an affiliate, we earn on qualifying purchases.
Why timing and temperature can make or break your first loaf
Timing and temperature are the silent heroes of good bread. They influence how the dough develops and ultimately determine the bread’s flavor, texture, and appearance. Too cold, and fermentation slows, resulting in less flavor development and a dense crumb. Too warm, and fermentation can accelerate excessively, leading to overproofing, which causes the dough to collapse and produce a flat loaf. The ideal fermentation temperature—around 75-78°F—strikes a balance: it allows for proper yeast activity, flavor development, and gluten formation.
Understanding this balance helps you troubleshoot common issues. For instance, if your dough isn’t rising adequately, it might be too cold; if it overflows or deflates, it may be overproofed due to excessive warmth. Managing these variables ensures consistent results and helps you learn how subtle changes impact your bread’s final quality.
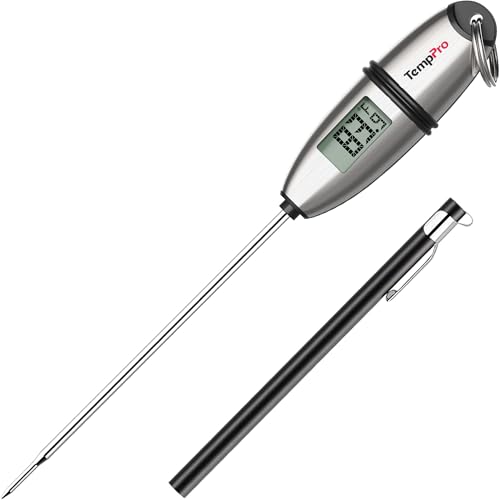
TempPro TP02S Digital Food Thermometer for Cooking Bread Baking Sourdough Liquids, Meat Thermometer Digital with Super Long Probe for Kitchen Candy Making Gift for Dad Husband (Previously ThermoPro)
Fast and Accurate Reading: Kitchen thermometer for cooking features a 1 second readout speed and high accuracy of…
As an affiliate, we earn on qualifying purchases.
As an affiliate, we earn on qualifying purchases.
Equipment essentials that won’t break the bank
- Mixing bowl: A large, sturdy bowl for blending and rising dough.
- Bench scraper: Helps shape dough and clean work surfaces.
- Proofing basket (banneton): Keeps your loaf’s shape during final rise, adding texture and aesthetic appeal.
- Dutch oven or heavy pot: Creates a mini-steam environment, which is crucial for developing a crusty exterior without expensive equipment. The trapped steam allows the dough to expand fully and forms a glossy, crispy crust—tradeoffs include the need for preheating and careful handling to avoid burns.
You don’t need fancy gadgets—just these basics will set you up for success in your first few bakes.

Bob's Red Mill Artisan Bread Flour, 3 Pound (Pack of 1) – Unbleached, Unbromated, Non-GMO, Vegan
AMERICA’S BEST BAKING FLOUR: Bob's Red Mill Artisan Bread Flour is made with the highest quality North American…
As an affiliate, we earn on qualifying purchases.
As an affiliate, we earn on qualifying purchases.
Recent trends making bread baking more beginner-friendly
Over the last few years, no-knead bread recipes have gained popularity because they simplify the process and reduce the need for extensive kneading, which can be intimidating for beginners. These methods typically involve a long, slow fermentation that develops gluten naturally, resulting in a chewy, flavorful crumb. They also allow for more forgiving timing and less precise technique, making bread baking accessible for busy schedules.
Sourdough baking has also surged among beginners, partly because cultivating wild yeast fosters a deeper understanding of fermentation and flavor. Many enthusiasts find that nurturing a sourdough starter is a rewarding process that connects them to centuries-old baking traditions. Online tutorials, social media groups, and virtual classes have democratized access to expert advice, enabling newcomers to troubleshoot and innovate at home. Incorporating alternative flours like spelt or gluten-free options expands your dietary choices and health benefits, though they may require adjustments in hydration and kneading. Modern tools such as digital thermometers and proofing boxes help you precisely control temperature and humidity, ensuring consistent results even in less-than-ideal environments.
Imagine your kitchen filled with the warm, yeasty aroma of freshly baked sourdough, or the satisfaction of pulling a perfectly crusted loaf from your oven—these trends and tools make that accessible for everyone, regardless of experience level.
What’s the one thing that truly makes a perfect loaf?
The secret ingredient is patience. Rushing fermentation or baking can lead to dense, flat bread that lacks flavor and structure. Extending fermentation times allows enzymes to break down starches and proteins more thoroughly, which enhances flavor complexity and improves crumb texture. Even an extra hour of slow fermentation can unlock richer taste and a more open crumb, making your bread more satisfying and artisan-like. This patience also gives gluten more time to develop, resulting in a better rise and a chewier, more resilient loaf.
Imagine waiting just an extra hour—your dough becomes more flavorful, the crust develops a richer color, and the overall quality improves noticeably. Every baker, from hobbyists to professionals, agrees that patience is the key to mastering bread. It’s a subtle tradeoff: longer wait times mean more planning, but the reward is a superior loaf that reflects your dedication and understanding of the process.