
TL;DR
Storing flour in airtight containers in a cool, dark place prevents spoilage and pests. Freezing and using oxygen absorbers can extend shelf life, especially for whole-grain flours. Regular checks keep your baking ingredients fresh.
Use airtight containers like glass jars or vacuum-sealed bags to prevent pests and moisture.
Store flour in a cool, dark, dry place—avoid humid or warm spots like near the stove.
Freezing flour for 48 hours kills insect eggs and extends shelf life up to a year or more.
Regularly inspect flour for off smells, discoloration, or bugs to catch spoilage early.
Label your containers with purchase dates and practice FIFO to use older flour first.
The Right Way to Store Flour So It Doesn’t Go Bad
Flour lasts longer when oxygen, moisture, heat, light, and pantry pests are kept out. An airtight container in a cool, dark place is the everyday solution; freezing and oxygen absorbers add protection for bulk or whole-grain flour.
Choose a container that closes the door on spoilage
The original paper bag offers little defense once opened. Move flour into a clean, dry container that resists both air and moisture. Match the container to how often you bake, how much you buy, and how long you plan to store it.
Glass jar
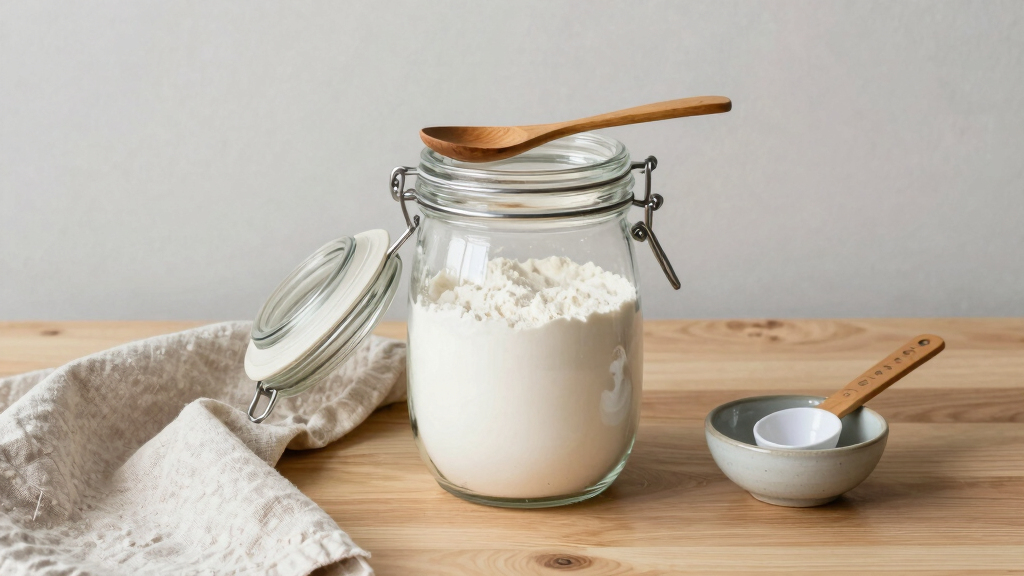
Non-porous, reusable, and easy to inspect without opening. Choose a tight gasket or locking lid and protect the jar from direct light.
Reusable · fragileSealed plastic bin
Durable and space-efficient for larger quantities. Confirm the lid forms a true airtight seal; clean thoroughly between refills.
Durable · stackableVacuum-sealed bag
Removes much of the oxygen that supports oxidation and insect activity. Ideal for dividing bulk purchases into smaller portions.
Longest reach · equipment neededFrom paper bag to protected pantry staple
A dependable routine takes only minutes. The goal is to minimize exposure every time flour is transferred, stored, opened, and returned to the shelf.
Select
Start with a clean, completely dry airtight container.
Transfer
Pour carefully and leave about one inch of headspace.
Seal
Close firmly and check the lid or bag for gaps and leaks.
Label
Add the flour type and purchase or transfer date.
Place
Store below 70°F, away from sunlight, steam, and appliances.
Seal flour before freezing to prevent condensation and odors. At 0°F (−18°C), a 48-hour treatment can destroy insects and their eggs. Flour may be used directly from the freezer; stir or sift if slight clumping occurs.
Storage methods are not equally protective
For normal household rotation, an airtight pantry container is usually enough. Choose freezing or vacuum sealing when storing flour in bulk, keeping it through warm seasons, or protecting higher-fat whole-grain varieties.
| Method | Pest barrier | Moisture barrier | Long-term value | Main caution |
|---|---|---|---|---|
| Original paper bag | ✗ Weak | ✗ Weak | ✗ Low | Tears, absorbs moisture, and remains easy for pests to enter. |
| Airtight pantry container | ✓ Strong | ✓ Strong | ~ Good | Still needs a cool, dark placement away from humidity. |
| Refrigerator | ✓ Strong | ~ Seal dependent | ~ Moderate | An imperfect seal may introduce condensation and food odors. |
| Freezer | ✓ Excellent | ✓ Airtight only | ✓ High | Protect against condensation; sift if flour clumps. |
| Vacuum seal + absorber | ✓ Excellent | ✓ Excellent | ✓ Highest | Requires equipment and food-safe oxygen absorbers. |
Trust your senses before your recipe
Check flour regularly and before each use. A printed date is helpful, but storage conditions and flour type determine its real condition. If anything seems wrong, discard it and inspect nearby pantry goods.
Sour or musty smell
A stale, oily, sour, or musty odor can indicate rancidity or moisture damage.
Discoloration
Unexpected dark patches, unusual color changes, or visible mold mean the flour should go.
Insects or webbing
Live bugs, larvae, tiny eggs, or fine webbing indicate a pantry-pest infestation.
Persistent clumping
Hard or damp clumps can signal moisture entry, especially when paired with an off odor.
Five habits that keep flour ready to bake
Treat the pantry like a small preservation system: block exposure, control temperature, identify every batch, rotate it deliberately, and act quickly when warning signs appear.
Use an airtight, moisture-proof container.
Keep it cool, dark, dry, and away from the stove.
Freeze for 48 hours when pest prevention matters.
Label every batch and rotate with FIFO.
Discard flour with odors, mold, discoloration, or bugs.
Why Proper Storage Keeps Flour Fresh and Pest-Free
Storing flour properly isn’t just about keeping it dry; it’s about creating a barrier against moisture, pests, and spoilage. Flour is a nutrient-rich food that attracts pantry pests like weevils and flour beetles. If not stored correctly, these pests can quickly infest your entire supply, leading to waste and potential health concerns. Additionally, flour is prone to going rancid when exposed to heat, light, or humidity, which can affect its flavor and baking performance. Using airtight containers blocks pests and prevents moisture from creeping in, preserving freshness. Placing your flour in a cool, dark spot slows down oxidation and rancidity, maintaining its quality longer. Think of your pantry as a fortress—every barrier you add makes it harder for pests and spoilage to invade, ensuring your flour stays safe and effective for baking.
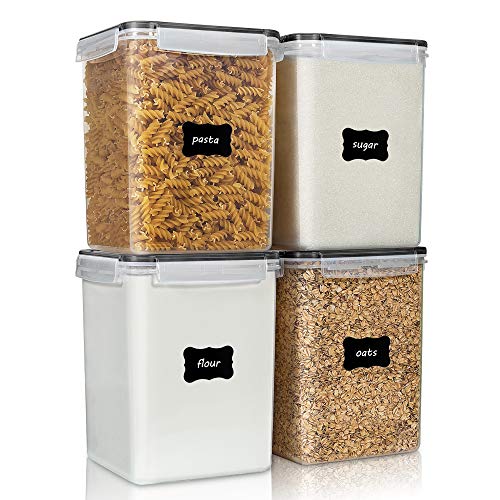
Vtopmart 5.2L Flour Sugar Storage Containers, 4 PCS, Black
- Pantry Organization Solution: Includes containers, measuring cups, labels
- Large Capacity: 5.2L/175oz storage per container
- Versatile Food Storage: Stores flour, sugar, grains, snacks, more
As an affiliate, we earn on qualifying purchases.
As an affiliate, we earn on qualifying purchases.
The Best Containers for Storing Flour and Why They Matter
Choosing the right container is crucial because it directly impacts how well your flour resists spoilage and pest intrusion. Glass jars with tight-fitting lids are excellent because they are non-porous, reusable, and transparent, allowing you to monitor for pests or spoilage without opening the container. Sturdy plastic bins with seals are durable and provide an airtight environment, especially useful for bulk storage, but they may be less visually accessible. Vacuum-sealed bags are highly effective for long-term storage because they remove oxygen, which pests and oxidation need to survive and progress. Each container type offers tradeoffs: glass is reusable and sustainable but fragile; plastic is durable but may stain or retain odors; vacuum-sealing maximizes shelf life but requires special equipment. Selecting the appropriate container depends on your storage needs, space, and baking frequency, but the key is ensuring it provides an airtight, moisture-proof barrier to keep your flour fresh and pest-free.

Syntus 150 Pcs Vacuum Sealer Bags for Food, 8×12+11×16+6×10, BPA Free
- Compatibility: Works with all desktop vacuum sealers
- PreCut Design: 150 bags in three sizes
- Convenient Sizes: Gallon, quart, pint sizes
As an affiliate, we earn on qualifying purchases.
As an affiliate, we earn on qualifying purchases.
How to Store Flour for Maximum Freshness in 5 Easy Steps
- Choose a high-quality airtight container, like a glass jar or vacuum bag, to prevent air and moisture infiltration.
- Pour your flour into the container carefully, leaving about an inch of headspace to allow for expansion or settling.
- Seal the container tightly, ensuring no gaps or leaks, to create an effective barrier against pests and moisture.
- Label it with the purchase date or the date of transfer to track how long it has been stored and to prioritize usage.
- Store in a cool, dark spot—ideally below 70°F (21°C)—away from direct sunlight, heat sources, and humidity, which can accelerate spoilage.
For example, a baker in Maine reports keeping her flour in a sealed jar in a closet away from heat sources. She notices her flour stays fresh for over a year, with no signs of pests or rancidity. This highlights how proper storage conditions can significantly prolong freshness and prevent spoilage, especially in variable climates or busy households.
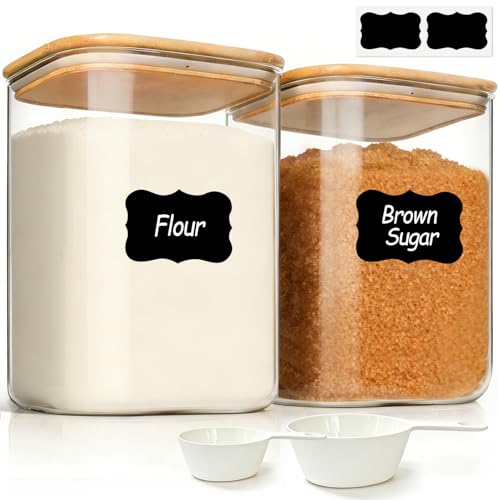
ComSaf Flour Sugar Storage Containers 4 Qt, Set of 2 Glass Flour Container
- Large Wide Opening: Easy access and cleaning
- Sturdy Thickened Glass: Durable and dishwasher safe
- Bamboo Lid with Seal: Keeps food fresh longer
As an affiliate, we earn on qualifying purchases.
As an affiliate, we earn on qualifying purchases.
How Freezing Flour Extends Its Shelf Life and Prevents Pests
Freezing flour is a highly effective method for extending shelf life and eliminating potential pests. Insects like weevils often lay eggs inside flour, which can hatch later, causing infestation. Freezing at 0°F (-18°C) kills these eggs and any live insects, making it a safe, chemical-free way to safeguard your supply. It also reduces oxidation, helping preserve flavor and nutrients. For maximum effectiveness, transfer your flour into a vacuum-sealed bag or airtight container before freezing. Allow the flour to sit in the freezer for at least 48 hours—this duration ensures all eggs and pests are destroyed. When you need flour, you can scoop out what you need directly from the freezer—no thawing required—saving time and maintaining freshness. However, be aware that freezing can cause slight clumping; stirring or sifting before baking ensures even distribution and optimal texture. This method is especially beneficial if you buy in bulk or store whole-grain flours, which contain higher fat content and are more prone to spoilage.

ProKeeper Flour Storage Container with Airtight Lid, 4-Quart Capacity
- Airtight 4-Quart Capacity: Keeps flour moisture-free with silicone seal
- Measurement Markings: Clear markings up to 15 cups on side
- Leveling Bar Included: For precise, mess-free measuring
As an affiliate, we earn on qualifying purchases.
As an affiliate, we earn on qualifying purchases.
Signs Your Flour Has Gone Bad — Don’t Ignore These Clues
Identifying spoiled flour is crucial because using it can negatively impact your baked goods, leading to off-flavors, poor texture, or even health risks. Rancid or sour smells are often the first indicators—flour that has gone rancid will develop a noticeable, unpleasant odor due to fat oxidation, especially in whole-grain or specialty flours. Discoloration, mold, or tiny bugs crawling through the flour are also clear signs of spoilage or infestation. If you notice any of these signs, discard the flour immediately to prevent contamination of other pantry items. For example, a home baker once found her whole wheat flour smelling musty after six months—she discarded it immediately, avoiding potential mold growth or baking failures. Regularly inspecting your flour, feeling its texture, and smelling it can help you catch spoilage early, saving you from wasted ingredients and subpar baked goods. Proper storage and frequent checks are your best defenses against using compromised flour.
Common Mistakes That Ruin Your Flour’s Freshness
Many bakers unintentionally undermine their flour’s longevity through simple mistakes. Storing flour in a warm, humid pantry or leaving the container unsealed exposes it to moisture, which can lead to mold, clumping, and spoilage. Using non-airtight containers in the fridge or freezer can cause condensation and moisture buildup, accelerating deterioration. Ignoring expiration dates or storing flour in inappropriate conditions prolongs the risk of rancidity or infestation. For example, a baker stored her flour in a paper bag in the fridge—soon, it developed mold due to moisture exposure. Using proper containers that seal tightly, keeping flour in a cool, dry place, and adhering to expiration guidelines can prevent these common pitfalls and preserve quality longer.
Your Quick Guide to Storing Flour So It Lasts Longer
To maximize flour’s shelf life, adopt a few simple yet effective habits. Keep flour in airtight containers—such as glass jars or vacuum-sealed bags—to prevent exposure to air and pests. Store in a cool, dark, and dry place—away from heat sources, humidity, and direct sunlight—that can accelerate spoilage. Consider freezing flour for extended storage, especially if you buy in bulk or use specialty flours prone to rancidity. Always label your containers with purchase or transfer dates and conduct regular inspections for off odors, discoloration, or bugs. These practices help maintain the quality and safety of your baking ingredients, saving you money and reducing waste. Imagine pulling a fresh bag of flour from your shelf, knowing it’s been stored properly—ready for that perfect loaf or batch of cookies. That’s the power of smart storage.