
TL;DR

Get baking supplies delivered free — and shop member deals
- Fast, free delivery on millions of items
- Access to Prime Big Deal Days deals on October 6–7
- Prime Video, Amazon Music and more included
Making focaccia with its characteristic dimpled, oily crust involves high hydration dough, proper fermentation, generous olive oil, and a high-temperature bake. These steps create a crispy, flavorful crust and airy interior, customizable with toppings.
Use high hydration (70-80%) dough for a light, airy crumb and perfect dimples.
Press fingertips gently into fully proofed dough to create durable, beautiful dimples.
Generously oil the surface before and during baking to develop a crispy, flavorful crust.
Bake at 450°F on a preheated surface for even, blistered crusts.
Experiment with toppings and flours to customize your focaccia while maintaining the core technique.
Why High Hydration Is the Secret to Light, Fluffy Focaccia
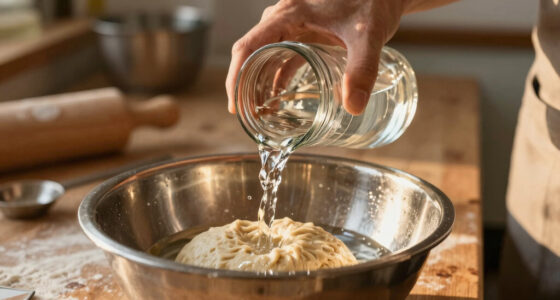
High hydration dough (around 70-80%) is the backbone of that airy, open crumb and those irresistible dimples. It makes the dough more elastic and easier to stretch without tearing, giving you a light, moist interior. When you mix in plenty of water, the gluten network develops more thoroughly, creating a structure that holds gas and traps bubbles.
Imagine pouring a thick batter — it’s more forgiving and results in a softer, more tender bread. That’s exactly what high hydration does for focaccia. For example, using 75% hydration (75 grams of water for every 100 grams of flour) is a sweet spot for most home bakers.
However, higher hydration can be tricky to handle because the dough is stickier and more delicate. This means you need to develop your handling skills to avoid tearing and to shape the dough properly. The tradeoff is a bread with a more open, airy crumb and a crust that develops more complex textures and flavors due to the increased moisture content.
high hydration focaccia baking kit
As an affiliate, we earn on qualifying purchases.
As an affiliate, we earn on qualifying purchases.
Mastering the Dimple: Pressing Tips That Prevent Collapse
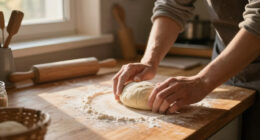
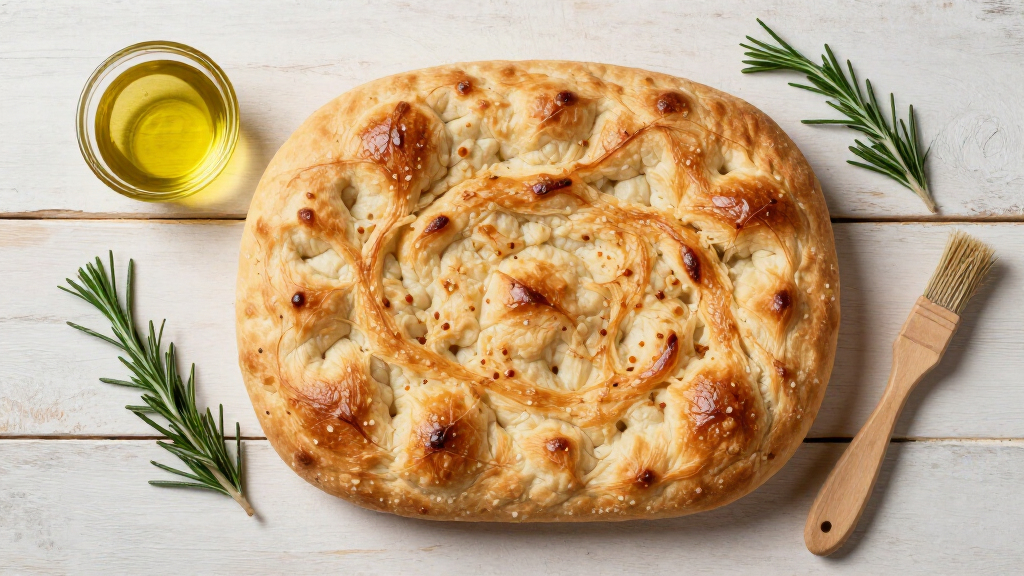
The dimpled surface on focaccia isn’t just decorative; it’s functional. It helps trap oil and toppings, and gives the crust its characteristic crunch. To do it right, press gently but firmly with your fingertips, creating deep, uniform indentations without deflating the dough.
Timing is key: wait until the dough has fully proofed and is airy. If you press too early, the dough might still be too tight and spring back, losing the intended dimples. If you press too late or too hard, the indentations may collapse or cause the dough to deflate unevenly, which can affect the final texture and appearance.
Understanding the balance here is crucial: pressing too hard or too early can compromise the dough’s structure, leading to a dense or uneven crumb. The goal is to create indentations that are deep enough to hold oil and toppings, but gentle enough not to tear the gluten network. After proofing, use your fingertips to press down with a controlled, consistent pressure—about half an inch deep—so the dimples are a defining feature that enhances both flavor and texture.
As an affiliate, we earn on qualifying purchases.
Oiling and Topping: How to Get That Crispy, Oily Crust
Generous olive oil is what transforms a simple bread into focaccia. Before baking, drizzle about 2-3 tablespoons of high-quality extra virgin olive oil over the dough. Use your fingers or a brush to spread it evenly into the dimples. This oil seeps into the dough, creating that crispy, flavorful crust.
Adding toppings like rosemary, sea salt, garlic, or cherry tomatoes before baking enhances flavor and texture. For a richer crust, brush a bit more oil on the surface after the first 10 minutes of baking.
In a typical scenario, I like to sprinkle coarse sea salt and chopped rosemary after pressing the dimples, then drizzle with olive oil. The result? A fragrant, crispy crust with a perfect oily sheen. The oil not only contributes to the crust’s crunch but also influences the flavor, making each bite more indulgent. The tradeoff is that too much oil can make the bread overly greasy, so balancing the amount and timing of oil application is key to achieving that perfect crispy, oily crust without excess greasiness.
As an affiliate, we earn on qualifying purchases.
Baking at the Right Temp: Achieving That Golden, Crispy Crust
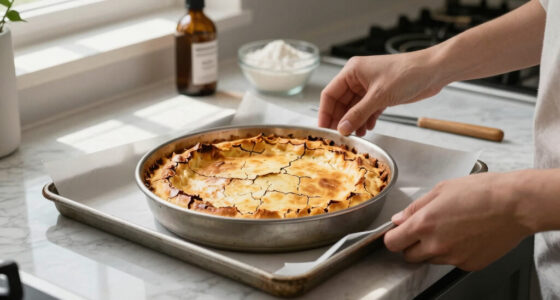
Baking at a high temperature—around 450°F (230°C)—is essential to develop a crispy, golden crust. Preheat your oven and baking sheet or stone at least 30 minutes before baking. This ensures heat is evenly distributed and helps form that irresistible crust quickly.
Use a well-heated baking surface to mimic professional ovens. If you have a pizza stone, place it in the oven during preheating. This step guarantees a crust that’s crispy on the outside but tender inside.
For example, baking a small focaccia on a preheated stone for 20 minutes yields a crust that’s perfectly blistered and crunchy—noticeable not just visually but in the satisfying crunch with each bite. The high heat causes rapid moisture evaporation on the surface, developing the crust’s structure and flavor while keeping the interior moist and airy. The tradeoff is that baking at too high a temperature without proper preheating can lead to burning or uneven browning, so always ensure your oven is fully preheated and monitor the baking process.
As an affiliate, we earn on qualifying purchases.
Recent Trends in Focaccia: From Sourdough to Flavored Oils
In recent years, bakers have experimented with sourdough starters, adding depth to flavor and improving digestibility. Sourdough focaccia develops complex, tangy notes that pair beautifully with simple toppings like sea salt and herbs. The natural fermentation process also enhances the dough’s extensibility, making it easier to stretch and shape, while adding a subtle complexity that elevates the bread beyond basic recipes.
Specialty flours like spelt or rye are gaining popularity, offering richer flavors and different textures. These flours often have different hydration needs and gluten structures, which can affect the dough’s elasticity and how it holds the dimples. Infused oils—like chili or herb oil—are making their way onto the top, adding a layer of boldness and aroma that complements the bread’s natural flavors.
Plus, healthier tweaks like reducing salt or using olive oil blends with other healthy fats help create a more balanced, dietary-conscious version. The key is balancing tradition with innovation for a focaccia that’s both tasty and nourishing. These trends reflect a broader desire for more complex flavors, health benefits, and creative presentation, encouraging bakers to experiment while respecting classic techniques.
Key Facts You Need to Know to Make Perfect Focaccia
- Origin: Focaccia hails from Liguria, Italy, and is celebrated for its airy crumb and flavorful crust.
- Surface: The dimples trap oil and toppings, crucial for flavor and crunch. They also help control how toppings settle and bake, ensuring even distribution and preventing toppings from sliding off during baking.
- Oil: Olive oil isn’t just a topping; it’s baked into every layer, creating that oily, crispy crust. The oil’s quality and amount influence the crust’s texture, flavor, and richness, with higher-quality oils imparting more nuanced flavors.
- Temperature: Baking at 450°F ensures a blistered, golden crust with a tender interior. The high temperature accelerates Maillard reactions, developing flavor and color while sealing in moisture, but requires careful monitoring to prevent burning.
Your Top Questions About Making Focaccia Answered
- How do I get the perfect dimpled surface without deflating the dough? Gently press with your fingertips after proofing, ensuring the dough is airy and well-risen. Wait until the dough is fully proofed before dimpling to maintain structure.
- Can I make focaccia without a stand mixer? Absolutely. Mix and knead by hand, using your knuckles to stretch and fold the dough. It may take a few extra minutes but works just as well.
- What type of olive oil is best? Use high-quality extra virgin olive oil for rich flavor and aroma that shines through in the baked crust.
- How long should I proof the dough? Usually 1-2 hours at room temperature for bulk fermentation, plus an overnight slow proof in the fridge for flavor development.
- Can I add different toppings? Yes! Focaccia is adaptable—try caramelized onions, olives, cheeses, or even sweet toppings like figs and honey.
- What makes the crust oily and crispy? Generous application of olive oil before and during baking, plus baking at high heat, creates that crispy, oily crust everyone loves. The oil helps conduct heat and enhances browning, leading to a more desirable texture.
- How do I prevent it from becoming too greasy? Use a moderate amount of oil and drain excess if necessary after baking. Balance is key, as too much oil can make the bread overly greasy and heavy, diminishing the crispiness and overall eating experience.
Frequently Asked Questions
Can I make focaccia ahead of time?
Yes. Bake it, let it cool slightly, then store in an airtight container. To re-crisp, warm it in a hot oven for 5-10 minutes. It tastes best fresh but keeps well for a day or two.How do I know when the focaccia is fully baked?
Look for a deep golden color, blistered surface, and a crisp bottom. If you tap the crust, it should sound hollow. Internal temperature should reach about 200°F (93°C).Can I make a gluten-free version?
Yes, but it requires a different dough formulation, often with a gluten-free flour blend and extra binding agents. Expect a different texture, but with the right technique, you can still get a delicious, crispy focaccia.Conclusion
Mastering the dimpled, oily crust on focaccia boils down to technique and patience. Gently pressing into proofed dough, using quality oils, and baking hot make all the difference. Next time you bake, think of your focaccia as a canvas—each dimple and drizzle of oil adds to its character and flavor. Enjoy every crunchy, fragrant bite as proof that simple steps make spectacular bread.Fall Picks
fall essentials
As an affiliate, we earn on qualifying purchases.