
TL;DR

Get baking supplies delivered free — and shop member deals
- Fast, free delivery on millions of items
- Access to Prime Big Deal Days deals on October 6–7
- Prime Video, Amazon Music and more included
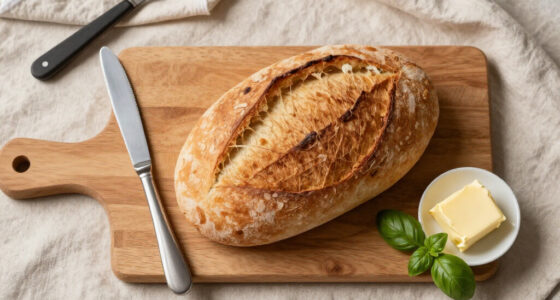
Making ciabatta at home relies on high hydration dough—75-85% water—creating a wet, sticky mix. Mastering gentle handling, fermentation, and baking methods results in rustic, open-crumb loaves with a crispy crust. Modern tools and techniques have made this easier than ever.
High hydration (75-85%) is key to authentic ciabatta’s airy crumb and rustic crust.
Handling wet dough requires gentle stretch-and-folds, minimal flour, and patience.
Using steam during baking is essential for that signature crispy crust.
Long fermentation, especially overnight, deepens flavor and improves texture.
Tools like a Dutch oven or pizza stone elevate your results, mimicking professional ovens.
Why High Hydration Makes Ciabatta Special (And How to Handle It)
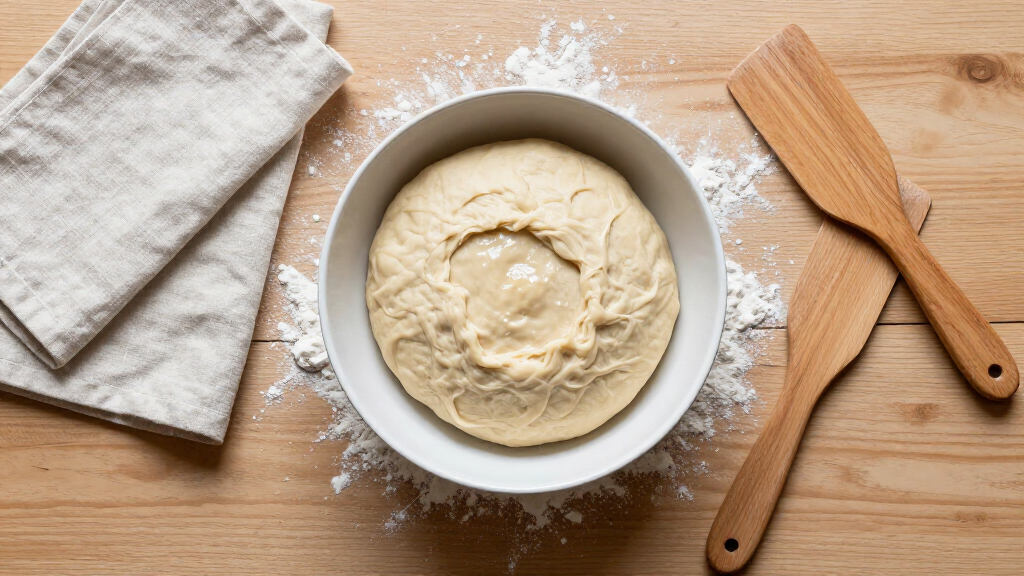
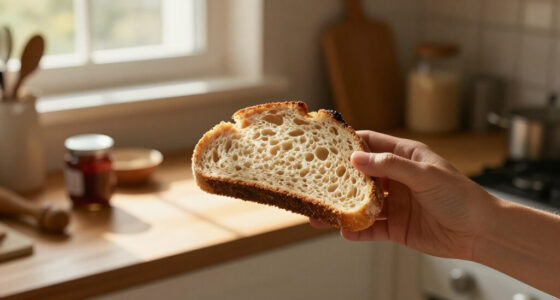
Ciabatta’s unique texture comes from its high water content—often 75-85%, which makes the dough wet and sticky. This isn’t a flaw; it’s a feature. The extra moisture creates those large, irregular holes and a crust that’s crispy and golden. But handling this dough requires a different mindset and technique.
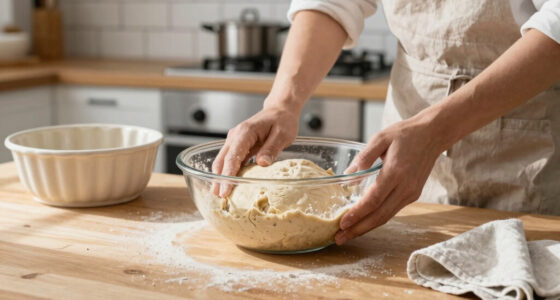
Instead of kneading like traditional bread, you’ll use stretch-and-folds. Think of the dough as a thick, gooey mass that needs gentle encouragement, not force. Using well-floured hands, a bench scraper, or oiled tools helps prevent sticking and keeps the dough manageable. It’s messy, yes—but that’s part of the charm. The high hydration level also means the gluten network develops more slowly and delicately, resulting in a more open crumb. However, it makes the dough more prone to tearing or collapsing if mishandled, so patience and gentle techniques are crucial. The tradeoff is that this method yields a loaf with a lighter, more aerated structure and a more complex flavor, thanks to the extended fermentation that high hydration encourages.
As an affiliate, we earn on qualifying purchases.
3 Easy Steps to Master Wet Dough Handling
- Use the right tools: Keep a bench scraper and plenty of flour or oil nearby. Use a large, non-stick surface or parchment paper.
- Gentle stretch and fold: Every 30-45 minutes during bulk fermentation, lift the dough edges and fold over itself. Repeat 3-4 times. This develops gluten without deflating the dough, ensuring the structure remains airy and open. The key is to treat the dough as a delicate, living thing—carefully coaxing it to develop strength without tearing the gluten network. This slow gluten development results in a more extensible dough, which is easier to shape and results in a better crumb.
- Don’t rush shaping: Transfer the dough onto a floured surface. Use your hands to gently shape into a rectangle, then transfer onto a floured couche or parchment for proofing. The gentle handling preserves the delicate air pockets formed during fermentation, which are essential for that signature open crumb. Rushing or over-flouring can flatten these bubbles, leading to denser bread. Patience here ensures the loaf’s final texture is light, airy, and rustic.
Imagine working with a thick, sticky pudding that needs gentle coaxing. Rushing or over-flouring can deflate those beautiful air bubbles you’re after. Patience and gentle touches are your best friends here, as they preserve the dough’s delicate structure and maximize the airy, irregular holes that make ciabatta so distinctive.
As an affiliate, we earn on qualifying purchases.
Pro Tips for Achieving That Deliciously Crispy Crust
Crust is all about steam and heat. Preheat your oven with a baking stone or Dutch oven at 250°C (480°F). Use a tray of water or spray steam into the oven during the first 10 minutes of baking. This creates that crackly, golden exterior that makes ciabatta so irresistible.
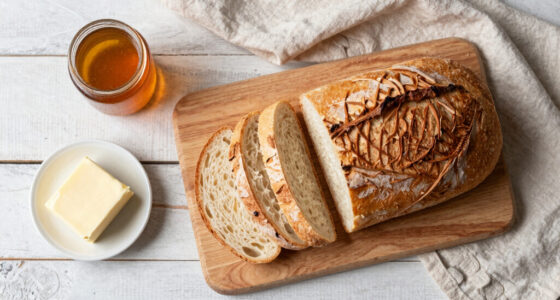
Remember, high heat and moisture are your allies. Baking in a Dutch oven traps steam, mimicking professional ovens. The result? A crust that shatters with each bite, revealing a soft, airy crumb inside. The steam allows the crust to expand rapidly, creating that signature blistered and crackly surface. Without sufficient steam, the crust can become dull or hard, and the loaf might not expand properly. Achieving the perfect crust involves balancing oven temperature, steam, and baking time, but the payoff is a visually stunning, flavorful crust that enhances the overall eating experience.
As an affiliate, we earn on qualifying purchases.
Why Longer Fermentation Improves Flavor and Texture
High hydration dough benefits from longer fermentation—often 12-16 hours—especially if using sourdough or cold fermentation. It develops more complex flavors and better gluten structure. For instance, a dough fermented overnight in the fridge can taste richer and produce a more open crumb. This extended fermentation allows enzymes to break down starches and proteins gradually, resulting in a dough that not only tastes better but also handles more easily during shaping. The slow fermentation process enhances the depth of flavor, producing subtle sour notes and a richer aroma, while also improving extensibility—making the dough easier to stretch without tearing. The tradeoff is longer wait time, but the resulting loaf offers a more sophisticated flavor profile and a more delicate, open crumb structure that’s hard to achieve with shorter fermentations.
Think of fermentation as giving the dough time to develop its full character—like aging wine. This patience translates into a loaf that’s not only more flavorful but also easier to shape, with a more refined texture and a better rise during baking.
As an affiliate, we earn on qualifying purchases.
Frequently Asked Questions
How do I keep the dough from sticking everywhere?
Use plenty of flour or oil on your hands and work surface. A bench scraper also helps lift and fold the dough without sticking. Remember, gentle handling preserves the air pockets you want.Can I make ciabatta without a stand mixer?
Absolutely. The key is doing stretch-and-folds during fermentation. It takes a bit more time and effort, but the results are just as good—airy, rustic bread with minimal equipment.What’s the best way to get a crispy crust at home?
Bake in a preheated Dutch oven or on a hot pizza stone, and add steam during the first 10 minutes of baking. This traps moisture and creates that signature crackly exterior.How long should I ferment the dough?
Typically 4-6 hours at room temperature, or overnight in the fridge for more flavor. Longer fermentation develops complexity and improves dough extensibility.Can I use whole wheat or other flours?
Yes, but you may need to adjust hydration slightly. Whole wheat absorbs more water, so increase hydration by 5-10% for best results.Conclusion
Making ciabatta at home with wet, sticky dough is less about precision and more about patience and gentle handling. Once you embrace the mess, you unlock a loaf with a crust that shatters and a crumb full of irregular, satisfying holes. It’s a bread that rewards your effort with flavor, texture, and a little bit of baking magic.Fall Picks
fall essentials
As an affiliate, we earn on qualifying purchases.
![Dove Mangiare A Milano: Le Nuove Aperture [In Aggiornamento]](https://aromashealthybake.com/wp-content/uploads/2026/09/dove-mangiare-a-milano-le-nuove-aperture-in-aggiornamento-featured-260x140.jpg)