TL;DR
Laminating dough at home is achievable with patience and cold ingredients. Keep everything chilled, roll carefully, and rest frequently. Practice makes flaky layers possible outside a professional kitchen.
Always keep your ingredients and workspace cold—temperature is king in lamination.
Chilling the dough and butter between folds is essential for flaky layers.
Patience and gentle handling produce the best results; rushing causes butter leakage or tears.
Use simple tools like a ruler or adjustable rolling pin to ensure even layers.
Practice makes perfect—your first few attempts may not be perfect, but persistence pays off.
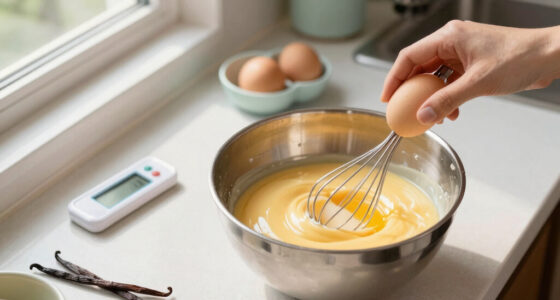
Why Cold Ingredients Are Your Best Friend for Lamination
To get those crisp, flaky layers, everything needs to stay cold. Warm butter melts into the dough, ruining the layers. Think of it like trying to fold a sticky, greasy paper—impossible without chilling first.
Use high-fat, European-style butter straight from the fridge, and keep your water and dough cold. If the room temperature rises, pop your dough into the fridge for 15 minutes. A cool environment ensures butter stays firm and layers stay distinct.
Imagine trying to layer a thin sheet of ice; it works best when everything stays frozen. This patience with chilling is what separates amateur attempts from bakery-quality lamination.
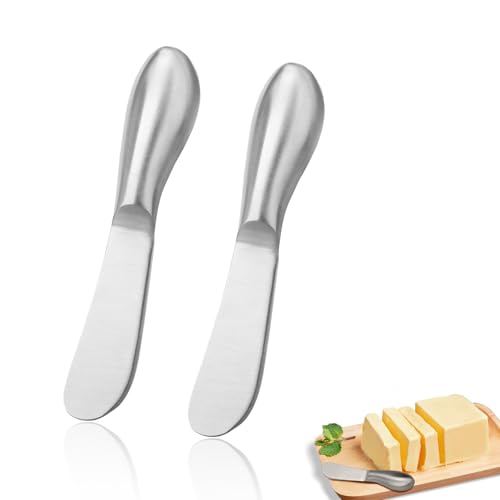
IJPDDRXYN 2 Pcs Stainless Steel Butter Knives, Multipurpose Spreader Set for Cold Butter, Cream Cheese, Jam, Pastry & Charcuterie Board, Multipurpose Kitchen Gadgets
【Seamless One-Piece Stainless Steel Construction】Crafted from premium, food-grade stainless steel in a seamless one-piece design, this butter knife…
As an affiliate, we earn on qualifying purchases.
As an affiliate, we earn on qualifying purchases.
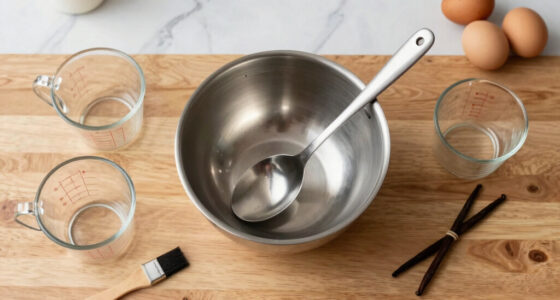
Step-by-Step Guide to Laminating Dough at Home
- Prepare your ingredients: Use very cold butter and water. Make sure your workspace is cool.
- Create the butter block: Shape softened butter into a rectangle, then chill it until firm but pliable (about 15-20 minutes).
- Make the dough: Mix flour with cold water and a pinch of salt until just combined. Chill for 30 minutes.
- Roll out the dough: On a floured surface, roll the dough into a large rectangle about 1/4-inch thick.
- Add the butter: Place the chilled butter block in the center of the dough, then fold the dough over it, sealing the edges.
- The folding process: Roll the dough into a long rectangle, then fold it into thirds (like a letter). Chill for 20 minutes.
- Repeat folds: Perform 3-4 more turns, chilling between each to keep everything cold.
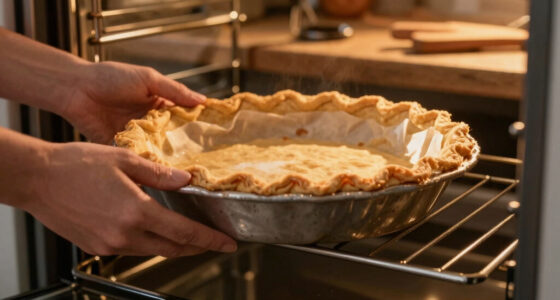
- Final rolling: Roll out the layered dough to your desired thickness, then shape and bake.
Patience is key. Rushing will melt the butter or tear the dough. Every fold creates more layers—more folds, flakier results. Understanding why each step matters helps you troubleshoot and refine your technique, leading to more consistent, bakery-quality layers.
lamination dough rolling pin
As an affiliate, we earn on qualifying purchases.
As an affiliate, we earn on qualifying purchases.
Comparing Home Lamination Tools to Professional Equipment
| Feature | Home Kitchen | Professional Kitchen |
|---|---|---|
| Rolling Pin | Standard wooden or silicone, adjustable rings helpful | Heavy-duty, professional-grade, large diameter |
| Work Surface | Countertop, kept cool and clean | Stainless steel, temperature-controlled |
| Temperature Control | Rely on fridge and cool room | Specialized climate chambers, blast chillers |
| Butter | European-style, high-fat, kept cold | High-quality, often clarified or specialized |
While professional tools make the process smoother, the core principles—cold ingredients, even rolling, patience—are the same. Your kitchen just needs to stay as cool as possible. Using the right tools can reduce effort and improve consistency, but the most critical factors are maintaining cold conditions and gentle handling. These tradeoffs mean you might spend more time adjusting or chilling, but the quality of your layers can still rival bakery standards with careful technique.
pastry dough scraper
As an affiliate, we earn on qualifying purchases.
As an affiliate, we earn on qualifying purchases.
Troubleshooting Common Lamination Problems at Home
If your layers aren’t flaky enough or the butter leaks out, don’t fret. Here’s what to do:
- Butter leaks: Chill the dough longer, handle gently, and work quickly. Keep everything cold. If butter starts seeping out, it indicates the butter was too warm or overworked, compromising the layers. Patience and proper chilling help maintain the butter’s structure, which is crucial for flaky layers.
- Layers aren’t even: Use a ruler to guide your rolling, and avoid overworking the dough. Uneven layers often result from inconsistent rolling or uneven folding, so precision here ensures a uniform, flaky result. Recognizing the importance of even layers helps you troubleshoot and improve consistency.
- Dough tears: Lighten your touch and chill if it gets too warm. Tears happen when the gluten develops too much or the dough warms, making it tough. Gentle handling preserves the dough’s integrity and allows for smooth folding.
- Butter melts: Work in a cool room, and refrigerate often. Melting butter during lamination causes the layers to merge and lose their distinctness. Maintaining a cold environment and frequent chilling prevents this, ensuring crisp, defined layers.
Remember, practice improves with each batch. Every mistake teaches you what to do differently next time. Deepening your understanding of these issues helps you develop a feel for the process, leading to more consistent, bakery-quality results.
adjustable rolling pin for even layers
As an affiliate, we earn on qualifying purchases.
As an affiliate, we earn on qualifying purchases.
Quick Tips to Make Home Lamination Easier and Better
- Use a silicone baking mat: It prevents sticking and helps keep the dough cold, which is vital for maintaining the layers’ structure.
- Chill between folds: Even a 10-minute freeze can significantly improve the firmness of the butter and ease handling, reducing the risk of tearing or melting.
- Work in small sections: Dividing the dough into manageable parts makes rolling and folding easier, especially if your workspace is limited or the dough becomes tough to handle.
- Handle with light touches: Avoid pressing too hard, which warms the dough and risks melting the butter or tearing the layers. Gentle handling preserves the delicate structure needed for flaky pastries.
- Keep tools cold: Chill your rolling pin and work surface if possible. Cold tools help maintain the dough’s temperature, preventing premature butter melting and ensuring even layers.