TL;DR
Laminating dough at home is doable with careful temperature management, a good rolling pin, and patience. Using fewer folds and keeping everything cold helps you achieve flaky, layered pastries without professional tools.
Maintain cold temperatures throughout the process to prevent butter from melting.
Limit folding to 3-4 times for easier handling and effective layering.
Rest the dough in the fridge between folds to relax gluten and keep layers distinct.
Use a ruler or guide to keep layers even, ensuring consistent flakiness.
Patience and gentle handling are critical for successful lamination at home.
What Is Laminated Dough and Why It Matters
Laminated dough involves folding and rolling butter into dough multiple times to create thin, layered sheets. This process is what gives pastries like croissants and puff pastry their signature flakiness and lightness. When baked, each layer puffs up, trapping air and moisture to produce that irresistible crispness.
Think of it like making a layered cake with butter instead of frosting—each fold adds another delicate layer. But the key isn’t just the technique; it’s controlling temperature, handling, and patience. And you can do all that in your own kitchen, even without fancy equipment. The reason this matters is because proper lamination creates the structure that allows pastries to rise into those airy, flaky layers. If the butter melts or the layers tear, you lose that delicate texture and end up with a dense, greasy pastry. Mastering lamination means balancing the heat, the handling, and the timing—knowing when to chill, when to fold, and when to rest. It’s a dance of science and art that results in bakery-quality treats right in your own home.
home laminated dough rolling pin
As an affiliate, we earn on qualifying purchases.
As an affiliate, we earn on qualifying purchases.
How to Prepare Your Dough and Butter for Laminating
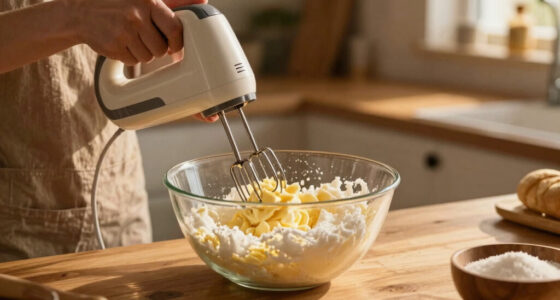
Start with cold ingredients. Cold butter and dough are essential because they prevent the butter from melting into the dough during rolling, which would ruin the distinct layers. Using high-fat, European-style butter ensures that the butter stays firm yet pliable, which is crucial for forming clean layers. Chill your butter block in the fridge for at least an hour before starting—this ensures it maintains its shape and won’t smear or melt when rolled.
Prepare the dough by mixing it with cold water and minimal handling to prevent gluten development, which can make the dough tough and less pliable. Wrap it in plastic and chill it for 30 minutes to relax the gluten and keep it firm. Meanwhile, shape the cold butter into a rectangle about the size of your dough. For example, if your dough is 10×8 inches, make your butter block approximately 8×4 inches—this ratio helps in achieving even layers without excess butter oozing out or tearing. Keeping both components cold and similar in temperature is vital because it allows the butter to stay distinct from the dough during rolling, which is the foundation for flaky layers. If you notice the butter starting to soften or the dough becoming sticky, it’s time to chill again. The tradeoff is that working with very cold ingredients can be challenging—dough can crack, and butter can be hard to shape—but patience and gentle handling will improve your results.
cold butter for pastry
As an affiliate, we earn on qualifying purchases.
As an affiliate, we earn on qualifying purchases.
Step-by-Step: How to Laminate Dough in a Small Kitchen
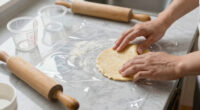
- Encase the butter: Roll your dough into a rectangle, place the butter in the middle, then fold the dough over the butter to enclose it completely. This step is like wrapping a gift—ensuring the butter is fully sealed inside prevents it from oozing out during rolling. A well-encased butter layer creates the initial foundation for the flaky layers.
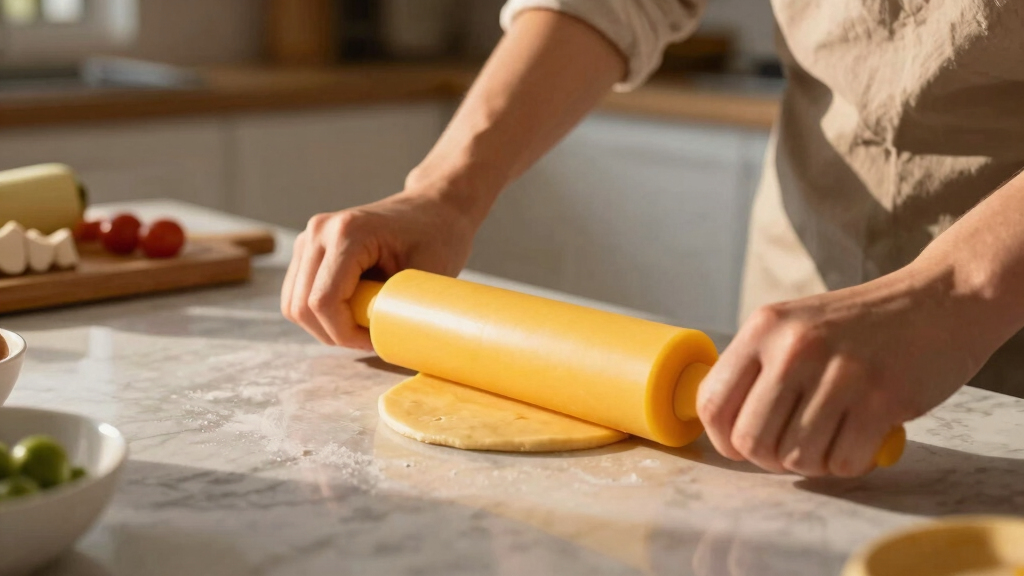
- Roll out and fold: Lightly flour your surface, then roll the dough into a larger rectangle. Fold into thirds like a letter, which redistributes the butter evenly and creates multiple layers. Turn the dough 90 degrees and repeat the rolling and folding process. This technique is similar to folding a paper fan—each fold multiplies the layers, but overdoing it can cause the butter to melt or layers to tear. The tradeoff is that more folds increase flakiness but also the risk of butter leakage or gluten development. For home bakers, 3-4 folds strike a balance between complexity and results.
- Repeat the process: Roll out again and fold. Chill the dough for 20-30 minutes between folds to maintain cold temperatures and prevent the butter from melting. Chilling allows the gluten to relax and keeps layers distinct—a crucial factor for achieving that delicate crispness in the final pastry.
- Rest and chill: Wrap your laminated dough tightly and chill it in the fridge for at least an hour before use. This resting period allows the gluten to relax further, which helps prevent shrinkage during baking and enhances flakiness. Think of it like letting a dough rest is like giving it a breather—making it easier to handle and more consistent in texture.
Tip: Use a ruler or a guide to keep your layers even. Even layers ensure consistent thickness, which translates into uniform puffing and flakiness when baked. Uneven layers can result in dense spots or uneven puffing, undermining the desired flaky texture.
puff pastry baking sheet
As an affiliate, we earn on qualifying purchases.
As an affiliate, we earn on qualifying purchases.
Common Challenges and How to Avoid Them
Keeping everything cold is your biggest challenge. Butter melting during rolling ruins layers because it causes the layers to fuse together rather than stay distinct. To prevent this, chill your dough, butter, and work surface often. Using a marble slab or chilled countertop can help maintain low temperatures because marble retains cold longer and helps prevent the butter from softening too quickly.
Overworking the dough introduces gluten, making layers tough and chewy instead of light and flaky. Handle the dough gently, and don’t roll too vigorously—think of it as a delicate dance rather than a workout. Rest periods relax the gluten and improve layering, so resist the temptation to rush through rolling or folding. If your butter starts oozing out during rolling, it’s a sign the dough is too warm or overworked. Immediately pop it back in the fridge for 15 minutes to re-chill. The tradeoff here is patience; rushing increases the risk of melting butter or tearing layers, which can compromise the final product’s texture.
dough scraper for laminated dough
As an affiliate, we earn on qualifying purchases.
As an affiliate, we earn on qualifying purchases.
Best Tips for Home Laminating Success
- Chill regularly—your dough and butter should stay cold throughout the process. Think of it as keeping your ingredients in a mini refrigerator during handling to prevent melting.
- Use a ruler or guide to keep layers even. Evenly layered dough ensures uniform puffing and crispness after baking, much like stacking bricks evenly creates a stable wall.
- Limit the number of folds to 3-4 for simplicity and to reduce the risk of butter melting or gluten overdevelopment. Each fold adds to the layers but also increases handling time and potential issues.
- Rest the dough in the fridge between folds. This step is crucial because it allows the gluten to relax and the butter to firm up, making subsequent rolling easier and more effective.
- Practice patience—rushing ruins layers and texture. Think of lamination as a slow dance rather than a sprint; taking your time leads to better results.
Quick Comparison: Traditional vs. Home Lamination
| Feature | Traditional (Professional Kitchen) | Home (Your Kitchen) |
|---|---|---|
| Tools Needed | Specialized equipment, temperature-controlled rooms | Rolling pin, fridge, simple surface |
| Number of Folds | 6-8 folds | 3-4 folds |
| Temperature Control | Highly controlled | Frequent chilling, cool room |
| Time Investment | Multiple hours across days | 2-4 hours, including resting |
Home lamination simplifies the process but still creates beautiful layers if you focus on temperature and patience. The main tradeoff is time and control—professional kitchens have equipment that maintains precise temperatures and environment, but with careful attention, home bakers can still produce excellent laminated dough.
How to Know When Your Layers Are Perfectly Laminated
Your dough should be firm, with visible, even layers after folding. When you roll it out, you’ll see thin, almost translucent sheets. If butter oozes out or layers tear, it’s a sign to chill more or handle gently. The visual cues are important because they indicate the quality of your lamination—well-laminated dough will show clear, distinct layers that hold their shape without spreading or tearing.
Think of it like a multi-layered sandwich—each layer should be separate but cohesive. When properly laminated, the layers will be so thin that you can almost see through them, much like a delicate tissue paper. If you notice uneven or thick layers, it suggests uneven rolling or insufficient folding. The implications are significant: well-laminated dough will puff into flaky layers during baking, while poorly laminated dough may result in dense or uneven pastries. Recognizing these signs early helps you adjust your technique for next time, ensuring consistent results.
Final Tips to Nail Laminated Dough at Home
Patience is your best friend. Keep everything cold, handle gently, and don’t rush the resting periods. Practice makes perfect—your first few attempts might not be perfect, but you’ll learn with each try. Think of lamination as a craft that improves with experience, much like learning to play an instrument. Each session teaches you how your ingredients respond and how to adjust your technique.
Use these steps as a foundation for flaky, layered pastries that rival bakery quality, right in your own kitchen. Remember, even experienced bakers sometimes need several tries to perfect their method. The key is consistent practice, attention to detail, and patience. Over time, you’ll develop a feel for the process and be able to produce beautifully laminated dough with confidence, creating treats that will impress everyone—even yourself.