TL;DR
The reverse creaming method involves mixing dry ingredients with fat first, then adding liquids. This technique creates cakes with a finer, more tender crumb and less gluten development, perfect for special occasion desserts. It’s a simple switch that elevates your baking game.
Ever wonder why some cakes melt in your mouth while others feel a bit dense? The secret often lies in the technique. The reverse creaming method is a game-changer, especially if you crave that bakery-quality tenderness at home.
Unlike traditional methods that beat butter and sugar first, this approach starts with dry ingredients and fat, then adds liquids gradually. The result? A *fine, moist, and impossibly tender* crumb that’s hard to beat. Ready to turn your cake baking around? Let’s get into how this simple shift can make your cakes stand out.
Start by mixing dry ingredients with softened butter to create a crumbly base.
Add liquids gradually to control gluten development and moisture retention.
Use this method for dense, moist cakes like pound cakes or layered sponges.
Avoid overmixing after liquids are added to keep the crumb tender.
Practice patience and precise measurements for the best results.
The Reverse Creaming Method for Impossibly Tender Cake
Coat the flour with softened fat first, add liquids gradually, and give gluten fewer chances to toughen your cake. One simple change creates a finer, moister, bakery-style crumb.
Coat, hydrate, finish
Butter coats the flour
Even, velvety crumb
Stop when just combined
Texture starts at the flour particle.
Gluten needs flour, water, and movement. Reverse creaming changes their order of introduction, creating a fat barrier before the flour can fully hydrate.
Butter forms a protective layer.
Softened fat disperses through the dry ingredients, coating flour and reducing its immediate contact with liquid.
Less hydration means less toughness.
With flour partially shielded, gluten develops more slowly and the finished cake stays delicate rather than chewy.
Smaller cells create a finer bite.
Controlled air incorporation produces a tight, even crumb that feels velvety while remaining stable enough for layers.
Four moves to a melt-in-the-mouth cake.
Measure first and mix with restraint. The goal is even coating and gradual hydration—not maximum speed or volume.
Combine the dry mix
Blend flour, sugar, baking powder, and salt until evenly distributed.
Cut in soft butter
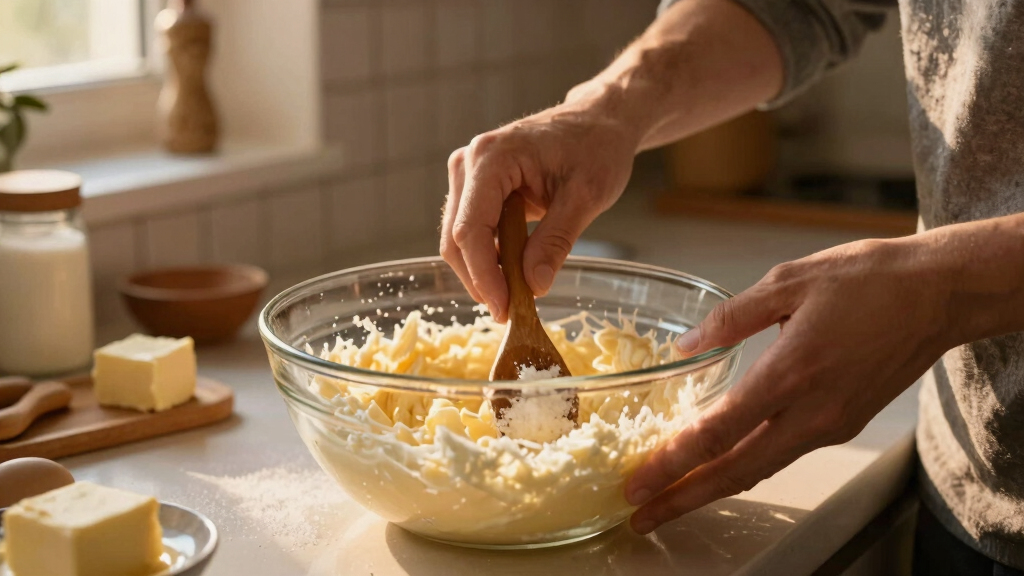
Mix until the blend resembles fine, damp sand or coarse crumbs.
Add liquid gradually
Pour in milk or buttermilk in stages, mixing gently after each addition.
Finish and bake
Add eggs and flavorings last. Stop as soon as the batter is cohesive.
Use softened—not melted or refrigerator-cold—butter. It should yield to pressure while still holding its shape, allowing it to coat the flour evenly.
Reverse vs. traditional creaming.
Neither method is universally superior. Choose according to the texture and structure your cake needs.
| Feature | Reverse creaming | Traditional creaming |
|---|---|---|
| Starting point | ✓ Dry ingredients + fat | Butter + sugar |
| Primary focus | ✓ Fine, controlled crumb | Air incorporation and lift |
| Gluten development | ✓ Lower and more controlled | ~ More potential development |
| Crumb texture | ✓ Very fine and tender | Open, lighter, sometimes firmer |
| Best suited to | ✓ Pound, layer and moist sponge cakes | Butter cakes needing greater aeration |
| Air-dependent cakes | ✗ Not ideal for chiffon or angel food | ~ Separate foam methods often preferred |
What changes inside the cake.
These qualitative tracks show the intended profile of reverse-creamed batter: high fineness and moisture, restrained gluten, and controlled rather than maximal aeration.
Choose it for the right bake
The tender-crumb checklist.
Reverse creaming rewards patience and accurate measurement. These controls keep the batter balanced and the crumb consistently soft.
Trace the tenderness
The chain matters: fat first limits how much flour can hydrate, gentle mixing limits gluten development, and the baked structure stays fine, moist, and stable.
Before you preheat.
A few practical decisions make the method easier to adapt to your favorite recipes.
Can every cake use this method?
No. It excels in moist butter cakes, pound cakes, and stable layers. Airy chiffon and angel food cakes depend on whipped egg foams.
Will the flavor change?
Not significantly. The method primarily changes texture and moisture retention, which can make the same flavors feel richer and smoother.
Which fats work best?
Softened butter is the classic choice, while shortening also coats flour effectively. Plant-based fats can work, though texture may vary.
How do I avoid dense batter?
Use accurately measured ingredients, add liquids gradually, and stop mixing as soon as the eggs and flavorings are incorporated.
Start with flour and fat. Finish with a cake that feels effortlessly luxurious.
Reverse creaming is a small procedural switch with a noticeable payoff: a fine, moist crumb, dependable layers, and bakery-quality tenderness at home.
What Exactly Is the Reverse Creaming Technique?
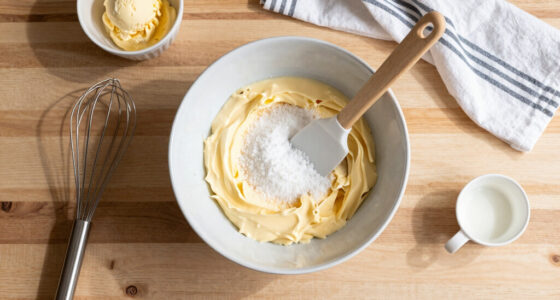
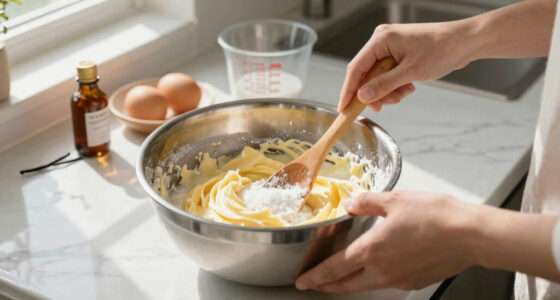
The reverse creaming method is a way to mix your cake batter that emphasizes starting with the dry ingredients and fat. You blend flour, baking powder, salt, and softened butter or shortening until it resembles coarse crumbs. Then, you slowly add your liquids, like milk or buttermilk, while mixing gently.
This approach differs from traditional creaming, where you beat butter and sugar first to incorporate air. Here, the focus is on building a fine, tender crumb by controlling gluten development and air incorporation.
Think of it like building a delicate layer cake—careful, precise, and designed for softness. This method is especially popular in recipes where tenderness and moisture are king, like pound cakes or layered sponge cakes.

OXO Good Grips 2QT Batter Mixing Bowl, White
- Bright red measurement markings: Easy to read measurements
- 8-cup capacity: Holds 2 quarts of ingredients
- Non-skid base: Provides stability during mixing
As an affiliate, we earn on qualifying purchases.
As an affiliate, we earn on qualifying purchases.
How Does Reverse Creaming Really Make Cakes Tender?
The magic lies in how gluten forms during mixing. When you beat butter and sugar first, you trap air, making the cake light but sometimes a bit dense. Reverse creaming keeps gluten formation in check by mixing the fat directly with flour first—like coating each flour particle with butter.
This coating prevents gluten from overdeveloping when liquids are added later. As a result, the cake develops a finer crumb, stays moist longer, and feels melt-in-your-mouth tender—like biting into a cloud.
For example, a baker aiming for a delicate wedding cake might prefer this method because it yields a velvety texture without sacrificing stability.

HOTEC 600℉ Heat Resistant BPA-Free Silicone Rubber Spatula Set,Kitchen Cooking Spatulas, Baking, Mixing for Non Stick Cookware, Dishwasher Safe, Set of 5, Khaki
- Material: Food Grade Silicone, BPA-Free
- Design: Seamless One-Piece Construction
- Heat Resistance: Up to 600℉ (315℃)
As an affiliate, we earn on qualifying purchases.
As an affiliate, we earn on qualifying purchases.
Step-by-Step: How to Nail the Reverse Creaming Method
- Gather your ingredients: flour, baking powder, salt, softened butter, milk, eggs, and flavorings.
- Mix dry ingredients with the softened butter until the mixture resembles coarse crumbs—use a pastry cutter or fork for even coating.
- Gradually pour in your liquids (milk, buttermilk), mixing gently after each addition, just until combined.
- Add eggs and flavorings last, mixing just enough to incorporate.
- Pour into your prepared pans and bake at the temperature specified in your recipe.
Pro tip: Use softened butter—not melted or cold—for a smooth, even crumb. And don’t overmix after adding liquids—stop as soon as everything is combined.
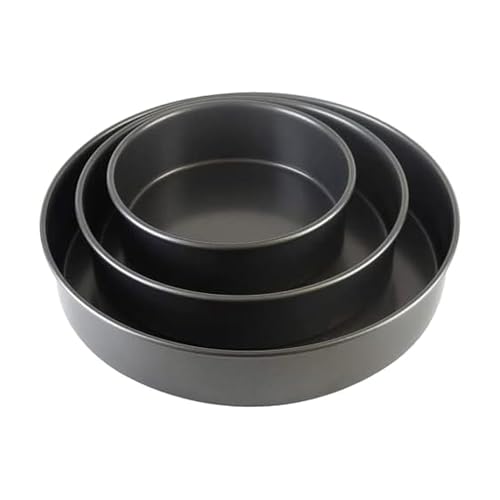
Chicago Metallic Professional Nonstick Round Cake Pan Set, 3-Piece Bakeware Set with 6 Inch, 8 Inch, and 10 Inch Pans, Heavy-Weight Aluminized Steel for Even Baking
- Set Includes: 6, 8, and 10 inch pans
- Material: Heavy-weight aluminized steel
- Baking Performance: Even heat conduction for consistent baking
As an affiliate, we earn on qualifying purchases.
As an affiliate, we earn on qualifying purchases.
Comparison Table: Reverse Creaming vs. Traditional Creaming
| Feature | Reverse Creaming |
|---|---|
| Starting point | Dry ingredients + fat |
| Mixing focus | Builds a fine, crumbly mixture |
| Air incorporation | Minimal, controlled |
| Crumb texture | Very fine, tender |
| Use for | Moist, tender cakes like pound or sponge |

Etekcity Food Kitchen Scale, Digital Grams and Ounces, 11lb
- Multiple Measurement Units: Supports oz, lb, fl oz, g, mL
- Tare Function Included: Zero out weight for accurate measurements
- Hassle-Free Operation: Includes 2 AAA batteries
As an affiliate, we earn on qualifying purchases.
As an affiliate, we earn on qualifying purchases.
Tips for Beginners: Making Reverse Creaming Work Every Time
- Use softened butter—not very cold or melted—to get even mixing.
- Add liquids gradually—don’t dump them all at once.
- Mix just enough—overmixing can toughen the crumb.
- Keep your ingredients measured carefully for consistency.
- Practice patience—this method rewards precision more than speed.
Picture yourself as a craftsman, carefully coating each flour particle with butter—patience makes perfect.
What Bakes Best with Reverse Creaming?
This technique shines brightest in dense, moist cakes where tenderness is the star. Think classic pound cakes, layered vanilla or chocolate sponge cakes, and even some fruit-filled cakes. It’s less suited for airy chiffon or angel food cakes, which rely on whipped egg whites for lift.
For example, a baker making a rich lemon pound cake notices how the crumb stays moist and melts on the tongue, thanks to reverse creaming.
Why More Home Bakers Are Turning to This Method
In recent years, the reverse creaming method has made a comeback, thanks to its ability to produce bakery-quality results at home. It’s especially popular among those who want a tender, moist crumb without fussing with complicated techniques.
Many bakers report that their cakes come out more consistent, with a velvety texture that’s perfect for layered cakes or special occasions. It’s like upgrading your baking toolkit with a secret weapon.
Frequently Asked Questions
Can I use reverse creaming with all types of cake recipes?
No, it’s best suited for dense, moist cakes like pound cakes or layered sponges. For airy cakes like chiffon or angel food, other techniques work better.Does reverse creaming change the flavor of my cake?
Not significantly. It mainly affects the texture and moisture retention, making the cake softer and more delicate without altering the flavor.What fats work best for reverse creaming?
Softened butter is ideal since it mixes evenly with flour. Shortening also works well. Experimenting with plant-based or alternative fats can be done, but results may vary.Is it easier to overmix using reverse creaming?
Less likely, because you mix only until ingredients are just combined. Overmixing can toughen the crumb, so keep your mixing gentle and brief after adding liquids.How do I prevent my batter from becoming too dense?
Add liquids gradually and avoid overmixing. Using softened butter and measuring ingredients accurately also helps keep the batter light and tender.Conclusion
The reverse creaming method is more than just a technique—it’s a shortcut to bakery-quality tenderness. Once you get the hang of it, you’ll wonder why you ever baked the traditional way.
Next time you want a cake that melts in your mouth, remember: start with dry ingredients and fat first. Your taste testers will thank you.