
TL;DR
Perfecting mousse, ganache, and chocolate desserts requires attention to technique, quality ingredients, and presentation. Understanding ratios, temperature, and creative variations helps you create desserts worth mastering, whether for everyday treats or special occasions.
Master gentle folding techniques for perfect mousse texture.
Adjust ganache ratios based on its intended use—pour, fill, or spread.
Proper tempering is essential for a shiny, crisp chocolate finish.
Experiment with flavors and modern ingredients to elevate classic recipes.
Patience and temperature control are your best tools for professional results.
How to Make a Fluffy, Stable Chocolate Mousse Every Time
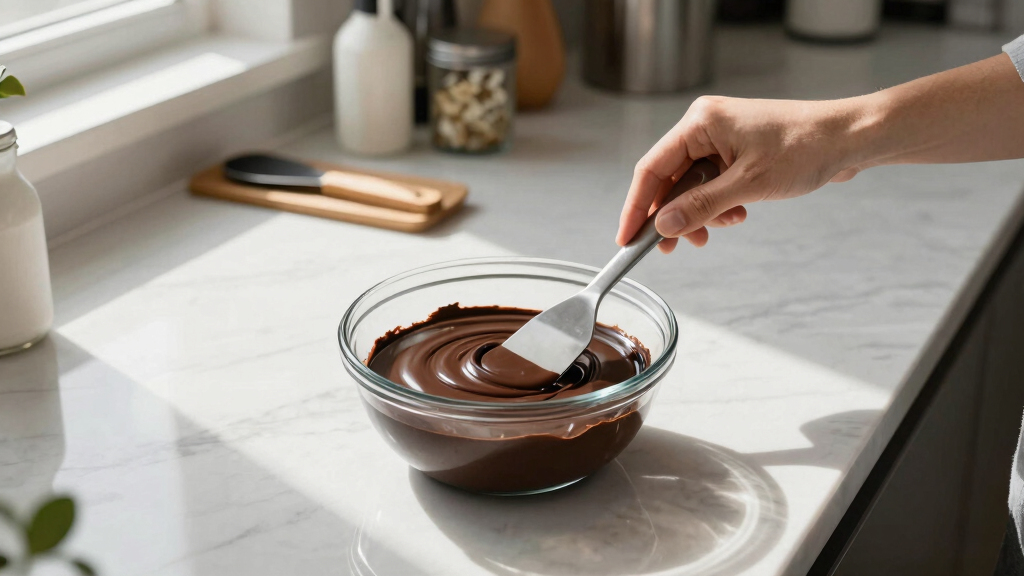
Chocolate mousse is about lightness and stability. The secret? Folding whipped egg whites or whipped cream into melted chocolate gently. This preserves the air, giving you that airy, melt-in-your-mouth texture. For a foolproof mousse, use fresh eggs or quality aquafaba for vegan options. Remember: fold in layers gradually, avoiding deflation.
Imagine a silky cloud resting on your spoon, with tiny bubbles that burst softly as you taste. Achieving this is less about fancy gadgets and more about patience and gentle technique. Chilling for at least 2 hours allows the mousse to set perfectly, making it firm enough to hold its shape yet soft enough to melt.
Why does this matter? Because the balance of air and chocolate directly impacts the mousse’s texture and appearance. Overfolding can deflate the mixture, resulting in a dense or heavy mousse, while underfolding might leave the mousse too airy and unstable. Proper chilling ensures the mousse maintains its structure during serving, preventing it from collapsing or becoming runny. Mastering this balance elevates your dessert from good to professional quality, ensuring each spoonful is delightfully light and perfectly set.

Efeng Candy Thermometer Spatula,Digital Cooking Thermometer with Pot Clip – Silicon Spatula with Meat Thermometer, Instant Read Temperature Reading for Candy,Chocolate,Grill Meat Cooking
- Multi-Purpose Thermometer: Measures oil, frying, and barbecue temps
- Silicone Spatula: Heat-resistant, removable spatula for mixing and serving
- Instant Read Thermometer: Fast, accurate readings from -58°F to 572°F
As an affiliate, we earn on qualifying purchases.
As an affiliate, we earn on qualifying purchases.
The Perfect Ganache Ratio for Every Use—Pour, Spread, or Fill
| Use Case | Chocolate to Cream Ratio | Texture & Consistency |
|---|---|---|
| Pourable glaze | 2:1 (chocolate:cream) | Fluid, glossy, perfect for draping over cakes |
| Filling or truffle center | 1:1 | Creamy, firm enough to pipe or mold |
| Frosting or ganache topping | 1.5:1 | Creamy but holds shape, ideal for spreading |
Adjust ratios based on your desired firmness. For a shiny, pourable glaze, a thicker chocolate mixture works best because it creates a more stable, glossy surface that adheres well to cake surfaces without running off. For truffles, a balanced 1:1 ratio ensures the ganache is smooth and firm enough to handle shaping without cracking or becoming too stiff. Remember: heating cream gently to just below boiling point encourages emulsification, resulting in a smooth, shiny ganache with a velvety finish. The ratio you choose influences both the appearance and handling properties — a slightly thicker mixture will be more durable and resistant to melting, while a thinner one offers a more fluid, elegant drape. Understanding these tradeoffs allows you to tailor your ganache precisely to your dessert’s needs, balancing aesthetics with practicality.
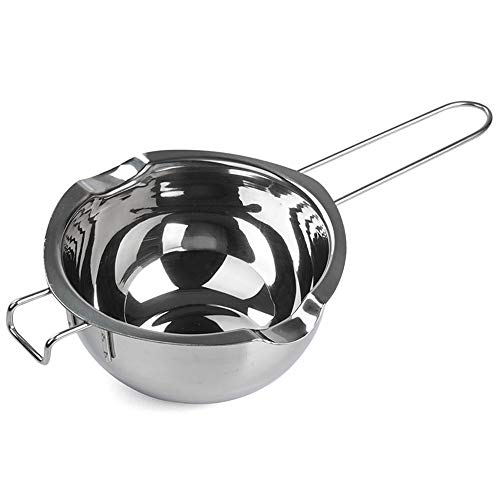
Stainless Steel Double Boiler Pot for Melting Chocolate,Candle Making 480ML
- Material: 18/8 stainless steel, rust-resistant
- Capacity: 480ml (2 cups) size
- Versatile Use: Melting butter, chocolate, candles
As an affiliate, we earn on qualifying purchases.
As an affiliate, we earn on qualifying purchases.
How to Perfectly Temper Chocolate for a Mirror Finish
- Chop your chocolate finely and melt it gently using a double boiler or microwave in short bursts, stirring often. This controlled melting prevents overheating, which can cause dullness and graininess, compromising the final appearance and texture.
- Heat until it reaches 45°C (113°F) for dark chocolate, slightly less for milk and white. This temperature ensures all fat crystals are melted uniformly, setting the stage for proper crystallization.
- Cool the chocolate to about 27°C (80°F), then reheat gently to 31°C (88°F) for dark or slightly lower for other types. This tempering cycle aligns the cocoa butter crystals, giving the chocolate its characteristic shine and snap. Skipping or rushing these steps can cause streaks, dullness, or bloom, which affects both appearance and texture.
- Pour or spread immediately while the chocolate is at the correct temperature, ensuring a shiny, crisp surface. Using a thermostat helps maintain precision, especially in humid environments where moisture can interfere with crystallization. Proper tempering is crucial because it determines whether your chocolate will have a mirror-like finish and a satisfying crunch, or a dull, soft surface that lacks appeal. The tradeoff is time and attention—taking the extra steps ensures a professional-looking, durable coating that elevates your desserts to a new level of finesse.
Think of tempering as giving chocolate a sleek, armor-like finish. When done right, it creates a mirror-like surface that snaps when broken. Avoid temperature fluctuations—using a thermometer helps keep everything precise, especially in humid kitchens.
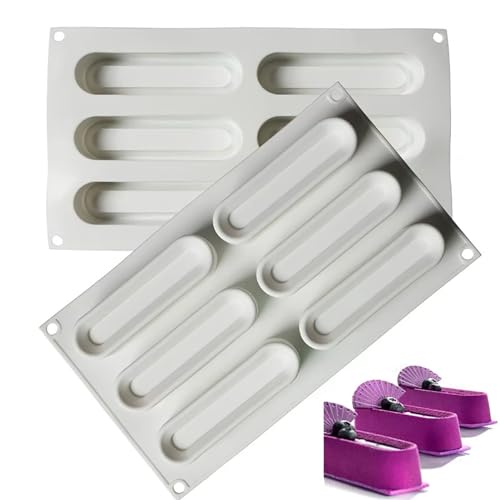
AFINSEA 3D Ellipse Silicone Chocolate Mold for Mousse Baking Cake French Dessert Mold for Pastry Chocolate,Jelly(8-Cavity)
- Food-Grade Silicone Material: Flexible, durable, non-stick, heat-resistant
- Safe for Multiple Appliances: Oven, microwave, dishwasher, fridge, freezer safe
- Easy to Release: Flexible, reusable, simple to pop out
As an affiliate, we earn on qualifying purchases.
As an affiliate, we earn on qualifying purchases.
Modern Twists on Classic Chocolate Desserts You Should Try
Today’s trends blend tradition with innovation. Think adding a hint of chili to your mousse for a spicy kick or infusing ganache with lavender or sea salt. Vegan recipes now often use coconut cream or aquafaba, expanding accessibility. You can also incorporate superfoods like matcha or goji berries for a health-conscious boost.
Adding these modern ingredients not only introduces new flavor dimensions but also allows you to experiment with textures and visual appeal. For example, a sprinkle of Maldon sea salt on a dark chocolate tart enhances the richness and depth, creating a complex flavor profile that balances sweetness with saltiness. Swirling chili paste into ganache before pouring over a cake introduces an unexpected fiery note that excites the palate. These twists challenge traditional boundaries, making your desserts more memorable and engaging, and also allow you to cater to diverse dietary preferences and health-conscious trends. Incorporating such elements requires understanding how flavors interact and how they can complement or contrast with the chocolate base, ultimately enriching the dessert experience.
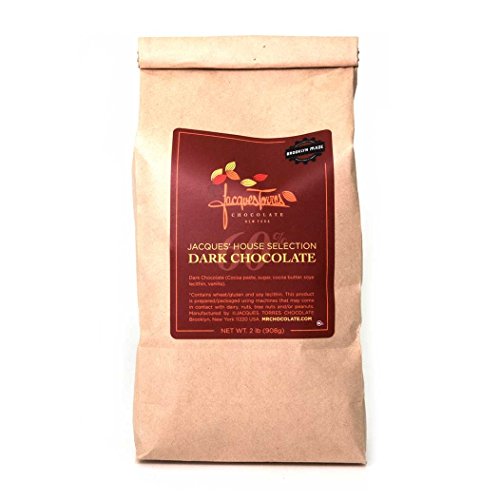
Jacques Torres Chocolate 60% Dark Chocolate Baking Discs – 2 Pounds
As an affiliate, we earn on qualifying purchases.
As an affiliate, we earn on qualifying purchases.
Common Mistakes and How to Avoid Them When Making Chocolate Desserts
One typical mistake? Overheating chocolate, which causes dullness and graininess. Always melt gently, stirring constantly to prevent localized overheating that can damage cocoa butter crystals and ruin the shine. Another pitfall: rushing the setting process—patience pays off. Proper cooling and chilling allow the chocolate to crystallize correctly, ensuring a glossy finish and good snap. Use a thermometer to monitor temperatures during tempering or melting, as precise control is key to achieving the desired texture and appearance.
Imagine trying to fold whipped egg whites into melted chocolate—do it too roughly, and you deflate all that air, losing the mousse’s lightness and volume. Gentle folding preserves the delicate air bubbles, which are essential for that airy texture. Lastly, poor storage can ruin your work: keep mousse and ganache covered in the fridge, away from strong odors, and consume within 2-3 days for best flavor and texture. Proper storage prevents moisture and odors from seeping in, which can compromise the finish and taste of your desserts. Being mindful of these common mistakes and understanding their implications helps you produce consistently beautiful, delicious, and professional-quality chocolate desserts.
Frequently Asked Questions
How do I make a smooth and fluffy chocolate mousse at home?
Start with high-quality chocolate and whip your eggs or aquafaba until fluffy. Gently fold the whipped component into melted chocolate, preserving as much air as possible. Chill for at least 2 hours, and serve with a garnish for extra flair.
What is the best ratio of cream to chocolate for ganache?
The ratio depends on use. For a pourable glaze, go with 2:1 (chocolate:cream). For a filling or truffle center, 1:1 works best. Adjust slightly if you want a firmer or softer consistency, but always aim for smooth, glossy texture.
How can I prevent ganache from becoming too thick or too runny?
Control your cream temperature and ratio. Too much cream or overheating can make ganache too soft; too little and it becomes stiff. Chill it in the fridge to firm up or gently reheat to loosen, always stirring well for even texture.
What are some creative flavor variations for traditional chocolate desserts?
Try infusing ganache with herbs like basil or spices like chili. Add citrus zest, espresso, or sea salt to enhance depth. For vegan options, use coconut cream and vegan chocolates, then swirl in fruit purees or liqueurs for a flavor boost.
How do I temper chocolate properly for a shiny finish?
Chop chocolate finely, melt gently, then cool it to about 27°C (80°F). Reheat carefully to 31°C (88°F), then pour or spread immediately. Use a thermometer to keep temperatures precise and avoid humidity or rapid temperature changes.