
TL;DR
Level, fill, and stack a cake confidently by using sharp tools, internal supports, and patience. Proper techniques prevent tilting, sliding, and uneven layers, making your cake look and hold together beautifully.
Ever tried stacking a cake only to see it tilt or slide apart? It’s frustrating—especially after all that effort. The truth is, perfect layer cakes aren’t just about recipes, but about technique. Small adjustments in leveling, filling, and stacking can make all the difference between a disaster and a showstopper.
In this guide, you’ll learn proven tricks to keep your layers even, your fillings tidy, and your cakes stable—so you can impress friends, family, or yourself with a flawless, tall masterpiece every time.
Always chill your cake before leveling and stacking to improve control and prevent crumbling.
Use a cake leveler or serrated knife for flat, even layers—precision matters.
Apply the filling in a thin, even layer—about 1/4 inch—to avoid squeezing out or gaps.
Support tall or multi-layer cakes with internal dowels or straws to prevent collapse.
Refrigerate after stacking and crumb coating to set everything in place before final frosting.
How to Get Smooth, Even Cake Layers Every Time
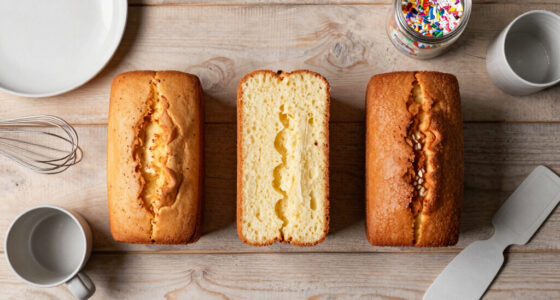
Leveling is the foundation of a stable, professional cake. Start with a perfectly baked cake that’s cooled completely. A domed top is common, but it can throw off your entire stacking game if left untrimmed. Using a serrated knife or a dedicated cake leveler, slice off the curved top to create a flat surface. For precision, a cake leveler with adjustable height is your best friend. Chill the cake for 30 minutes before cutting—this firms up crumb and makes slicing cleaner.
Imagine slicing into a chilled, firm cake. The knife glides smoothly, and the result is a flat, even surface ready for stacking. Take your time, and don’t rush this step. A level cake not only looks better but also prevents tilting or sliding when you add fillings and stack layers.
cake leveler with adjustable height
As an affiliate, we earn on qualifying purchases.
As an affiliate, we earn on qualifying purchases.
How to Fill Layers Without Squeezing Out or Creating Gaps
Applying the right amount of filling is crucial. Too much, and it oozes out, creating a mess. Too little, and the layers won’t hold together well. Aim for about 1/4 inch of filling—think of it as the thickness of a thick coin. Use an offset spatula to spread evenly from the center outward, starting with a generous dollop in the middle and working your way to the edges.
Picture spreading velvety buttercream that’s just thick enough to hold the layers together without squeezing out. If you notice filling spilling over, wipe the sides and reduce the amount. Evenly filled layers ensure a neat, stable stack without gaps or bulges.

Kootek Aluminum Cake Stand Turntable for Party, Base Giratoria Para Pastele
- Heavy-duty Construction: Made from durable aluminum alloy
- Smooth 360° Rotation: Built-in hidden ball bearings for easy turning
- Non-slip Surface: 12-inch non-slip surface with rubber feet
As an affiliate, we earn on qualifying purchases.
As an affiliate, we earn on qualifying purchases.
How to Stack and Support Your Cake for a Flawless Finish
Stacking cake layers smoothly requires attention to alignment and stability. Start by placing your first layer on a sturdy cake board or turntable. Use a dollop of frosting or a cake strip beneath it to prevent slipping. Carefully align each subsequent layer, gently pressing down to settle it into place. For taller or multi-tiered cakes, internal supports like dowels or straws are essential. Insert dowels at regular intervals—about 1 inch apart—and cut them flush with the top of the cake. This internal skeleton keeps the cake from shifting or collapsing.
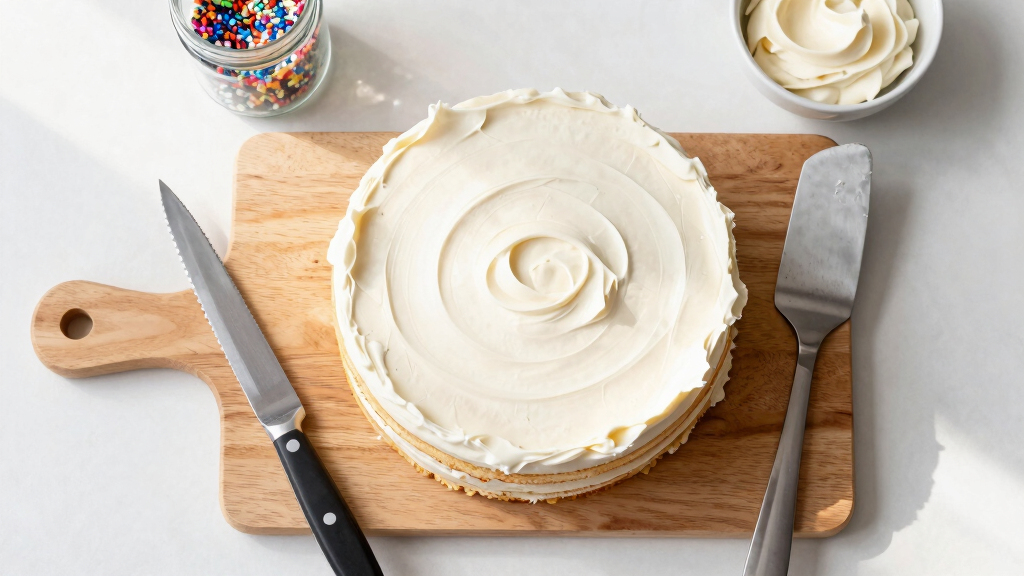
Think of the support system as the backbone of your cake. A well-supported cake stands tall, looks polished, and resists disasters during transport or slicing. After stacking, apply a crumb coat—a thin layer of frosting to seal crumbs—and refrigerate for 30 minutes. This sets everything in place before the final, smooth finish.
As an affiliate, we earn on qualifying purchases.
Modern Tools That Make Leveling and Stacking Easier
Technology has made cake assembly more forgiving. Adjustable cake levelers with serrated blades give you perfect, even cuts in seconds. Turntables allow you to rotate your cake smoothly, ensuring even frosting and alignment. Internal supports like acrylic dowels or plastic straws are now more user-friendly and come with guides for even spacing.
Imagine a cake where every layer is perfectly flat and centered—thanks to a leveler and a turntable. These tools save time and reduce mistakes, making even novice bakers look like pros. Plus, using eco-friendly, food-safe supports keeps everything safe and sustainable.
As an affiliate, we earn on qualifying purchases.
Your Step-by-Step Guide to a Disaster-Free Cake
- Chill your baked cakes for 30 minutes to firm up crumbs.
- Use a cake leveler or serrated knife to trim domed tops, making layers flat and even.
- Place the first layer on a stable surface or turntable. Add a dollop of frosting underneath if needed.
- Spread filling evenly, about 1/4 inch thick, starting from the center outward.
- Stack the next layer carefully, aligning it with the first. Repeat filling and stacking.
- Insert internal support dowels if stacking more than two layers or for tall cakes.
- Apply a crumb coat and chill for 30 minutes to set.
- Finish with a smooth final coat of frosting, using a bench scraper or spatula.
Following these steps turns a shaky, uneven cake into a tall, professional-looking masterpiece without disasters.
Frequently Asked Questions
How do I keep my cake layers from sliding when I stack them?
Use a sturdy cake board, apply a generous crumb coat, and add internal supports like dowels or straws for taller cakes. These steps create friction and stability, preventing slipping or tilting during assembly.
What’s the best way to cut a domed cake flat?
Chill the cake for 30 minutes to firm it up. Use a cake leveler for a straight, even cut, or a serrated knife if you prefer manual control. Working on a flat surface and going slowly helps achieve a smooth, level top.
How much filling should I use to avoid squeezing out?
About 1/4 to 1/2 inch of filling works well. Use an offset spatula to spread it evenly. Too much filling can spill over, so start with less—you can always add more if needed.
Can I assemble and refrigerate a cake overnight?
Yes, you can refrigerate after stacking and crumb coating to set the structure. Just cover loosely to prevent drying out. Avoid leaving it at room temperature for long periods, especially in warm or humid conditions.
What are the biggest mistakes to avoid?
Overfilling, rushing the leveling process, skipping internal supports, and not chilling between steps can lead to disasters. Take your time, use the right tools, and your cake will turn out stable and beautiful.
Conclusion
Perfecting your cake’s structure boils down to patience and the right tools. Focus on leveling, filling, and internal support, and you’ll avoid the common disasters that turn a beautiful cake into a mess. Remember: a stable, even cake isn’t just about looks—it’s about confidence and pride in your baking.
So next time you build a cake, think of it as building a tiny skyscraper—layer by layer, with care and support. Your masterpiece is just a few smart techniques away from perfection.