
TL;DR
Steam is essential for a crisp crust, glossy surface, and better oven spring in homemade bread. Using household tools like pans of water or Dutch ovens makes it easy to incorporate steam at home.
Adding steam during the first 10-15 minutes of baking boosts oven spring and creates a glossy, crispy crust.
Simple household tools like a pan of water, spray bottles, or Dutch ovens make adding steam easy and effective.
Timing and control are key—start steam at the right moment and remove or vent after 10-15 minutes.
Too much or too little steam can harm your bread; practice small adjustments for best results.
Experiment with different methods to discover what produces the best crust and rise in your oven.
How Steam Creates That Perfect, Crackly Crust
Steam is like a magic wand for crust formation. It delays the crust from setting too early, giving your bread room to expand (that glorious oven spring). When bread bakes, the heat causes gases inside the dough to expand rapidly, and the dough itself to rise. If the crust forms too quickly, it can restrict this expansion, resulting in a dense loaf. Steam provides the necessary moisture to keep the surface soft and pliable during the critical initial phase, allowing the bread to stretch and rise fully.
Furthermore, the moisture from steam interacts with the starches on the surface, gelatinizing them and creating a glossy, shiny crust. As the crust finally hardens, the moisture trapped inside escapes, leaving behind a crisp, crackly exterior. This process not only enhances appearance but also affects texture—an optimal balance of crust crunch and tender crumb depends heavily on this moisture dynamic. The tradeoff here is timing: too little steam and the crust may set prematurely, resulting in a dull or leathery surface; too much or prolonged steam can lead to a soggy crust or a crust that doesn’t develop the desired crunch. Mastering this balance is key to bakery-quality results.

Enameled Cast Iron Dutch Oven – Umite Chef 5QT Pot with Lid & Cotton Potholders – Heavy-Duty Cookware for Bread Baking, Braising, Stews, Roasting(Cream White)
- Even Heat Distribution: Heavy-duty enameled cast iron for even cooking
- Heat Retention: Thickened walls lock in heat for slow cooking
- Airtight Lid: Creates a tight seal to lock in moisture
As an affiliate, we earn on qualifying purchases.
As an affiliate, we earn on qualifying purchases.
Simple Ways to Add Steam in Your Home Oven
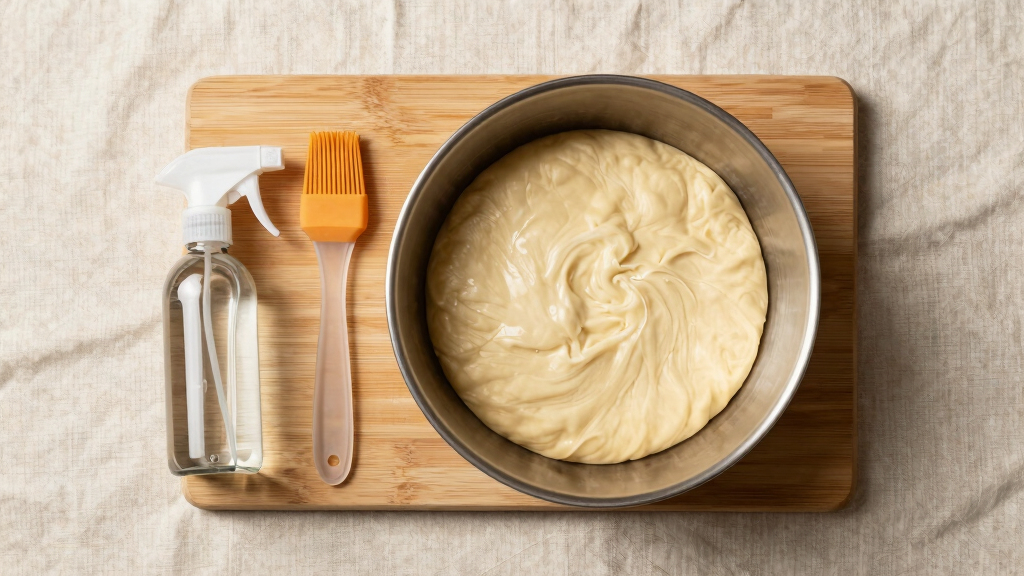
Creating steam at home isn’t just about adding moisture; it’s about understanding how each method influences the bread’s development. For instance, placing a pan of water in the oven generates a steady source of moisture that sustains steam during the initial baking phase, but if left too long, it can cause excess humidity, leading to a soft crust or even sogginess. Spraying water provides quick, controllable bursts of moisture, mimicking professional steam injections, but requires careful timing to avoid over-saturation. Using a Dutch oven traps moisture naturally, creating an enclosed environment that simulates professional steam-injected ovens, which is why it’s favored for rustic loaves and sourdough.
Each method impacts the crust differently. For example, a baker who preheats a heavy pan and adds boiling water just before baking benefits from a burst of steam that’s intense but short-lived, promoting rapid oven spring and shiny crust. The tradeoff is that inconsistent timing or too much water can lead to a soggy crust or uneven surface. Understanding these nuances allows you to tailor your approach: if you want a highly glossy, crackly crust, frequent misting combined with initial steam can be effective; if you prefer a more rustic, matte finish, a longer, gentler steam environment works better. The key is to experiment and observe how your bread responds to different moisture levels, adjusting accordingly for your specific oven and recipe.

Pavsrmy Baguette Bread Pan, Premium Nonstick Perforated Baguette Pan for French Bread Baking, 4 Loaves Baguette Baking Tray for Sourdough, Italian Bread, Perfect for Creating Crisp Golden-Brown Crust
- Bakes 4 loaves simultaneously: Bake up to 4 baguettes at once
- Creates crispy, golden crusts: Ensures evenly baked, crusty baguettes
- Food-grade non-stick coating: Easy release and cleanup
As an affiliate, we earn on qualifying purchases.
As an affiliate, we earn on qualifying purchases.
When and How Long to Keep the Steam Going
Timing is everything. Introducing steam at the very start of baking allows the dough to expand fully without restriction, leading to a better oven spring and a more open crumb. Maintaining that steam for the first 10-15 minutes is crucial because it sustains the dough’s ability to stretch and develop a glossy crust. Once this phase is complete, venting the oven or removing the cover allows excess moisture to escape, helping the crust to crisp and dry properly. If you remove the steam too early, the crust can harden prematurely, limiting oven spring; if you keep it too long, the crust may remain dull or soggy.
For example, when baking with a Dutch oven, keeping the lid on for the first 15 minutes traps enough moisture for optimal rise and crust development. After that, removing the lid exposes the bread to dry heat, promoting crust crunch. The tradeoff involves balancing moisture retention with drying: too much steam for too long can hinder crust crispness, while insufficient steam can produce a flat, dull loaf. Adjusting the duration based on your oven’s performance and bread type is essential—observe how your bread develops and modify your timing to find that perfect balance.
As an affiliate, we earn on qualifying purchases.
Why Your Homemade Bread Might Be Missing That Bakery-Quality Crust
Many home bakers overlook the importance of adding steam or underestimate its impact during baking. Without sufficient moisture, the crust cools and hardens prematurely, preventing the bread from reaching its full oven spring potential. This results in a dull, soft, or leathery crust, and can also cause the loaf to be denser and less airy. The absence of steam means the surface cools quickly, trapping less of the gases inside and limiting expansion. Additionally, the crust may develop uneven textures or fail to achieve that characteristic glossy, crackly finish that is the hallmark of bakery-quality bread.
For example, a baker who started spraying water during the first 10 minutes observed a drastic transformation: her loaves developed a shiny, crackly crust and a more pronounced oven spring. This simple change allowed the bread to fully expand and develop that sought-after bakery appearance and texture. The tradeoff here is that neglecting this step is like missing the key to unlocking the bread’s full potential—it’s a small change with a big impact. Without it, your bread may look less appealing and lack the desirable crust, making it appear less professional and less enjoyable to eat.
As an affiliate, we earn on qualifying purchases.
Comparison Table: Different Home Steam Techniques
| Method | Ease | Effectiveness | Best For |
|---|---|---|---|
| Pan of water in oven | Easy | High, especially for crust gloss and oven spring | Crusty artisan loaves |
| Spraying water | Very easy | Good control, enhances crust shine | Everyday baking |
| Using Dutch oven | Moderate | Excellent for crust and oven spring | Rustic loaves, sourdough |
| Steam injection systems | Complex, professional | Very high, used in bakeries | Commercial baking |
Common Mistakes When Using Steam and How to Avoid Them
Overdoing it or doing it wrong can backfire. Excessive water early in baking can lead to a soggy crust or even cause the oven to become overly humid, which may affect oven performance and safety. Conversely, insufficient steam or removing it too soon can result in a flat, dull loaf with minimal oven spring. For example, leaving a tray of water in the oven for over 30 minutes can create a humid environment that prevents proper crust formation, making the crust gummy and dull. The key is understanding that timing and amount matter; too much moisture for too long can hinder crust development, while too little prevents the crust from forming its characteristic crunch.
To avoid these pitfalls, start with a modest amount of steam—such as a quick burst of water or a short period of steam generation—and observe your bread’s development. Adjust your approach based on results. For instance, if your crust remains dull or soft, try venting earlier or reducing the moisture input. Remember, small, controlled steps yield the best results. Practice patience and careful observation, and you’ll develop an intuitive sense for how much steam your oven and bread need for optimal crust and oven spring.
Crank Up Your Bread Game: Practical Tips for Consistent Results
Mastering steam is about consistency and understanding your oven’s behavior. Use an oven thermometer to ensure accurate preheating, as temperature fluctuations can affect steam retention and crust development. Keep a small spray bottle filled with water handy to make quick adjustments during baking, especially if you notice the crust isn’t achieving the desired gloss or crackle. Document your process—note the amount of water, timing, and how the bread turns out—so you can refine your technique over time. Experimentation helps you understand your equipment’s quirks and your dough’s reactions, leading to more predictable results.
For example, one baker prefers using a preheated Dutch oven for consistent results, while another relies on misting and a hot pan of water. Both achieve excellent crusts once they fine-tune their timing and moisture levels. The key is to stay attentive and be willing to adjust—what works for one oven or recipe might need tweaking for another. Don’t get discouraged by initial failures; each bake offers valuable insights into how your specific setup influences the final product. With patience and practice, you’ll develop a reliable process that yields bakery-quality bread every time.