TL;DR
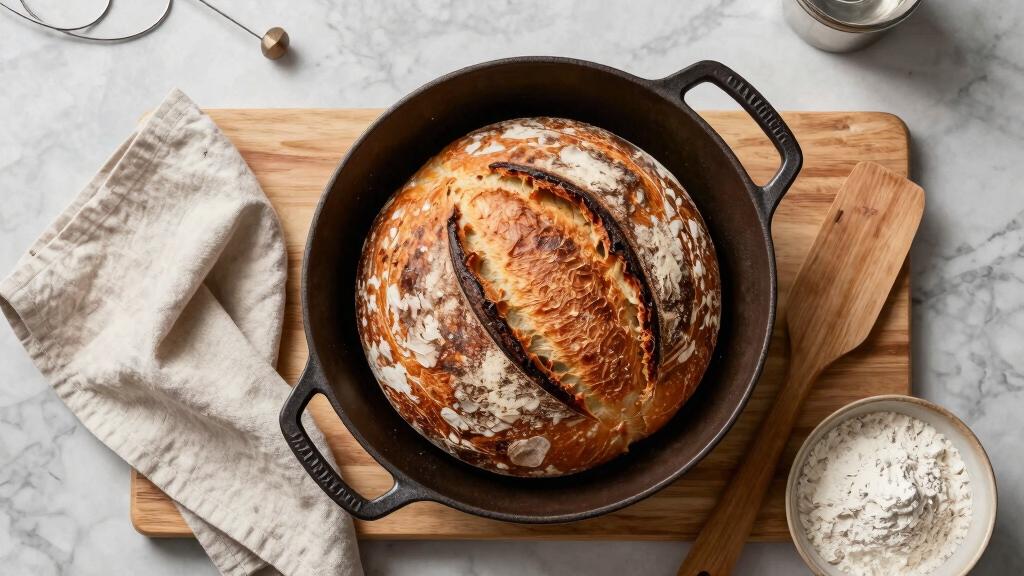
No-knead bread is a straightforward baking method that relies on long fermentation instead of kneading. It produces crusty, airy bread with minimal effort, making it perfect for beginners and busy bakers alike.
Long fermentation replaces kneading, developing gluten naturally for a crusty, airy loaf.
Minimal equipment is needed — just a mixing bowl, a heavy ovenproof pot, and patience.
The process takes about 24 hours, but most steps are passive, making it perfect for busy schedules.
Experimenting with ingredients and fermentation times can customize flavors and textures.
Avoid common mistakes like overfermentation or improper shaping to ensure bakery-quality results.
Why No-Knead Bread Is a Game-Changer for Busy Bakers
No-knead bread is celebrated for its minimal effort and big rewards. Instead of kneading for 10 minutes or more, you mix your ingredients, let them ferment for a long period, and bake. The magic lies in that slow fermentation, which develops gluten and flavors naturally.
Imagine waking up to the smell of fresh bread or coming home to a dough that’s ready to bake. This method saves time and energy while still delivering a crusty exterior and an open, airy crumb. It’s perfect if you’re short on time but crave that homemade aroma filling your kitchen.

LoafNest No-Knead Artisan Bread Kit, 2 qt. Incredibly Easy Bread!
Revolutionary Artisan Bread Making System: The LoafNest combines a professional non-stick liner with a custom cast iron Dutch…
As an affiliate, we earn on qualifying purchases.
As an affiliate, we earn on qualifying purchases.
What Makes No-Knead Bread Work? The Science in Simple Terms
No-knead bread relies on the long fermentation process to develop gluten. When you mix flour, water, salt, and yeast, gluten strands form over time, giving the dough elasticity. This is what makes the bread rise and creates that chewy, satisfying texture.
Unlike traditional kneading, which physically stretches and folds gluten, long fermentation allows natural enzymes to do the work. These enzymes break down proteins and starches, making the gluten strands more flexible and the dough easier to shape. This process also enhances flavor complexity, as fermentation produces organic acids and other flavor compounds. The tradeoff is time—long fermentation requires patience but results in a more flavorful, easier-to-handle dough that requires less physical effort. Understanding this helps bakers appreciate why patience yields better bread and why rushing the process can lead to dense or flat loaves.

5QT Pre-Seasoned Cast Iron Dutch Oven For Bread Baking, Dutch Oven with Domed Lid, Sourdough Bread Baking Supplies, Multi-Functional Bread Pan For Baking, Frying, Roasting
𝐃𝐨𝐦𝐞 𝐃𝐞𝐬𝐢𝐠𝐧: Perfect for Crusty Sourdough The AHJ pre-seasoned Dutch oven is ideal for sourdough baking. When used…
As an affiliate, we earn on qualifying purchases.
As an affiliate, we earn on qualifying purchases.
Step-by-Step: How to Make No-Knead Bread in Your Kitchen
- Mix 3 cups of all-purpose flour, 1 ½ teaspoons of salt, ¼ teaspoon of instant yeast, and 1 ¼ cups of water in a large bowl. Stir until just combined. The dough will be sticky.
- Cover the bowl with plastic wrap or a damp towel. Let it ferment at room temperature for 12 to 24 hours. You’ll see bubbles forming and the dough doubling in size.
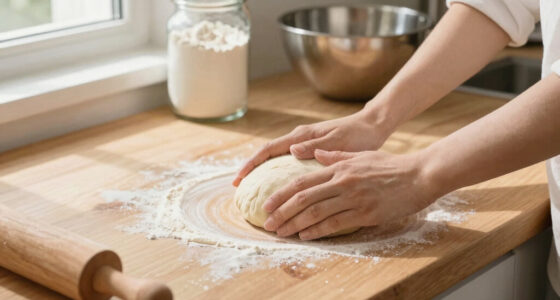
- When ready, turn the dough onto a floured surface. Shape it gently into a round or oval. Let it rest for 30 minutes.
- Preheat your oven to 450°F (230°C). Place a heavy Dutch oven or ovenproof pot with a lid inside to heat up.
- Place the shaped dough onto parchment paper and carefully transfer it into the hot pot. Cover with the lid.
- Bake for 30 minutes covered, then uncover and bake for another 15 minutes until deep golden and crusty.
- Remove, cool slightly, and enjoy that crackly crust and open crumb.
The key is patience — the long fermentation does the heavy lifting. This slow process allows the gluten to develop fully, resulting in a dough that’s easier to shape, holds its structure better during baking, and produces a richer flavor. Rushing the fermentation can lead to underdeveloped gluten, dense texture, or bland taste, so patience here is crucial for optimal results.

Sourdough Proofing Basket Gift Set, 9" Round and 10" Oval Banneton Bread Baking Supplies, Sourdough Baskets with Bread Lame, Danish Whish, Bowl Scraper, Sourdough Scraper, and Linen Liner
What You Get: 1 9-inch round banneton bread proofing basket , 1 10-inch oval proofing basket, 2 liners,…
As an affiliate, we earn on qualifying purchases.
As an affiliate, we earn on qualifying purchases.
What Equipment Do You Really Need? It’s Not Much
The essentials are simple: a mixing bowl, a wooden spoon or spatula, and a heavy ovenproof pot with a lid. A Dutch oven is ideal because it traps steam, creating that bakery-quality crust. But other options, like a cast-iron skillet with a cover or a heat-safe casserole dish, can work too.
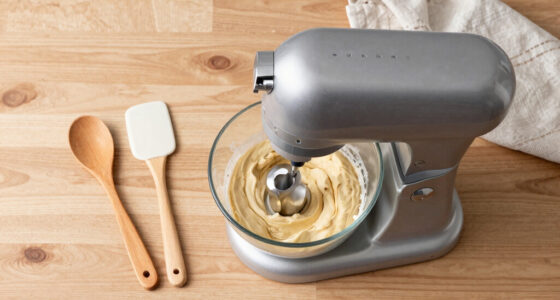
No fancy bread machine or mixer required. The long fermentation reduces the need for kneading equipment. Just a sturdy, oven-safe vessel and a bit of patience.
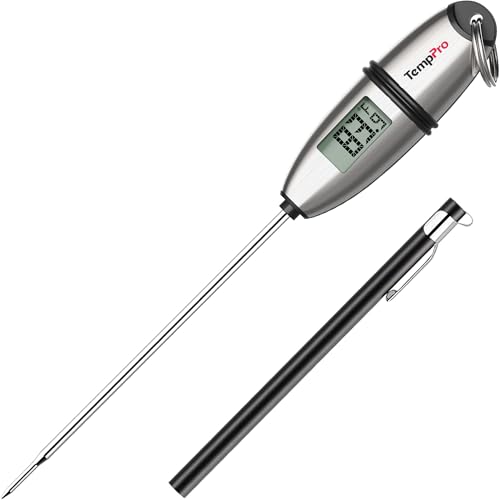
TempPro TP02S Digital Food Thermometer for Cooking Bread Baking Sourdough Liquids, Meat Thermometer Digital with Super Long Probe for Kitchen Candy Making Gift for Dad Husband (Previously ThermoPro)
Fast and Accurate Reading: Kitchen thermometer for cooking features a 1 second readout speed and high accuracy of…
As an affiliate, we earn on qualifying purchases.
As an affiliate, we earn on qualifying purchases.
Variations and Trends You Can Try Today
Recently, bakers have adapted no-knead to include sourdough starters, gluten-free flours, and flavor add-ins like herbs or olives. These tweaks add complexity and variety but still rely on the core method of long fermentation.
For example, swapping in whole wheat flour can add richness, while mixing in sunflower seeds or dried cranberries introduces crunch and sweetness.
There’s also an explosion of online tutorials, community challenges, and innovative tools like no-knead bread makers, which automate parts of the process but still rely on the same principles.
Common Pitfalls and How to Avoid Them
Even with its simplicity, no-knead bread has a few tricky spots. Overfermentation can make the dough collapse or develop a sour odor. Underfermentation results in dense bread.
To avoid these issues, watch for bubbles and dough expansion. The dough should pass the ‘windowpane test’ — stretch it thin without tearing.
Using too much flour when shaping can make the crust tough. Keep your hands floured lightly, and handle the dough gently.
And remember, oven temperature matters. Preheat your vessel thoroughly for that perfect crust.
How to Make It Your Own: Tips for Flavor and Texture
Once you master the basic recipe, try adding herbs like rosemary or thyme into the dough for fragrant bites. Seeds such as sesame or sunflower can add crunch and visual appeal.
Adjust hydration levels for different textures — more water makes a more open crumb, less creates a denser loaf.
Experiment with fermentation times: shorter for a milder flavor, longer for more complexity. Refrigeration after the initial rise can deepen flavors and make shaping easier.
Remember, small tweaks can transform your bread from simple to spectacular.
Frequently Asked Questions
How long does the whole process take?
The active part takes about 10 minutes to mix, but the fermentation needs 12 to 24 hours. So, plan ahead—most of the time is passive, waiting for the dough to develop flavor and gluten.
Do I need special equipment like a Dutch oven?
A Dutch oven or similar heavy, lidded ovenproof vessel is ideal because it traps steam for that crusty exterior. But other heavy pots with lids or covered baking dishes can work if preheated properly.
Can I make no-knead bread without a Dutch oven?
Yes, but it’s trickier. You can bake on a heated baking sheet with steam or use a covered casserole dish. Results might vary, but the key is trapping steam to get a crusty top.
What flours work best?
All-purpose flour is most common, but whole wheat, bread flour, or even gluten-free blends can be used. Adjust hydration and fermentation time accordingly.
How do I know when the dough is ready to bake?
Look for bubbles, increased volume, and a shiny, slightly domed surface. The dough should pass the ‘windowpane test’ — stretch it thin without tearing.