TL;DR
No-knead bread is celebrated for its ease, requiring just basic ingredients and long fermentation. It results in crusty, airy loaves with minimal effort, making artisan baking accessible to everyone.
Imagine pulling a warm, crusty loaf out of your oven after mixing ingredients in just minutes. No kneading, no fuss—just a few simple steps and a long wait. This is the magic of no-knead bread, a method that’s changing how home bakers approach artisan-style loaves.
In this guide, you’ll learn why this method is so popular, how it works, and the latest trends making it even easier and more versatile. Whether you’re a seasoned baker or just starting out, no-knead bread can become your new favorite way to create delicious, healthy bread at home.
No-knead bread relies on long fermentation to develop gluten and flavor, making it surprisingly simple and effective.
The process needs minimal equipment—just a sturdy pot and basic ingredients—perfect for busy or beginner bakers.
Patience is key: longer fermentation and proper oven preheating create crusty, airy loaves that rival bakery quality.
Recent trends include adding ingredients like seeds and herbs, plus experimenting with alternative cookware and faster proofing techniques.
Control moisture and temperature during baking for the best crust and crumb—don’t skip these crucial steps.
Why No-Knead Bread Is a Game-Changer for Home Bakers
No-knead bread is celebrated for its simplicity and incredible results. Instead of spending minutes or even hours kneading dough, you mix a few ingredients, let it ferment for 12-24 hours, and bake. The long fermentation develops gluten naturally, creating a structure that’s both chewy and airy.
Picture this: a rustic loaf with a crackly, caramel-colored crust and an open crumb riddled with irregular holes. That’s what you get when you skip the traditional kneading. This method is perfect for busy schedules and those who find kneading tedious or intimidating.
And the best part? The process demands almost no special skills or equipment—just a sturdy pot with a lid, like a Dutch oven, and basic ingredients. It’s a straightforward approach that can produce bakery-quality bread right in your kitchen.

Enameled Cast Iron Dutch Oven – Umite Chef 5QT Pot with Lid & Cotton Potholders – Heavy-Duty Cookware for Bread Baking, Braising, Stews, Roasting(Cream White)
Even Heat Distribution Retention: This Umite Chef Dutch oven Made with heavy-duty enameled cast iron, ensures even heat…
As an affiliate, we earn on qualifying purchases.
As an affiliate, we earn on qualifying purchases.
How the Long Fermentation Turns Simple Ingredients Into Artisanal Bread
The secret to no-knead bread lies in fermentation. When you mix flour, water, salt, and yeast, and then let the dough rest for hours, enzymes break down starches and proteins. This slow process creates gluten networks and develops complex flavors that are impossible to achieve with quick mixes. The extended fermentation allows the natural enzymes to unlock deeper flavors and improve digestibility, resulting in bread that is not only tastier but easier on your stomach.
Why does this matter? Because fermentation doesn’t just develop flavor; it transforms the very structure of the bread. Longer fermentation breaks down gluten bonds and other complex carbohydrates, making the bread more digestible. This is especially beneficial for those with sensitivities, as some of the harder-to-digest components are partially broken down, reducing bloating and discomfort. However, it also requires patience—shortening fermentation might save time but at the expense of flavor depth and texture complexity. The tradeoff is clear: more time equals richer flavor and better digestibility, but it demands planning. Understanding this helps bakers decide whether they want a quick loaf or a more nuanced, flavorful bread.
For example, a typical recipe might involve 3 cups of flour, 1 1/4 cups water, a teaspoon of salt, and a pinch of yeast. After mixing, you let the dough sit covered at room temperature for 18 hours. During that time, the dough transforms from sticky to perfectly elastic—no kneading needed. This slow process is a tradeoff: it requires patience but rewards you with a richer flavor profile and a better crumb structure.
Think of it like a slow dance: patience allows the ingredients to build a resilient, flavorful structure that mimics traditional kneading, but with less physical effort. This process also grants flexibility—if you need to delay baking, you can refrigerate the dough and slow fermentation, giving you more control over timing and flavor development.

LoafNest No-Knead Artisan Bread Kit, 2 qt. Incredibly Easy Bread!
Revolutionary Artisan Bread Making System: The LoafNest combines a professional non-stick liner with a custom cast iron Dutch…
As an affiliate, we earn on qualifying purchases.
As an affiliate, we earn on qualifying purchases.
Step-by-Step: Making No-Knead Bread in Your Kitchen
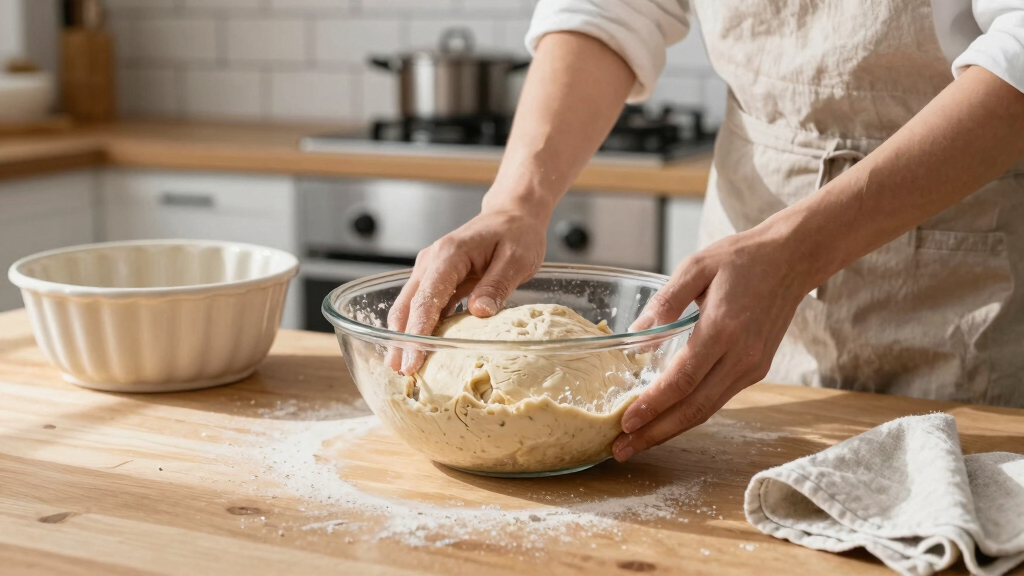
- Mix the ingredients: In a large bowl, combine flour, salt, yeast, and water. Stir until just combined—no kneading required.
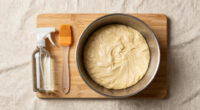
- Let it ferment: Cover the bowl with plastic wrap or a damp towel. Leave at room temperature for 12-24 hours until the dough is bubbly and sticky.
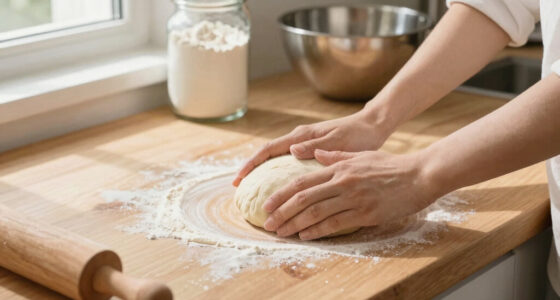
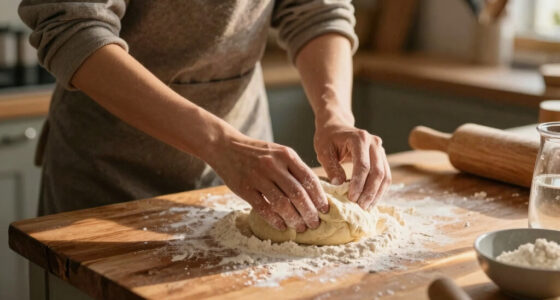
- Shape the dough: Lightly flour a surface, turn out the dough, and fold it gently. No shaping perfection needed—just form it into a loose round.
- Preheat your oven: Place a Dutch oven or heavy oven-safe pot with a lid inside and heat to 450°F (230°C) for at least 30 minutes.
- Bake the bread: Carefully transfer the dough into the hot pot, cover, and bake for 30-35 minutes. Remove the lid and bake another 10-15 minutes for a crispy crust.
- Cool and enjoy: Let the bread cool on a wire rack for at least 20 minutes before slicing. The aroma and crackle will make your kitchen smell like a bakery.
This process is simple, forgiving, and produces consistent results once you get the hang of it.

Sourdough Proofing Basket Gift Set, 9" Round and 10" Oval Banneton Bread Baking Supplies, Sourdough Baskets with Bread Lame, Danish Whish, Bowl Scraper, Sourdough Scraper, and Linen Liner
What You Get: 1 9-inch round banneton bread proofing basket , 1 10-inch oval proofing basket, 2 liners,…
As an affiliate, we earn on qualifying purchases.
As an affiliate, we earn on qualifying purchases.
What Equipment Do You Really Need? Spoiler: Not Much
The traditional tool for no-knead bread is a Dutch oven—a heavy, lidded cast iron pot. It traps steam, crucial for that crusty exterior. Without it, achieving that bakery-quality crust can be more challenging because steam is essential for oven spring and crust formation. However, alternative methods, like using a covered heatproof bowl or ceramic baker, can replicate this environment, but may require adjustments in baking time and temperature to compensate for different heat conductivities. Investing in a Dutch oven is worthwhile for consistent results, but understanding your oven’s capabilities allows flexibility in equipment choices.
For beginners, a Dutch oven or similar heavy pot is ideal. It heats evenly and creates the perfect environment for the bread to develop that rustic crust.
Beyond the main vessel, all you need is a mixing bowl, a spatula, and some parchment paper if you want easier transfer. That’s it—no fancy gadgets required. The simplicity of equipment matches the minimal effort of the recipe itself.

BOORIKA Sourdough Bread Baking Tool Set with Danish Dough Whisk, Bread Lame & Blades, Bench Scraper, Dough Scrapers and Silicone Brush – Sourdough Starter Kit
* All-in-One Artisan Bread Kit – Includes everything you need to bake like a pro: Danish dough whisk,…
As an affiliate, we earn on qualifying purchases.
As an affiliate, we earn on qualifying purchases.
Latest Trends: Making No-Knead Bread Even Easier and More Creative
The no-knead bread movement keeps evolving. Bakers now experiment with ingredients like whole wheat, spelt, or rye flour to boost nutrition, but these flours can affect gluten development and hydration needs, requiring adjustments for optimal texture. This is because different flours absorb water differently and contain varying levels of gluten-forming proteins. Some add seeds, herbs, or dried fruits for extra flavor and texture, which can influence fermentation times and moisture levels, adding complexity but also opportunity for personalization.
Recent innovations involve reducing fermentation time using warmer environments or starting with a sourdough starter to deepen flavor without extending proofing hours. These tweaks make the process faster and more flexible but may introduce tradeoffs such as slightly less complex flavor compared to traditional long fermentation. Moreover, some bakers are using alternative cookware, like ceramic bakers or silicone molds, to avoid the need for a traditional Dutch oven. These options often require different baking techniques or times but can be equally effective at producing a crusty loaf.
For example, a baker might add sunflower seeds to the dough, then bake it in a cast-iron skillet, creating a loaf that’s both hearty and beautifully textured. These innovations expand possibilities, allowing home bakers to experiment and tailor their bread to personal preferences and available equipment.
Key Tips for Perfect No-Knead Bread Every Time
- Use high-quality flour: Better flour yields better gluten and flavor. Keep it fresh to maximize these qualities, as older flour can lead to flatter loaves with less structure.
- Be patient with fermentation: Longer fermentations develop deeper flavor and better texture, but they also require planning. Rushing the process can result in a bread with less complexity and a denser crumb, so balancing time and flavor is key.
- Preheat your vessel: A hot pot is critical for creating that crackling crust. Not preheating adequately can lead to a softer crust and less oven spring, which impacts overall loaf quality.
- Control moisture: Cover the dough during fermentation to maintain humidity and create a uniform proof. During baking, generating steam in the oven helps develop that signature crust—skipping this step often results in a softer, less appealing crust.
- Cool before slicing: Let the bread sit at least 20 minutes after baking to finish setting and avoid a gummy crumb. Cutting too early can squish the structure and diminish texture, so patience here enhances overall quality.
For example, a baker who preheats their Dutch oven and waits patiently for the loaf to cool reports a crust that crackles with each bite, making every loaf feel like a bakery masterpiece. These small but crucial steps significantly influence the final bread’s appearance and texture, making the difference between good and exceptional results.
Frequently Asked Questions
Can I make no-knead bread without a Dutch oven?
Absolutely. While a Dutch oven creates ideal steam and heat, you can use a heavy oven-safe bowl, ceramic baker, or even a covered cast iron skillet. Just ensure it can withstand high temperatures and traps steam effectively.How long should I ferment the dough for best results?
Most recipes recommend 12-24 hours at room temperature. Longer fermentations deepen flavor and improve texture, but you can experiment with shorter times if you’re in a hurry—just expect a milder taste.What flours work best with no-knead bread?
All-purpose flour is the most common, but bread flour, whole wheat, rye, spelt, or gluten-free mixes can all be used. Each adds a different flavor and texture, so feel free to experiment based on dietary needs.Why is my bread not crusty enough?
Crustiness depends on preheating your baking vessel, creating steam, and proper cooling. If the oven or pot isn’t hot enough or you skip steaming, the crust may turn out softer. Adjusting these steps enhances crust development.Can I speed up the fermentation process?
You can try increasing the temperature slightly or using a sourdough starter, but keep in mind that shorter fermentation can result in less flavor complexity and a denser crumb. Balancing speed and flavor is key for optimal results.Conclusion
Embracing no-knead bread turns baking into a straightforward, almost meditative act. With patience and a few simple tools, you can craft crusty, flavorful loaves that rival those from professional bakeries.
So next time you crave fresh bread, remember: sometimes, the easiest methods produce the most satisfying results. Your kitchen, your rules, your bakery-ready loaf awaits.