TL;DR
Greasing creates a non-stick surface, flour adds an extra barrier to prevent sticking, and lining offers the easiest release with minimal cleanup. Choosing the right method depends on your recipe and pan type.
Ever pulled a cake from the oven only to find it stuck to the pan, tearing when you try to remove it? Or maybe your muffins slide out like a dream, barely touched. The secret lies in how you prepare your pans. How you grease, flour, or line can turn a sticky disaster into a flawless release, and it’s simpler than you think.
In this guide, you’ll learn exactly what each method does, when to use them, and how to choose the best for your favorite recipes. No fluff — just practical tips to get consistently perfect results, every time you bake.
Use parchment paper or silicone mats for delicate or sticky baked goods to ensure easy removal and minimal damage.
A light greasing combined with flour dusting works well for quick breads and muffins with high moisture content.
Choosing reusable liners helps reduce waste and can be a more eco-friendly, cost-effective option in the long run.
Always match your pan prep method to the recipe and pan material for the best results.
Proper food safety practices, like checking temperature limits and storing baked goods correctly, protect your baking investments.
What’s the real difference between greasing, flour dusting, and lining?
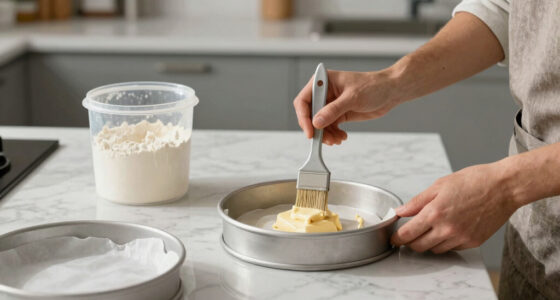
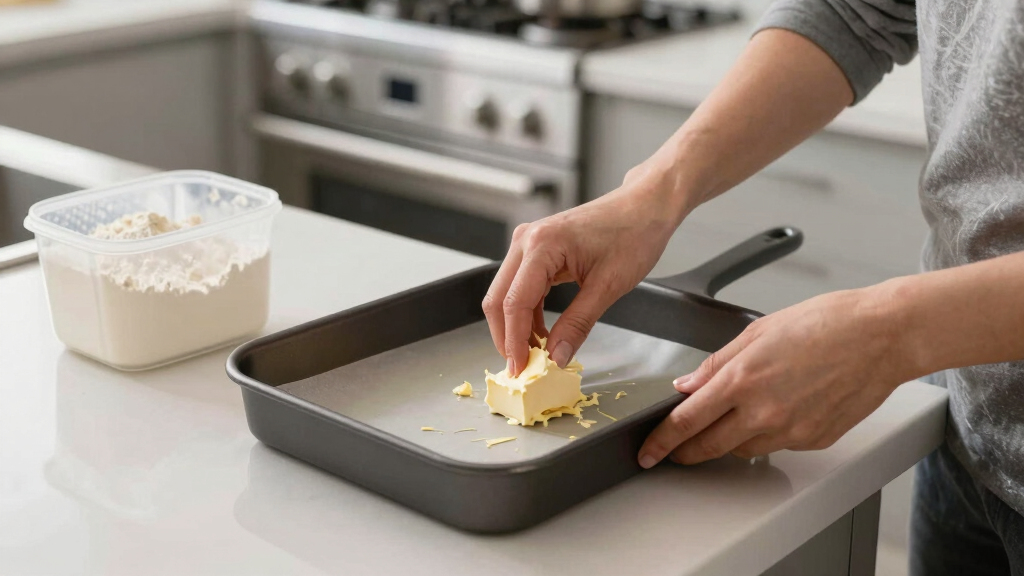
Greasing is applying fat — like butter, oil, or non-stick spray — directly onto your pan’s surface. It creates a slick barrier that prevents batter from sticking. Think of it like greasing a bike chain; it makes everything slide smoothly. The depth of this layer matters because too little can lead to sticking, while too much can cause uneven release and excess greasiness, affecting the texture of your baked goods and their appearance.
Flouring involves dusting that greased surface with flour or a similar powder. It’s like adding a second layer of protection, helping baked goods release cleanly. Flour sticks to the fat, creating a barrier that prevents sticking even when the batter is moist or high in sugar. The tradeoff is that excess flour can leave a white residue on your baked item or pan, which might affect the appearance or flavor if not brushed off properly. Proper application and tapping out the excess are crucial to balance ease of release with a clean finish.
Lining uses parchment paper, silicone mats, or other liners to cover the pan entirely. This method offers a non-stick surface that ensures a perfect release without additional greasing or flouring. The implications are significant—linings are especially beneficial for delicate baked goods like layered cakes or sticky brownies, where even a small tear can ruin the presentation. The tradeoff is that lining can generate waste unless reusable options are used, and it requires some initial effort to cut and fit the liner correctly. Choosing the right lining material can also influence heat distribution and baking time, which are factors to consider for optimal results.

PAM Non-Stick Baking Spray, 5 oz. (Pack of 2)
The information below is per-pack only
As an affiliate, we earn on qualifying purchases.
As an affiliate, we earn on qualifying purchases.
When to use each method: real-life scenarios and tips
Imagine baking a rich, moist chocolate cake. You want it to come out intact, with no crumbs stuck to the pan. For this, lining with parchment paper is your best bet. It provides a gentle, reliable release and minimizes the risk of tearing, especially for intricate or layered cakes. The implication is that for delicate structures, lining reduces frustration and preserves presentation, but it requires planning and some extra cleanup.
On the other hand, for quick breads like banana or zucchini bread, a light greasing with butter or oil usually suffices. If the batter is particularly sticky or high in sugar, a dusting of flour after greasing can help, creating an extra non-stick barrier that reduces the risk of tearing during removal. The tradeoff here is balancing ease of prep with the clean appearance of your baked good—too much flour can be visible, but too little may cause sticking.
Here’s a quick guide to help you decide:
- Delicate cakes or layered creations: Line with parchment or silicone mats to ensure gentle release and prevent damage.
- Quick breads or muffins: Use a light layer of greasing, with or without flour dusting, to facilitate easy removal without excessive residue.
- Cookies or bar cookies: Parchment is ideal for lifting, but if sticking isn’t an issue, greasing might be enough to save time and effort.

Amazon Basics Non-Stick Silicone Baking Mat, Food Safe, Dishwasher Safe, Heat Resistant, 16.5" x 11.6", Beige/Gray, Rectangular, 4-Pack
Baking mat (4-pack) for easy and convenient baking, roasting, or food prep
As an affiliate, we earn on qualifying purchases.
As an affiliate, we earn on qualifying purchases.
Comparison table: Greasing, Flour Dusting, Lining — Which Is Best for What?
| Method | Best For | Pros | Cons |
|---|---|---|---|
| Greasing | Quick breads, cookies, some cakes | Fast, simple, adds flavor with butter/oil | Risk of uneven release if not done well; can cause excess greasiness; may affect texture or appearance if overused |
| Flour Dusting | Cakes, muffins with high sugar or moisture | Extra non-stick layer, helps prevent tearing, especially with moist batters | Can leave a white residue or uneven surface; requires an extra step and careful tapping to avoid excess flour |
| Lining | Delicate cakes, sticky or fragile baked goods | Easy release, minimal cleanup, ideal for intricate desserts or sticky recipes | Less eco-friendly unless reusable; initial setup takes time; may slightly affect heat transfer depending on material |
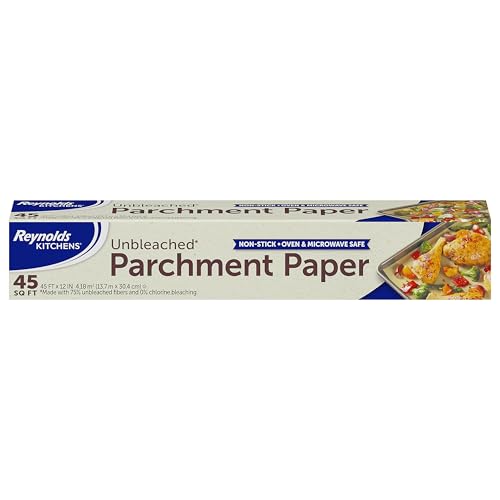
Reynolds Kitchens Unbleached Parchment Paper Roll, Non Stick Parchment Paper for Cooking and Baking, Oven Safe up to 425 Degrees, Chlorine-Free, 45 Feet x 12 Inches, 45 Total Sq. Ft.
Package Includes: One (1) Reynolds Kitchens Unbleached Parchment Paper Roll measuring 45 feet long by 12 inches wide…
As an affiliate, we earn on qualifying purchases.
As an affiliate, we earn on qualifying purchases.
How to prepare your pan for perfect release — step-by-step
- Choose your method based on the recipe and pan type, considering the delicacy of your baked good and environmental concerns.
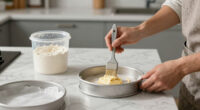
- If greasing, use a paper towel or brush to spread a thin, even layer of butter or oil over the entire surface. This creates a smooth barrier that helps with release and adds flavor, but too thick a layer can cause uneven baking or greasiness.
- For flour dusting, sprinkle a tablespoon of flour into the greased pan, tilt to cover all sides evenly, then tap out excess. This additional layer helps prevent sticking, especially with moist or high-sugar batters, but over-application can leave visible residue.
- If lining, cut parchment to fit your pan, lightly grease if necessary, and press into place. For silicone mats, just place them inside — no prep needed. Proper fitting ensures easy removal and prevents shifting during baking.
- For silicone or reusable liners, ensure they are clean and dry before use to maximize their non-stick properties and longevity.

8 Inch Parchment Paper Rounds, Set of 100, Non Stick Baking Parchment Circles, Round Parchment Paper for Round Cake Pan, Springform Pan, Tortilla Press and so on
PREMIUM QUALITY: Our parchment paper circles are designed with food grade paper, non toxic, 100% safe. Heat resistance…
As an affiliate, we earn on qualifying purchases.
As an affiliate, we earn on qualifying purchases.
Eco-friendly and innovative options for pan preparation
Traditional greasing and lining are effective, but new trends focus on sustainability. Silicone baking mats are reusable, durable, and easy to clean with warm soapy water. Beeswax wraps or silicone liners significantly cut down on waste and are safe at high temperatures, making them excellent eco-friendly choices. The implications are clear: switching to these reusable options not only reduces waste by up to 90% but also offers long-term savings, as they last for years and eliminate the need for disposable sprays or parchment.
Natural sprays with minimal chemicals are also gaining popularity, providing a healthier alternative to traditional non-stick sprays. These options promote a greener kitchen while maintaining the quality and safety of your baked goods, aligning with environmentally conscious baking practices.
Food safety tips for pan prep and baking success
Always check the temperature limits of your liners. Parchment paper generally withstands heat up to 420°F (215°C). Silicone mats are heat-resistant up to 480°F (250°C), but always verify manufacturer instructions to prevent melting or warping. Using materials beyond their rated temperature can compromise safety and affect the integrity of your baked goods.
Store baked goods in airtight containers after cooling to prevent moisture loss or absorption, which can affect freshness and texture. Keep pans clean and dry, especially when using reusable liners, to prevent rust, mold, or unwanted odors. Proper storage and maintenance extend the lifespan of your pan preparation tools and ensure consistent, safe results.
Remember: a well-prepared pan not only makes your baking more successful but also reduces frustration and waste, contributing to a more efficient and eco-friendly kitchen.
Frequently Asked Questions
Is it better to grease or line a cake pan?
For delicate cakes or layered desserts, lining with parchment paper or silicone mats usually offers the easiest release. Greasing alone can work, but lining provides extra assurance against sticking and tearing.Can I skip flour dusting if I line my pan?
Yes. If you line your pan with parchment or a silicone mat, you typically don’t need to flour afterward. But for some recipes with high sugar or moisture, a light flour dusting can provide extra security.What’s the best eco-friendly alternative to parchment paper?
Silicone baking mats are a great reusable option. They’re durable, easy to clean, and reduce waste compared to disposable parchment or sprays.Does pan material affect how I should prepare it?
Absolutely. Metal pans often need greasing and flouring, while silicone or non-stick pans may require little or no prep. Glass pans usually need greasing, sometimes with flour or a liner, to prevent sticking.How do I prevent tearing when lining my pan?
Cut parchment slightly larger than your pan, lightly grease or oil the sides if needed, and press the liner smoothly into the corners. Avoid pulling or stretching it too much to prevent tears and ensure a snug fit that won’t shift during baking.Conclusion
Getting your pan prep right is like setting a good foundation. A quick brush of butter, a dusting of flour, or a sheet of parchment can make or break your baking success. The next time you bake, ask yourself: what does this recipe truly need for perfect release?
Remember, a little prep goes a long way. Whether you’re aiming for spotless cakes or effortless cookies, choosing the right method keeps your kitchen cleaner, your baked goods looking professional, and your stress levels low. Happy baking — and may your goodies slide right out every time.